Card Centering Analyzer Tutorial: A Step-by-Step Guide to Accurate Grading Prep
Follow this comprehensive card centering analyzer tutorial to accurately measure centering ratios, meet grading standards, and enhance submission strategies.


Estimated reading time: 8 minutes
Key Takeaways
- Precision tool: Measure border widths and calculate front/back centering ratios with sub-millimeter accuracy.
- Workflow overview: From image capture to ratio interpretation, avoid off-center submissions.
- Customization: Select PSA, BGS, CGC standards and fine-tune with manual guides when needed.
- Advanced tips: Batch processing, perspective correction, and optimized lighting for consistent results.
Table of Contents
- 1. Getting Started with the Card Centering Analyzer
- 2. Understanding the Interface and Key Features
- 3. Step-by-Step Card Centering Analyzer Tutorial
- 3.1 Capturing or Loading Card Images
- 3.2 Setting Parameters and Analysis Settings
- 3.3 Running the Analysis and Interpreting Results
- 3.4 Leveraging Features for Optimal Card Centering
- 4. Troubleshooting Common Issues
- 5. Advanced Techniques and Best Practices
- 6. Conclusion
- 7. Additional Resources
- 8. FAQ
1. Getting Started with the Card Centering Analyzer
System Requirements & Access
- Mobile apps (Android/iOS) like Card Centering Calculator require a modern OS and camera access.
- Browser-based tools (CardGrade, Edge Grading, Centering Check) need a current web browser.
- Hardware: top-down camera or scanner, plain-color background, stable internet connection.
Installation & Initial Setup
- App install: search “Card Centering Calculator” → grant camera/photo permissions.
- Web tool: visit the site and confirm the upload interface loads correctly.
- Configure defaults: select your grading standard (PSA, BGS, CGC), choose units (mm or px), enable auto-detection and perspective correction.
2. Understanding the Interface and Key Features
User Interface Tour
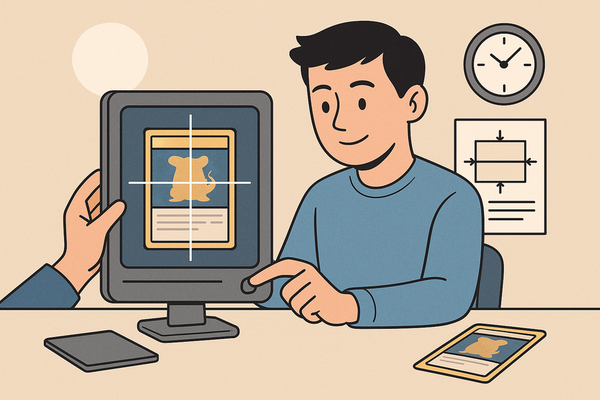
- Upload/Scan Area: buttons to import an image or activate your camera.
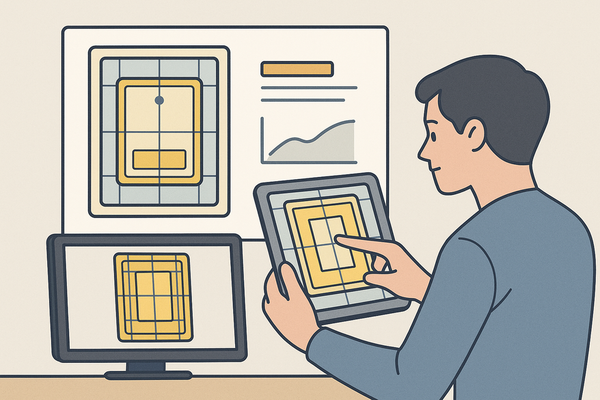
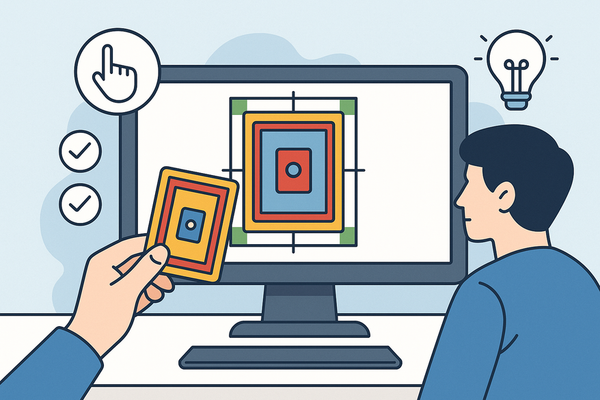
- Preview Canvas: overlay lines and boxes mark detected borders.
- Handles/Guides: draggable points to fine-tune border positions.
- Results Panel: displays centering ratios (e.g., 55/45, 60/40) and millimeter readings.
- Grading Estimates: shows alignment with PSA, BGS, CGC subgrades.
Main Features and Functionalities
- Automatic Border Detection using AI-powered edge recognition.
- Perspective Correction for a true top-down view.
- Manual Adjustment to refine border placement when needed.
- Real-Time Ratios with live percentage readouts for left/right and top/bottom borders.
- Front & Back Analysis highlighting the limiting centering side.
- Multi-criteria Grading estimates including corners, edges, and surface along with centering.
Automated tools replace inconsistent eyeballing with exact ratio calculations and compare tolerances across PSA, BGS, and CGC at every grade tier.
3. Step-by-Step Card Centering Analyzer Tutorial
3.1 Capturing or Loading Card Images
- Remove sleeves and top loaders for clear border detection.
- Use a flat, solid-color background to avoid edge confusion.
- Capture straight-down photos without angles or shadows; ensure all borders are visible.
- Upload front and back via the “Upload Front” and “Upload Back” buttons or scanner interface.
- Verify the full card preview appears in the app or web tool.
3.2 Setting Parameters and Analysis Settings
- Select grading reference: PSA, BGS, CGC, SGC, TAG based on your submission target.
- Choose analysis mode: auto-detection for simple borders; manual for complex or subtle edges.
- Adjust detection sensitivity to pick up light or thin borders.
- Decide analysis order: run front first, then back to compare combined centering and identify the worst side.
3.3 Running the Analysis and Interpreting Results
- Verify auto-detected border overlays; drag manual handles if misaligned.
- Read border widths and centering ratios (e.g., 60/40 left/right, 55/45 top/bottom).
- Formula callout: smaller border ÷ (left + right) = centering percentage.
- Compare ratios to grading thresholds (e.g., PSA Gem Mint 10: ~55/45 front & 75/25 back; BGS 10: ~50/50 front & back).
- Emphasize the worst-side rule for subgrade determination.
3.4 Leveraging Features for Optimal Card Centering
- Use zoom or digital loupe tools to refine manual guides.
- Perform multiple scans if results vary, especially with smartphone photos.
- Save or export screenshots and result data for submission records.
- Sample workflow recap: load photo → adjust borders → read ratios → check standards → decide to submit.
For more on why centering matters to avoid wasted grading fees, see How to Avoid Wasted Submission Fees Through Improved Centering.
4. Troubleshooting Common Issues
- Blurry or low-resolution images lead to inaccurate edge detection.
- Shooting angles or perspective distortion misalign borders.
- Photographing sleeved cards creates false edges.
- Busy backgrounds confuse detection algorithms.
- Ignoring backside centering misses the worst-side subgrade.
Tip: Retake photos from directly above, switch to manual adjustments when needed, and increase background contrast for clearer border boundaries.
5. Advanced Techniques and Best Practices
- Use flatbed scanners or guided capture tools for sub-millimeter precision.
- Average multiple image captures to reduce camera inconsistency.
- For borderless or full-art cards, align on text or logo reference points.
- Batch processing: analyze multiple cards, then sort by centering score before submission.
- Track exported data versus actual grades to refine your prediction accuracy.
6. Conclusion
A card centering analyzer is a vital digital tool for grading prep. By following this tutorial—from installing your chosen app or web tool through capturing images, setting parameters, running analysis, and interpreting results—you can accurately measure border widths and centering ratios, compare them to PSA, BGS, and CGC thresholds, and avoid wasted grading fees by filtering out off-center cards. Experiment with different analyzers, practice manual fine-tuning, and incorporate these techniques into your submission workflow to make cost-effective and informed grading decisions.
Ready to take the guesswork out of centering? Try Card Centering Tool today and know your card’s grade before you pay for it.
7. Additional Resources
- YouTube tutorials:
- TikTok guides:
- Community forums:
8. FAQ
- What is a card centering analyzer?
A digital tool that measures border widths on trading or sports cards and calculates centering ratios to predict grading outcomes. - How can I ensure accurate measurements?
Use a flat, solid-color background, direct overhead lighting, and enable perspective correction. If auto-detect misses, refine with manual handles. - Can I use smartphone photos?
Yes, but ensure high resolution, avoid angles or shadows, and perform multiple scans to confirm consistency. - Which grading standards are supported?
Most tools support PSA, BGS, CGC, SGC, and TAG subgrades, allowing you to set your target standard before analysis. - Why does back centering matter?
Grading services apply the worst-side rule: your card’s subgrade is determined by the less-centered side (front or back).