Card Centering Analyzer Tutorial: Step-by-Step Guide for Perfect Grading
Learn to use a card centering analyzer for accurate grading. This comprehensive tutorial offers steps, setup, tips, and troubleshooting for grading success.

Estimated reading time: 8 minutes
Key Takeaways
- Objective centering metrics eliminate guesswork, revealing true border ratios for smarter grading.
- Digital vs. physical tools each have unique advantages for measuring card centering with precision.
- Step-by-step setup ensures consistent imaging, proper alignment, and accurate subgrade predictions.
- Troubleshooting tips help overcome auto-detect errors, lighting issues, and beta tool quirks.
- Advanced workflows like batch-scanning and subgrade combining boost grading ROI and efficiency.
Table of Contents
- What Is a Card Centering Analyzer?
- Getting Started with Your Analyzer
- Step-by-Step Card Centering Analyzer Tutorial
- Troubleshooting & Common Issues
- Advanced Tips & Best Practices
- Conclusion & Recap
- FAQ
What Is a Card Centering Analyzer?
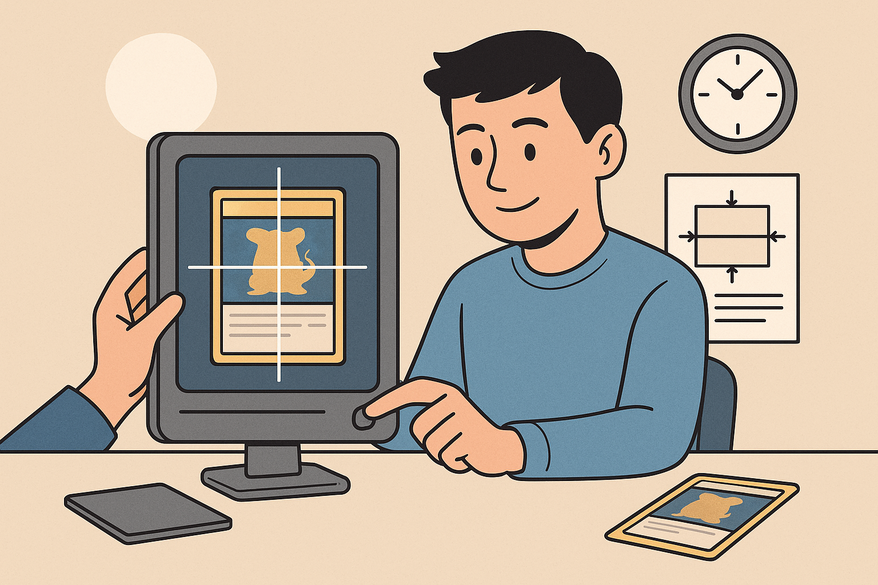
A card centering analyzer is a software or physical tool that measures how evenly a card’s printed area sits within its borders. It offers an objective centering tutorial for accurate card grading. For detailed manual and digital measurement techniques, see our step-by-step guide for collectors.
Types of Card Centering Analyzers
- Digital analyzers scan or upload card images and calculate border ratios automatically.
- Physical overlay guides use clear plastic templates with printed grids and percentage tables.
Why Precise Centering Matters
Grading companies assign a centering subgrade that can make or break a high grade:
- PSA Gem Mint 10: roughly 55/45 front & 75/25 back (centering standards)
- BGS 10: near-perfect 50/50 front and back (centering standards)
- CGC/SGC/TAG: typically require around 60/40 or tighter ratios (centering standards)
Even a card that looks “eyeball perfect” can be 65/35 or worse when measured. A centering analyzer removes guesswork by delivering precise percentages for smarter grading decisions. Compare tolerances in PSA vs BGS vs CGC in our centering tolerance comparison.
Getting Started with Your Analyzer
Subsection A: Prerequisites
Before you begin this card centering analyzer tutorial, gather these essentials:
- Device or Platform
- Smartphone, tablet, or computer for web tools like CardGrade or Edge Grading
- iOS/Android device for the Card Centering Calculator app (Android, iOS)
- Camera or Scanner
- Top-down capture via phone camera or flatbed scanner (Reddit source)
- Background
- Clean, matte, non-reflective surface; remove card from sleeves/top loaders (Reddit source)
- Lighting
- Even, diffuse light to avoid glare (centering standards)
- Physical Guide (Optional)
- Transparent centering overlay with percentage chart (overlay demo)
Subsection B: Installation & Setup
Digital Analyzer Setup
1. Install or open your chosen tool:
- Download Card Centering Calculator from Google Play or App Store (Android; iOS)
- Or use a browser-based analyzer like CardGrade or Edge Grading
Reddit source
Physical Overlay Setup
1. Peel off any protective film from the transparent guide (overlay demo).
2. Lay the card beneath the guide, aligning its thickest border with the grid lines (tool demo).
3. Ensure the card is flat, centered, and not tilted.
4. Have the printed percentage chart nearby for manual reading.
Step-by-Step Card Centering Analyzer Tutorial
Step 1: Capture or Upload Your Card
- Digital: Tap “Scan” or “Upload,” then select the front image. For full grading insight, repeat for the back (CardGrade).
- Physical: Slide the card beneath the overlay and align edges with printed rulers (tool demo).
Step 2: Auto-Detect & Align Borders
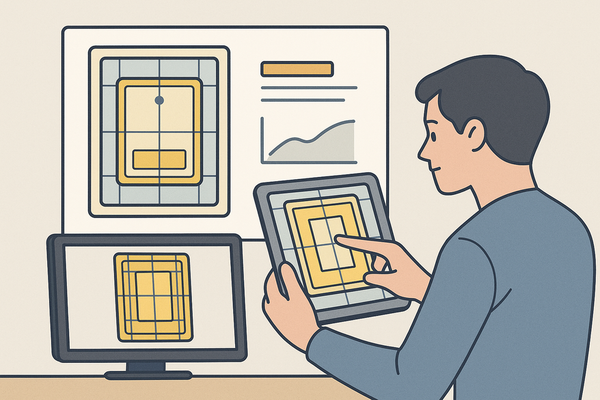
Most apps auto-rectify and crop to the card edges, producing a bird’s-eye view (Card Centering Calculator). If auto-detect fails, drag corner handles or dotted lines to fit the card borders manually (Edge Grading).
Step 3: Measure Border Widths
- Digital: View left/right and top/bottom measurements in mm or pixels along with centering ratios.
- Formula:
- Left = L, Right = R → Total T = L + R
- Left ratio = L/T, Right ratio = R/T
- Example: L=1.8mm, R=1.2mm → 1.8/(1.8+1.2)=60/40 centering (CardGrade).
- Formula:
- Physical: Read the numbers at each border on the overlay (e.g., “3” vs “2”), then reference the chart to find a 60/40 ratio.
Step 4: Interpret Centering Ratios
Compare your ratios against grading benchmarks:
- PSA 10: 55/45 front, 75/25 back (centering standards)
- BGS 10: near-perfect 50/50 front/back (centering standards)
Step 5: Check Horizontal & Vertical Separately
Review Left/Right and Top/Bottom as distinct metrics. A card may be centered horizontally but off vertically (Card Centering Calculator). Physical tools have separate rulers for horizontal and vertical checks.
Step 6: Evaluate Submission Worthiness
- Gem Mint Candidates: within top thresholds front/back.
- Borderline Cards: just outside perfect, likely PSA 9 or BGS 9.5.
- Rejects: ratios of 65/35 or worse, poor grading investment (centering standards).
Before you begin grading submissions, try the Card Centering Tool. This free web app delivers sub-millimeter centering analysis and predicted grade tolerances for PSA, BGS, and CGC.
Troubleshooting & Common Issues
- Issue A: Auto-Detection Errors
Causes: skewed shot, reflective background, card in sleeve. Fixes: retake top-down, switch to matte surface, remove sleeve; adjust handles manually. - Issue B: Faded or Bleeding Borders
Some cards have thin or bleed-edge prints. Tip: align guides using logos, text boxes, or other clear artwork edges. - Issue C: Front vs Back Discrepancies
Prints may differ; graders use the worst side for subgrade. Always scan both sides for accurate centering evaluation. - Issue D: Beta Tool Inconsistencies
Community tools can misread certain designs. Try varied lighting or distances; cross-check with another analyzer.
Advanced Tips & Best Practices
- Tip 1: Build a Pre-Submission Workflow
Batch-scan cards, tag by centering quality, and rank for grading fees. Use a spreadsheet or app tags to track candidates. - Tip 2: Combine Subgrades
Pair centering data with surface, corners, and edge reviews. Use a loupe or magnifier alongside digital tools (CardGrade). - Tip 3: Know Each Grader’s Thresholds
PSA, BGS, CGC, SGC, TAG all differ slightly. Select the grader that best fits your card’s centering strength. - Tip 4: Maintain Consistent Imaging
Fix your setup: same background, lighting, angle, distance. Consistency yields reliable measurements over time. - Tip 5: Document & Track Results
Log centering percentages, predicted grades, and final submission outcomes. Refine your thresholds based on real-world grading feedback.
Conclusion & Recap
In this tutorial, you discovered what a centering analyzer is and why centering matters for PSA, BGS, CGC, SGC, and TAG (CardGrade; Edge Grading). You learned setup requirements, step-by-step use, how to interpret centering ratios, and common troubleshooting tips. Advanced best practices like workflow batching and subgrade combining help you refine your grading strategy. By converting guesswork into precise data, a centering analyzer will boost your grading ROI and ensure only top-center cards go for high-tier submissions. For tips on spotting off-center cards, check this guide.
FAQ
- What centering ratio is required for a PSA 10?
PSA typically requires approximately 55/45 on the front and 75/25 on the back to achieve a Gem Mint 10. - Should I choose a digital or physical analyzer?
Digital analyzers offer speed and auto-calculation, while physical overlays provide low-tech reliability. Choose based on volume and personal preference. - Why does auto-detection sometimes fail?
Common causes include skewed photos, glare, or reflective surfaces. Use a clean matte background, proper lighting, and adjust border handles manually if needed. - Can I use my smartphone for accurate centering measurements?
Yes. A steady, top-down shot with even lighting on a non-reflective surface can yield reliable results with most centering apps. - When should I skip grading a card?
Cards measuring worse than 65/35 often fall outside top-tier tolerances, making them poor investments for high-end submissions.