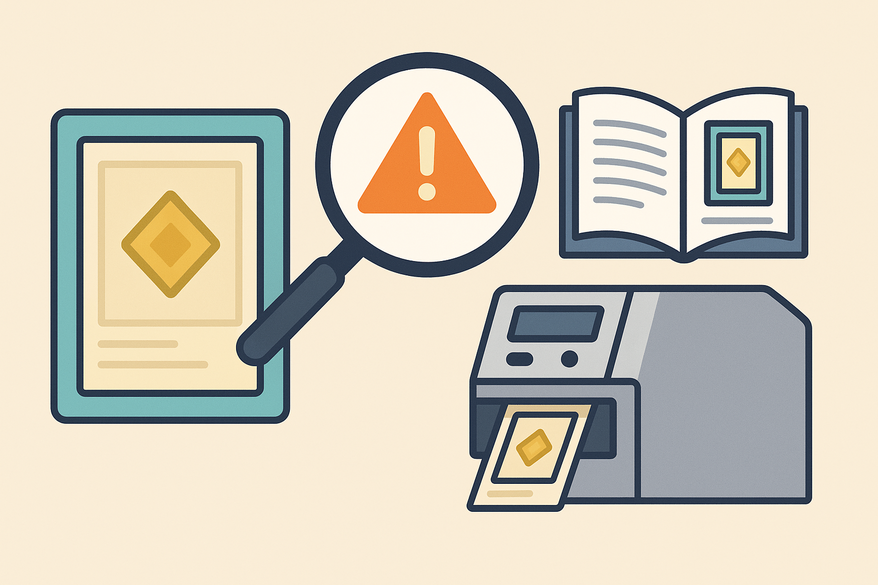
Preventing Card Printing Misalignment Issues: A Comprehensive Guide to Card Centering
Learn to prevent card printing misalignment issues with our guide on diagnosing and solving off-center prints to maintain card quality and value.
Estimated reading time: 8 minutes
Key Takeaways
- Understanding the root causes behind off-center prints—from material tolerances to printer calibration
- Step-by-step diagnostics to identify and correct misalignment at each production stage
- Best practices for maintenance, quality control, and standardized procedures to ensure consistent centering
Table of Contents
- Section 1: Understanding Card Printing Misalignment Issues
- Section 2: The Impact of Manufacturing Variances on Card Centering
- Section 3: Common Causes of Card Centering Problems
- Section 4: Diagnosing and Troubleshooting Misalignment Issues
- Section 5: Best Practices for Preventing Misalignment
- Conclusion
- FAQ
Section 1: Understanding Card Printing Misalignment Issues
“Card printing misalignment issues” occur when the printed image consistently falls outside the intended central borders of a card. Proper centering matters because small variances in card stock, printer path, or cutting can visibly degrade print quality and, for collectible cards, impact grade and value (see centering guide).
For collectors and manufacturers seeking to streamline centering checks before production or grading, Card Centering Tool provides an intuitive web app that automatically measures left/right and top/bottom centering ratios and flags compliance with PSA, BGS, and CGC tolerances.
Card Centering Metrics
- Border measurement: measure left vs. right and top vs. bottom border widths with digital calipers (see step-by-step measurement guide).
- Centering ratio: express measurements as a percentage or ratio (e.g., 48/52 left/right or 49/51 top/bottom).
- Registration tolerance: most collectible card printers aim for ±0.5 mm tolerance in X and Y axes.
Role of Precise Manufacturing Processes
- Input dimensions consistency: ensure card stock thickness and size uniformity within ±0.1–0.2 mm.
- Stable feed mechanics: use guide rails and calibrated roller pressure to maintain paper path accuracy.
- Alignment between steps: synchronize print head, cutting blade, and finishing station to avoid cumulative shifts.
Section 2: The Impact of Manufacturing Variances on Card Centering
Card printing misalignment often stems from minor variances that compound across processes.
Material Tolerances
- Thickness variation: a ±0.2 mm deviation in card stock thickness can shift the paper path and image placement by 0.3–0.5 mm.
- Stock quality: moisture content or curl in paper changes feed friction and alignment.
Equipment Calibration Errors
- Printhead offset: if the printhead is misaligned by 1 mm on the X or Y axis, borders shift and color layers register incorrectly.
- Paper-size settings: wrong media profile or scaling (e.g., 102% instead of 100%) produces overshoot or undershoot.
Wear and Tear
- Dusty rollers: debris builds up on rollers, creating intermittent slippage and lateral drift of 0.2–0.6 mm per page.
- Worn feed belts: stretched belts alter feed speed, causing skew or skewed feeding.
Section 3: Common Causes of Card Centering Problems
Misalignment issues often trace back to specific process steps.
Printer Misalignment
- Calibration procedure: use factory alignment chart to check X and Y axes.
- Micro-adjustments: adjust offsets in driver software (±5 µm increments) for precise border alignment.
Cutting and Creasing Errors
- Sheeter tolerance: blade positioning can vary by ±0.5 mm; mis-trimming the sheet makes a centered print appear off-center.
- Die-cut registration: the cutting die must align with the printed artwork; any lateral shift moves the crop line.
Section 4: Diagnosing and Troubleshooting Misalignment Issues
Follow this step-by-step guide to isolate and fix card printing misalignment issues.
- Inspect Card Stock
- Measure thickness with digital calipers.
- Check for warping, moisture curl, edge nicks, or surface damage.
- Verify Printer Settings
- Media profile: confirm card stock type and weight match the printer’s profile.
- Paper size: ensure scaling is set to 100%.
- Color management: disable any automatic scaling or color corrections.
- Check Feed Alignment
- Load sheets flush against the left guide rail.
- Run 5 blank passes; mark slip or shift after each pass.
- Examine Printer Components
- Clean rollers and printheads using manufacturer-approved kits.
- Inspect feed belts and guide rails for wear or damage.
- Print an Alignment Test Page
- Use OEM test template. Overlay printed frame to measure X/Y offset.
- Run Front/Back Registration Test
- Print a two-sided card with alignment marks on front and back. Measure border disparities to pinpoint flip or cut errors.
- Audit Repeatability
- Log results by batch, tray, and print mode. Compare centering ratios across runs to identify patterns.
Section 5: Best Practices for Preventing Misalignment
- Material Control: use ISO-compliant card stock (±0.1 mm thickness) and reject out-of-tolerance batches.
- Regular Maintenance & Calibration: weekly roller cleaning; monthly X/Y-axis calibration and printhead alignment.
- Standardized Setup Procedures: maintain a pre-run checklist including media profile, tray alignment, and test print approval.
- Ongoing Quality Control: sample testing every 100 prints, record centering ratios in an SPC chart.
- Employee Training: train operators on sheet loading, guide adjustment, and test result interpretation.
Conclusion
Controlling manufacturing variances is key to eliminating card printing misalignment issues, preserving both aesthetic quality and collectible value. Adopt the diagnostic steps and preventive best practices outlined here to achieve consistent card centering and flawless border alignment from the first card to the last.
FAQ
- Q: What tolerance levels should I aim for in card centering?
Most collectible card printers target a ±0.5 mm tolerance in both X and Y axes to meet grading standards. - Q: How often should I calibrate my printer?
Perform a full X/Y-axis calibration and printhead alignment at least monthly, with roller cleaning weekly. - Q: Can variations in card stock thickness really affect centering?
Yes—deviations as small as ±0.2 mm can shift the paper path enough to produce off-center prints.


