How to Build a Home Card Grading Setup: DIY Grading Lab for Cards & Self Grading Station Setup
Create a home card grading setup with our DIY guide for pre-grading cards efficiently. Save on fees and improve accuracy with a self grading station setup.
Estimated reading time: 15 minutes
Key Takeaways
- Understand what a home card grading setup is and why it matters.
- Learn benefits and risks of a DIY grading lab versus professional grading.
- Master essential tools: lighting, magnification, handling supplies.
- Plan an ergonomic workspace with intake, inspection, documentation, and storage zones.
- Follow best practices for inspection, handling, documentation, and maintenance.
Table of Contents
- What Is a Home Card Grading Setup?
- Why Consider a DIY Grading Lab for Cards?
- Risks vs. Benefits vs. Professional Grading
- Key Components of an Effective Setup
- Planning Your DIY Grading Lab for Cards
- Self Grading Station Setup Overview
- Best Practices for Home Card Grading
- Maintaining and Upgrading Your Home Card Grading Setup
- Conclusion
What Is a Home Card Grading Setup?
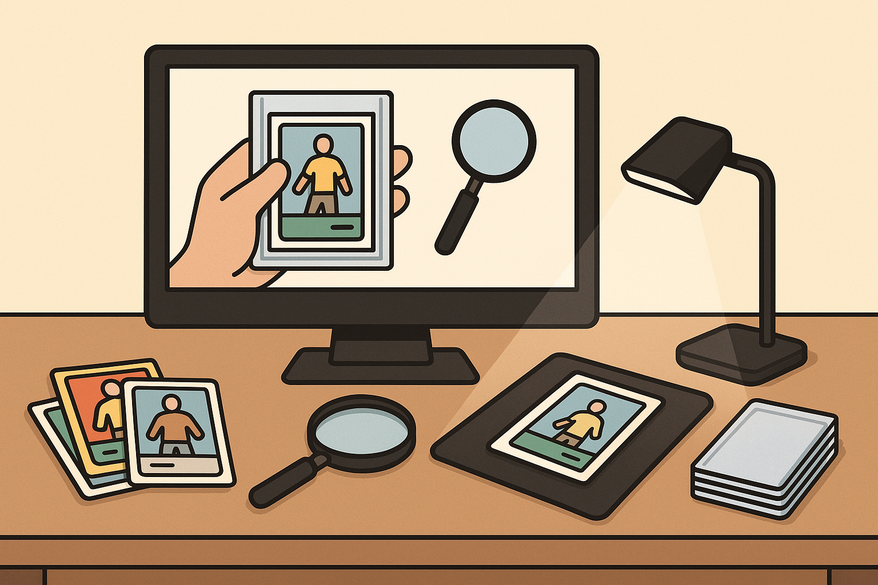
A home card grading setup is a dedicated workspace where collectors inspect, pre-grade, and document their cards before professional submission. It mirrors the tools and methods used by top graders, focusing on:
- Centering: Measuring border symmetry
- Corners: Checking for whitening, dings, and bends
- Edges: Spotting chips and frays
- Surface: Finding scratches, print lines, and stains
To learn manual centering measurement techniques, check out our step-by-step guide.
Why Consider a DIY Grading Lab for Cards?
- Pre-screen high-value cards to reduce wasted submission fees.
- Learn grading standards to improve buying and selling decisions.
- Gain control over cleaning, handling, and storing your collection.
Risks vs. Benefits vs. Professional Grading
- Benefits:
- Cost savings on grading fees
- Immediate feedback and faster decisions
- Spot counterfeit or altered cards early
- Risks:
- Self-grades aren’t market-recognized
- Potential over- or under-grading versus pro standards
- Limited authentication tools (no UV, ink analysis)
Conclusion: Use your home setup to decide which cards to submit to pros—enhance your eye, but don’t replace PSA, BGS, or CGC.
Key Components of an Effective Setup
- Lighting
- 5000–6500K neutral-white LEDs
- Adjustable desk lamp plus overhead light
- Magnification
- 10×–20× jeweler’s loupe or USB microscope
- Environment
- Dust-free, low-humidity area
- Stable, flat work surface
- Handling Tools
Planning Your DIY Grading Lab for Cards
Step 1: Select the Right Space
- Quiet room with desk or table
- Access to power outlets
- Good ventilation to limit dust
- Avoid direct sunlight and high-traffic areas
Step 2: Design Your Layout
- Intake Zone: Tray or stack for raw cards
- Inspection Zone: Under primary light with magnifier station
- Documentation Zone: Computer/tablet for logging and photos
- Storage Zone: Labeled boxes or binders for sorted cards
Step 3: Ergonomics & Safety
- Adjust chair and table height to avoid neck strain
- Keep liquids away from cards
- Secure sharp tools to prevent accidents
Step 4: Source Affordable Equipment
- Budget LED desk lamp with adjustable color temp
- 10× loupe, optional USB microscope
- Penny sleeves, holders, microfiber cloths
Self Grading Station Setup Overview
Arrange your workflow from left to right:
- Raw Cards
- Inspection
- Documentation
- Storage
Center on a clean mat under the lamp and keep tools within arm’s reach. For photography, use a small lightbox or phone stand for consistent shots.
Essential Tools & Supplies
- Neutral-white LED desk lamp
- 10× loupe or USB microscope
- Microfiber cloths, gloves, penny sleeves, holders
- Notebook or spreadsheet (fields: card name, set, serial no., defects, estimated grade, decision)
Workflow to Minimize Errors
- Intake & Identification: Log basic card info.
- Surface Inspection: Check front/back under varied angles.
- Corners & Edges: Use loupe to spot whitening, chips, or bends.
- Centering: Visual check per PSA guidelines; refine by learning how to tell an off-center card.
- Grade Assignment: Estimate PSA/BGS range and note defects.
- Decision & Storage: Categorize (Submit, PC, Sell as Raw) and sleeve accordingly.
Best Practices for Home Card Grading
Surface Inspection
- Use a clean, dust-free mat
- Move cards slowly under light to catch micro-scratches
Handling Techniques
- Hold by edges—avoid touching the face
- Wear gloves for high-value cards
- Never slide cards across hard surfaces
Documentation & Feedback Loop
- Log defects, estimated grades, and actual pro results to calibrate your eye
Maintaining and Upgrading Your Home Card Grading Setup
Regular Maintenance Tasks
- Wipe down work surface and tools after each session
- Clean lenses; replace scratched sleeves
- Monitor humidity and temperature
Measuring Improvement & Planning Upgrades
- Track estimated vs. actual grades with a grading guide
- Upgrade magnification, lighting, or photo gear as needed
Further Reading & Resources
Conclusion
By building your own home card grading setup, you’ll save on fees, speed up decisions, and sharpen your grading skills. A well-organized DIY grading lab and efficient self grading station create a repeatable workflow that keeps cards safe and assessments consistent. Start planning your space, gather the right tools, and follow these best practices. Once you’ve mastered manual checks, consider automated options like the Card Centering Tool to further streamline centering accuracy.
FAQ
What tools are essential for a home grading setup?
You’ll need neutral-white lighting (5000–6500K LEDs), a 10×–20× loupe or USB microscope, penny sleeves, semi-rigid holders, top loaders, microfiber cloths, and gloves. A stable, dust-free work surface and a good camera setup for documentation are also key.
Can self-grading replace professional grading?
Self-grading helps you pre-screen and learn standards, but it isn’t market-recognized. Use your home setup to decide which cards to submit for professional grading by PSA, BGS, or CGC.
How do I maintain and upgrade my grading station?
Regularly clean your surface and tools, replace scratched sleeves, and track your estimated vs. actual grades to spot errors. Upgrade lighting, magnification, or photo equipment as your skills evolve.


