Homemade Card Centering Methods: DIY vs. Professional Techniques for Better Grading
Discover homemade card centering methods versus professional techniques to improve grading accuracy. Learn whether DIY or pro methods suit your card grading needs.
Estimated reading time: 10-minute read
Key Takeaways
- DIY centering methods are cost-effective and quick for spotting large mis-centering but lack the precision near grading thresholds.
- Professional imaging and AI workflows provide sub-millimeter accuracy and consistency, crucial for borderline PSA 10 submissions.
- Tools range from rulers, templates, and smartphone grids to calibrated scanners and AI-integrated platforms.
- Best practice: combine homemade screening with pro or AI tools for high-value or boundary cases to maximize grading value.
Table of Contents
- Introduction
- Understanding Card Centering
- Overview of Homemade Card Centering Methods
- Professional Card Centering Techniques
- Comparative Analysis – DIY vs. Professional Methods
- Tips for Optimal Card Centering
- Conclusion
- Additional Resources & Next Steps
- FAQ
Introduction
Card centering describes how evenly the printed image sits within a trading card's borders. Even tiny deviations—such as a 55/45 split versus 60/40—can drop a PSA 10 to a PSA 9, cutting thousands off a card's market value. To preview centering before submission, collectors rely on homemade card centering methods that range from simple rulers to smartphone apps. This guide compares DIY approaches with professional imaging and AI-driven workflows so you can choose the right method for each submission.
Sources:
Understanding Card Centering
What Is Card Centering?
- Expressed as percentage splits: Left%/Right% or Top%/Bottom%
- Measured by comparing border widths and converting to percentages
- Example: if left border (L)=2 mm and right border (R)=3 mm, Left%=100×2/(2+3)=40%, Right%=60%
For a comprehensive manual centering measurement guide, follow our step-by-step walkthrough.
Grading Thresholds
- PSA 10 front: ≥55/45; back: ≥75/25
- PSA 9 front: 60/40–65/35; back: ≥90/10
- BGS, SGC, and others use similar numeric cutoffs for subgrades
Compare thresholds in our centering tolerances comparison.
Common Mis-centering Issues
- Left-right off-center: unequal vertical borders
- Top-bottom off-center: image sits too high or low
- Skew/diagonal: card rotated, uneven corners
- Front/back mismatch: one side centered, the other not
Impact on Grade and Value
- Perfect corners and surface still yield PSA 8 if centering exceeds 70/30 worst-case
- At PSA 9–10, centering often decides the subgrade
- Even a 3–5% off-center shift can cost thousands on high-value cards
Sources:
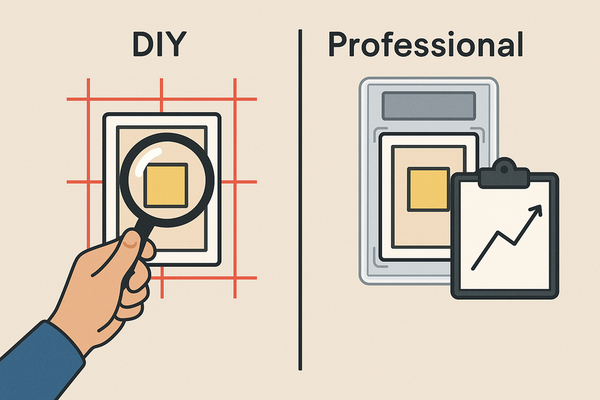
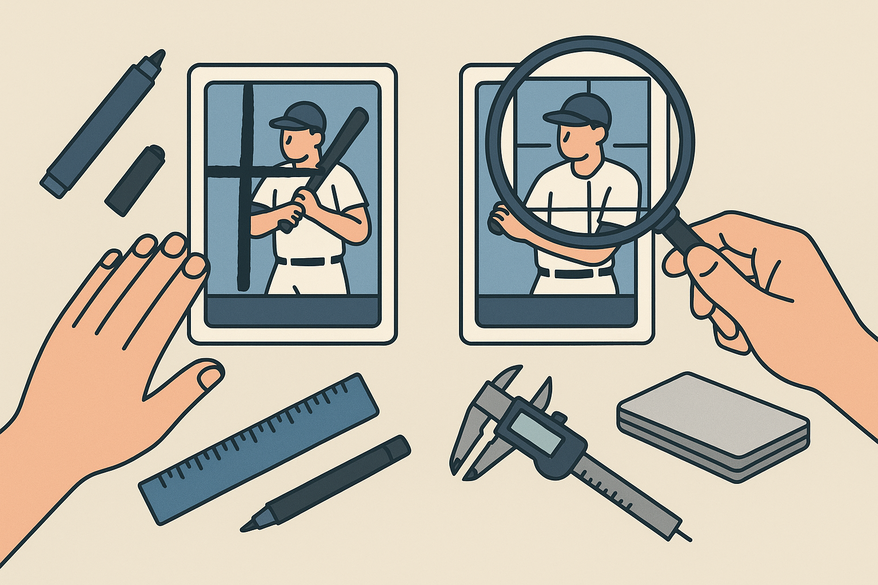
Overview of Homemade Card Centering Methods
Why Use Homemade Card Centering Methods?
- Budget-friendly way to screen obvious mis-centering
- Immediate feedback—no shipping delays or fees
- Effective for large splits (e.g., 80/20 or 75/25)
Technique A: Ruler or Caliper Method
Tools: millimeter ruler or digital caliper, magnifying loupe
- Measure left and right borders at both top and bottom edges.
- Use the largest disparity for percentage calculations.
- Compute:
- Left% = 100×L/(L+R)
- Right% = 100×R/(L+R)
- Repeat for top and bottom.
- Compare worst-case split to grading thresholds.
Technique B: Overlay Grids & Printed Templates
Tools: transparent grid overlay or printable jig (available on Etsy)
- Place the grid over the card in a sleeve or top-loader.
- Align card edges with outer borders.
- Visually inspect whether the image sits within a single grid box.
Technique C: Phone Camera with Grid Overlays
Tools: smartphone, built-in camera grid or centering app
- Set up diffuse lighting on a flat surface.
- Hold the camera directly above, aligning grid lines with card edges.
- Check how the printed image aligns within the grid.
Limitation: slight tilt or lens distortion can skew results.
Technique D: Folded-Paper Centering Template
Tools: copy paper cut to card dimensions
- Fold paper in half both horizontally and vertically; crease.
- Unfold to reveal centerlines.
- Align folds to card edges to gauge image center.
Technique E: Homemade Corner/Angle Guides
Tools: DIY 90° corner templates
- Insert card into corner guides so edges butt against the right angle.
- Check whether the image is equidistant from each guide edge.
Advantages of Homemade Methods
- Almost zero cost beyond common supplies
- Instant at-home checks
- Quick rejection of obviously mis-centered cards
Limitations
- Human error: eye strain can misread 55/45 vs. 60/40
- Alignment issues: camera or card tilt skews measurements
- Calibration: homemade templates lack professional verification
- Decorative frames can mislead border measurements
Sources:
- CenterGrade’s How-To Page
- Collector Forums Guide to Centering
- YouTube tutorial
- Folded-Paper Center-Finding Tip
- Etsy card centering jig examples
Professional Card Centering Techniques
Professional Workflow Overview
- High-resolution imaging under controlled diffuse light
- Automated edge detection with image-processing software
- Calibrated scanners/cameras to minimize optical distortion
Software and AI Methods
- TAG Grading uses AI for frame and border detection
- CenterGrade tool lets collectors upload photos for centering percentages
- Algorithms locate edges and compute splits within 0.1 mm precision
Learn more in our AI card centering technology guide.
Calibrated Hardware
- Industrial flatbed or overhead scanners
- Fixed mounts maintain perfect square alignment
- Built-in calibration cards in scan beds for accuracy checks
Database and Subgrade Rules
- Centering data stored per card in grading-house systems
- Automated cutoffs enforce strict subgrade limits
- Rules remove grader subjectivity for consistent results
Advantages of Professional Methods
- Consistent results every time
- Precision to fractions of a percent
- High-throughput batch processing
- Third-party validation for buyer confidence
Source:
Comparative Analysis – DIY vs. Professional Methods
Accuracy
- DIY: reliable for deviations >10%
- Pro: precise within fractions of a percent
Cost
- DIY: under $10 for basic tools
- Pro: grading fees ($20+ per card) or subscriptions ($100+/year)
Time
- DIY: manual measurements take minutes per card
- Pro: instant imaging or upload with batch processing
Consistency
- DIY: varies by user skill and setup
- Pro: standardized hardware and software workflows
Use-Case Scenarios
- Clearly mis-centered (80/20): DIY sufficient for rejection
- Borderline modern cards (55/45 vs. 60/40): pro AI needed
- Bulk mid-value lots: DIY to prescreen, pro for final shortlist
Use homemade card centering methods for everyday cards and initial sorting; invest in pro centering for high-value or boundary cases to maximize ROI.
Source:
Tips for Optimal Card Centering
DIY Best Practices
- Use bright, diffuse light on a flat, level surface
- Take multiple measurements; use the worst reading
- Combine ruler calculations with a transparent grid
- Employ a 10× magnifying loupe for fine border detection
- Practice on known graded slabs to calibrate your eye
When to Invest in Professional Tools
- High-value card submissions that need top grades
- Cards frequently near grading thresholds
- Desire objective data before sending to graders
AI Tools as a Middle Ground
- Third-party online platforms deliver near-pro accuracy
- Moderate cost with no need to ship cards
- Results often match professional centering subgrades
Common Pitfalls (Both DIY & Pro)
- Measuring through sleeves or top-loaders distorts lines
- Camera tilt ruins grid alignment—always square up
- Art frame irregularities mislead edge detection
- Purely eyeballing invites bias and misses small shifts
Sources:
Conclusion
Homemade card centering methods excel at catching gross mis-centering (<70/30) and save time and money on bulk lots. Professional imaging and AI deliver the precision needed for borderline PSA 10 and high-value vintage cards. Best practice: screen with DIY and validate borderline or expensive cards with pro or AI tools.
Additional Resources & Next Steps
- Collector Forums Guide to Centering
- CenterGrade’s How-To Page
- Master Sports Card Centering Techniques tutorial
- Folded-Paper Center-Finding Tip
- Etsy Card Centering Jig Examples
Next Steps:
- Try each DIY method on raw cards and compare against graded splits.
- Share your setups and outcomes in the comments.
- Test an AI centering tool on high-value cards to compare results.
Your feedback helps the community refine and validate these methods—let us know your favorite tools!
FAQ
What is card centering and why does it matter?
Card centering measures how evenly the printed image sits between a card’s borders. Substantial deviations can lower a card’s grade and market value—sometimes by thousands of dollars.
Are homemade centering methods accurate?
They are effective for spotting large mis-centering but lack the precision needed near grading thresholds. Human error and alignment issues can introduce a few percentage points of inaccuracy.
When should I switch from DIY to professional methods?
Use DIY techniques for everyday cards and obvious rejects. Switch to professional imaging or AI-driven tools when submitting high-value or borderline cards where small percentage differences determine top grades.
Which tools do professionals use?
Grading houses use high-resolution scanners or cameras, calibrated mounts, and AI software that detects edges and computes centering within 0.1 mm precision for consistent subgrades.
Can I use phone apps for centering?
Yes, some smartphone apps offer grid overlays and basic AI algorithms. They are more accurate than ruler-only methods and offer a middle ground without the cost of professional services.