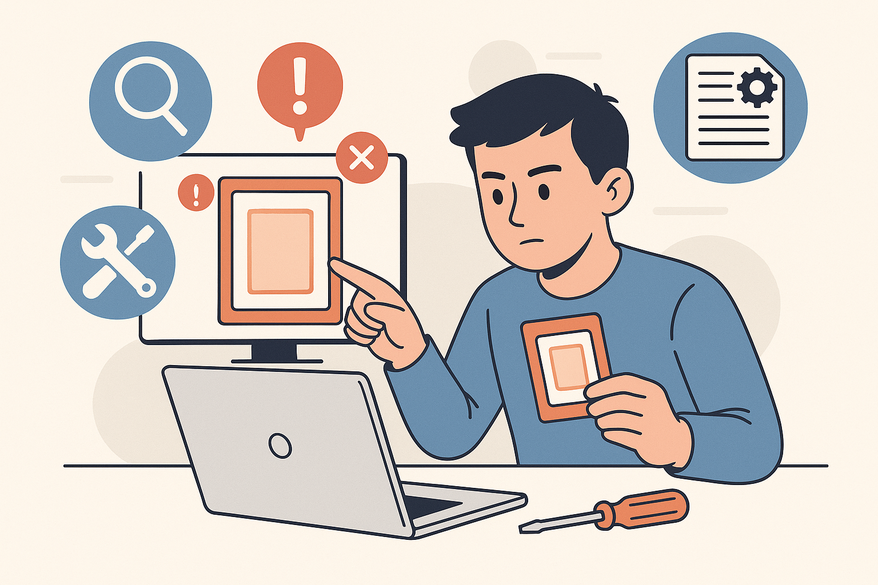
How to Fix Card Centering Tool Errors: Complete Troubleshooting Guide
Learn to fix card centering tool errors with our comprehensive guide. Follow step-by-step troubleshooting, advanced fixes, and maintenance tips to ensure accurate grading.
Estimated reading time: 8 minutes
Key Takeaways
- Identify and resolve both physical and digital tool issues.
- Standardize alignment, calibration, and measurement procedures.
- Utilize control cards and manual checks to isolate errors.
- Apply advanced fixes like software updates and pixel measurements.
- Follow preventative best practices for consistent accuracy.
Table of Contents
- Section 1: Overview of Common Issues
- Section 2: Step-by-Step Troubleshooting
- Section 3: Resolving Specific Common Errors
- Section 4: Advanced Fixes and Preventative Measures
- Section 5: Tools, Resources, and Quick-Reference Checklist
- Conclusion
- FAQ
Section 1: Overview of Common Issues (fix card centering tool errors)
Understanding what counts as an “error” is the first step to fixing card centering tool errors. Errors can arise in both physical tools and digital apps when alignment, calibration, or interpretation fails.
Physical Tool Issues
- Misalignment under the overlay, causing skewed readings
- Cloudy, scratched, or warped acrylic blocking measurement lines
- User misreading 55/45 vs 60/40 guides
Digital Tool Issues
- “Image size not supported” or “Invalid resolution” errors
- Calibration prompts like “Scale not set” or “Cannot detect card edges”
- Outdated app or driver incompatibility
For detailed digital troubleshooting tactics, see card centering app troubleshooting guide.
Section 2: Step-by-Step Troubleshooting (fix card centering tool errors)
A systematic approach helps diagnose and resolve every potential error. Follow these steps to pinpoint the root cause and restore accurate centering readings.
Step 1: Confirm Basic Tool Setup
Physical:
- Remove protective film so overlays are clear.
- Clean the tool with a microfiber cloth.
- Place card on a flat, stable surface in bright, even light.
Digital:
- Select the correct card template (standard 2.5"×3.5").
- Set DPI to 300 and ensure the image is upright.
- Confirm scaling matches actual card dimensions.
For step-by-step measurement procedures, see how to measure card centering guide.
Step 2: Check Alignment
- Bordered Cards: Align overlay edges with card borders; ensure no rotation. Borders must run parallel to tool’s measurement lines.
- Borderless Cards: Choose consistent internal reference points like logos or text boxes. Use the same design elements each time to avoid shifting readings.
Note: If slight nudges change readings, alignment is the issue.
Step 3: Read the Scale Correctly
Physical:
- At intersections of borders and scale lines, note the counts (e.g., 3/2).
- Map counts to percentages: narrow side over wide side (e.g., 3/2 → 60/40).
- Verify you’re using the correct row/column on the printed chart.
Step 4: Test with Control Cards
- Use an off-center control card; expect a strong ratio (e.g., 70/30).
- Use a perfectly centered control card; expect near 50/50 readings.
- If control readings are erratic, defect lies in tool or setup.
Step 5: Inspect Tool and Hardware
Physical:
- Check for warping: lay tool flat and see if it rocks.
- Look for scratches over measurement lines; clean again if needed.
Digital:
- Clean scanner glass or camera lens.
- Test a different imaging device.
- Disable auto-resize in scanning software.
Step 6: Cross-Verify Manually
- Measure left/right borders with a digital caliper or ruler.
- Calculate percentage = (side ÷ total width) × 100.
- Compare manual result to tool reading to isolate errors.
Section 3: Resolving Specific Common Errors (fix card centering tool errors)
Once you’ve diagnosed the type of error, apply targeted fixes:
- Inconsistent Readings: Standardize card orientation and reference points. Mark placement on your mat to ensure repeatable positioning.
- Misleading 60/40 Ratios: Re-align overlay; verify measuring top–bottom vs left–right. Confirm narrow side vs wide side interpretation.
- Overlay Lines Don’t Match: Ensure tool size matches card dimensions. For borderless cards, switch to internal design guides.
- Digital Calibration Errors: Run calibration wizard in your app. Disable auto-resize; re-import images at full resolution.
- Cloudy Physical Tool: Remove any remaining film; clean thoroughly. Replace tool if scratches or warping persist.
To learn more about spotting and preventing centering mistakes, check out spotting and preventing centering mistakes.
Section 4: Advanced Fixes and Preventative Measures (fix card centering tool errors)
Advanced Fixes
- Reinstall or reset digital centering software; update to the latest version.
- Update scanner or camera drivers and firmware.
- Use image-analysis software to measure pixel distances for cross-validation.
- Replace damaged acrylic tools; opt for high-contrast printed grids.
Preventative Best Practices
- Standardize your workflow: card orientation, lighting, surface.
- Document reference points and keep example photos for each set.
- Store tools flat in protective sleeves; clean regularly.
- Learn grading tolerances (e.g., PSA 55/45, 60/40) and focus on those thresholds.
Section 5: Tools, Resources, and Quick-Reference Checklist (fix card centering tool errors)
Recommended Physical Tools
- PSA-style acrylic overlays with printed ratio charts.
- Legends-style centering tools with built-in measurement guides.
Digital Aids
- Image editors with pixel-measuring capabilities.
- Scanner software supporting precise scaling and calibration.
Maintenance Supplies
- Microfiber cloths, non-abrasive cleaners, air blowers.
- Non-reflective mat for consistent placement.
Communities and Forums
- PSA/BGS/CGC grading subforums for set-specific centering tips.
- Manufacturer support pages for proprietary software.
Quick-Reference Checklist
- Remove film & clean tool.
- Verify template & DPI.
- Align card & overlay.
- Select consistent reference points.
- Read ratios correctly; map to percentages.
- Cross-check with manual measurements.
- Test control cards.
- Recalibrate/reinstall software or replace tools.
- Update drivers and re-verify calibration.
Conclusion (fix card centering tool errors)
Proper setup and alignment, accurate interpretation of centering ratios, and ongoing maintenance plus calibration are the three pillars to reliably fix card centering tool errors. By following this complete troubleshooting guide, you’ll minimize misreads, avoid wasted grading fees, and confidently submit your cards for their highest potential grade. Bookmark the quick-reference checklist and explore the linked resources above for further support.
FAQ
- Q: What causes card centering tool errors?
A: Errors can stem from misalignment, scratched overlays, digital calibration faults, or incorrect scale readings. - Q: How often should I calibrate my digital tool?
A: Recalibrate whenever you update software, change imaging devices, or notice inconsistent readings—at least monthly for heavy users. - Q: Can I use my smartphone camera for centering?
A: Yes, if you disable auto-resize, set proper DPI, and use even lighting. For best results, cross-verify with a scanner. - Q: How do control cards help troubleshoot?
A: Control cards with known centering ratios reveal whether errors are tool-related or card-specific by comparing expected vs actual readings. - Q: What’s the best way to maintain physical overlays?
A: Store flat in protective sleeves, clean with microfiber cloths, and replace if acrylic warps or scratches persist.


