How to Avoid Wasted Submission Fees Through Improved Centering
Learn to avoid wasted submission fees by improving centering techniques and aligning with evaluator requirements for successful submissions without extra costs.

Estimated reading time: 10 minutes
Key Takeaways
- Wasted submission fees arise from preventable technical issues and misalignment.
- Improved centering covers visual layout, conceptual alignment, and process sequencing.
- Use templates and tools like Word, Google Docs, LaTeX, or Card Centering Tool to lock in correct formatting.
- Follow a step-by-step pre-submission checklist to catch errors before you submit.
- Implement systematic checks to avoid resubmission cycles and extra fees.
Table of Contents
- Introduction
- 1. Understanding Submission Fees
- 2. When Submission Fees Become Wasted
- 3. The Impact of Poor Centering
- 4. Strategies to Improve Centering
- 5. Best Practices and Case Studies
- 6. Step-by-Step Guide
- Conclusion and Key Takeaways
- Additional Resources
- FAQ
Introduction
Wasted submission fees are charges you pay to submit an assignment, project, application, or manuscript that bring no usable result because of preventable technical issues. These fees happen when a submission is rejected or unusable due to misalignment, misformatting, or “off-center” content. Avoid wasted submission fees by aligning your work with system or evaluator expectations early. (Source: Definition of wasted submission fees)
Paying a fee only to face a rejection is a real worry. You lose money and time. You may face delays, extra costs, or grading penalties when you must resubmit. Avoid wasted submission fees by fixing simple centering errors before you click “submit.” (Source: Impact of misalignment)
Improved centering means aligning content, formatting, and process with evaluator or system requirements. It cuts down on re-submissions, extra fees, and late penalties. In this guide, you will learn how to avoid wasted submission fees through better centering at every step. (Source: Guide to improved centering)
1. Understanding Submission Fees
Submission fees are charges you pay to send work for evaluation, processing, or publication. They vary by context:
- Academic contexts
- Online grading platform fees
- Thesis or project submission charges
- Professional/Administrative contexts
- Application processing fees for licenses or grants
- Tender or bid submission fees
- Creative/Publishing contexts
- Journal or conference abstract submission fees
- Literary contest entry fees
These fees are usually non-refundable. When a submission fails for preventable reasons—wrong format, missing pages, or misaligned content—the fee is wasted. Knowing what submission fees cover helps you plan how to avoid wasted submission fees. (Source: Submission types)
2. When Submission Fees Become Wasted
Submission fees become wasted when your work is rejected for technical mistakes you could fix in advance:
- Wrong file format – a .pages file instead of a .pdf
- Incorrect margins or page size – breaks auto-grading or scanning
- Missing sections, signatures, or attachments – system flags an incomplete file
- Misplaced content – evaluators penalize when they can’t find required info
Better centering prevents most of these rejections. By placing text and images exactly where the system or evaluator expects, you cut out the need for resubmission and extra fees. Avoid wasted submission fees by spotting these common triggers before you hit submit. (Source: Submission types)
3. The Impact of Poor Centering
Centering has three dimensions:
- Visual centering
- Layout, margins, spacing, and consistent headings
- Conceptual centering
- Strict alignment with prompts, rubrics, or calls for submissions
- Process centering
- Correct order and sequencing of submission steps
When centering is off, you face:
- Technical failures
- Auto-grading tools misread off-center text
- Scanners reject cover pages or barcodes placed outside the expected box
- Evaluator confusion
- Non-standard structure forces graders to hunt for info
- Improper headings or missing sections lower your score or trigger rejections
- Resubmission cycles
- Each re-upload may carry a fee or late penalty
- Extra cost and lost time add up quickly
By understanding these three dimensions, you see how misalignment drives up your total cost. Avoid wasted submission fees by fixing centering errors in all three areas. (Source: Centering dimensions)
4. Strategies to Improve Centering
4.1 Proper Formatting and Layout Techniques
- Follow the official template exactly; never alter margins or font sizes unless told.
- Use standard page setup: correct paper size (A4 or US Letter), 1-inch margins, requested font and size.
- Center titles, ID numbers, and cover page details in the instructed spots.
- Lock large images, tables, and charts within margins; convert to PDF to preserve layout.
4.2 Leveraging Tools and Software for Alignment
- Word Processors
- Built-in alignment, gridlines, rulers, and styles keep everything centered.
- Use the Create a Template feature to reuse correct margins and headers. (Microsoft Office support)
- Google Docs
- Use preset styles for headings, titles, and body text.
- Rulers and alignment guides ensure even spacing. (Google Docs help)
- Design/Layout Tools
- LaTeX, InDesign, or Canva enforce templates for theses, posters, or portfolios.
- PDF Tools
- “Print to PDF” or “Export as PDF” locks in your layout.
- Preview on multiple devices to catch shift errors.
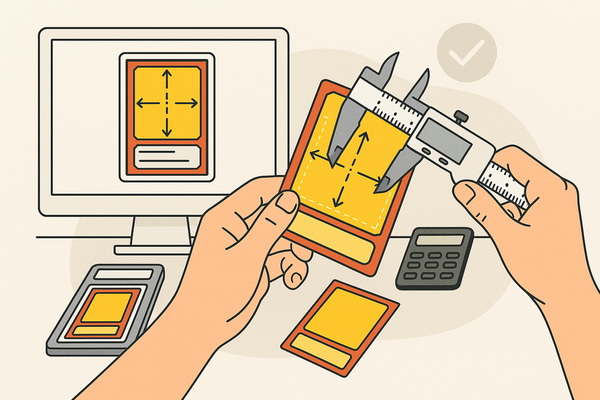
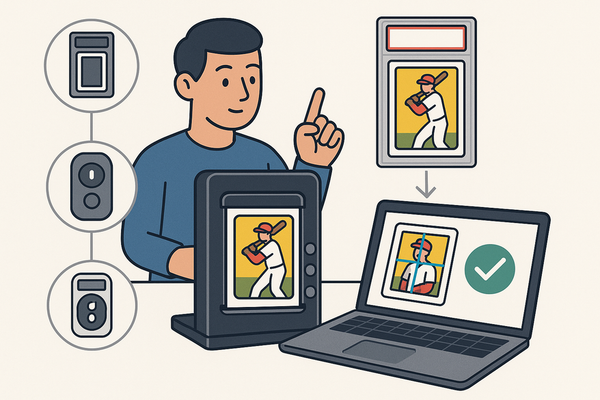
- Card Centering Tools
- If you’re submitting trading cards, specialized apps like Card Centering Tool automatically measure your card’s centering to sub-millimeter accuracy and flag if it meets PSA, BGS, or CGC tolerances for top grades.
4.3 Best Practices for Pre-Submission Checks
- Line-by-line comparison with guidelines: confirm file type, page limits, margins, headings.
- Visual inspection: zoom out or print a sample page to check placement.
- Device testing: open on multiple viewers; upload a draft if the platform allows.
- Keep a reusable pre-submission checklist to track all items.
Sources: US Air Force style guide, Microsoft Office template guide, Google Docs styles guide
5. Best Practices and Case Studies
Case Study 1: University Auto-Grading Platform
A university platform reads student-ID fields from PDF answer sheets. Many students typed IDs outside the box. The scanner rejected those files and charged resubmission fees. The IT department released a locked template and a simple centering guide. Invalid submissions dropped by 90%, cutting student fees for re-uploads. (Source: Academic case study)
Case Study 2: Professional Certification Portfolios
A certification board requires portfolios in a strict structure. Candidates often misordered sections or used wrong margins. The board published annotated samples and a pre-check portal. Non-compliance rates fell by half, and wasted submission fees dropped accordingly. (Source: Certification case study)
“Guideline adherence is non-negotiable. Standardized templates guard against formatting rejections. Peer or mentor pre-submission review adds one last layer of centering checks.”
6. Step-by-Step Guide
- Read and Extract Requirements
- Copy guidelines into your own notes.
- Highlight file type, page limits, margins, and centered elements.
- Checkpoint: Can you restate requirements in your own words?
- Select/Create the Correct Template
- Use official templates or build one with correct settings.
- Checkpoint: Does your template match formatting instructions?
- Draft Content Within the Structure
- Insert headings and sections in the required order.
- Checkpoint: Does your document skeleton mirror the rubric?
- Center Visual Elements
- Use alignment tools for titles, tables, and images.
- Check that ID fields, barcodes, and key text are in exact positions.
- Checkpoint: Do key elements appear evenly placed when zoomed out?
- Convert to PDF and Test
- Export as PDF if allowed.
- Open on another device or upload a draft.
- Checkpoint: Does your file look identical across viewers?
- Final Guideline-by-Guideline Check
- Match every file attribute—sections, centering, format—to the instructions.
- Checkpoint: Can you tick off each guideline item?
- Submit Early and Save Proof
- Submit before the deadline.
- Save confirmation emails or screenshots.
- Checkpoint: Do you have proof of successful submission?
Conclusion and Key Takeaways
Wasted submission fees result from preventable misalignment or poor centering. Centering covers formatting, structure, and process. Poor centering leads to technical failures, evaluator confusion, and resubmissions that cost extra fees and time.
Improved centering—through exact templates, alignment tools, and systematic checks—minimizes these issues. Use the step-by-step guide above to align your submissions from start to finish. Implement these strategies to avoid wasted submission fees and make every paid submission count.
Additional Resources
- US Air Force “Tongue and Quill” guide
- Microsoft Office: Create and use templates
- Google Docs: Set up and use styles
- Submittable Discover feature
- University writing center formatting checklists – search “[Your University] writing center formatting checklist”
- Professional certification board candidate handbooks and sample templates
FAQ
- Q: What counts as a wasted submission fee?
A: A fee is wasted when a submission is rejected for preventable errors like misformatting or off-center content. - Q: How can I check centering before submission?
A: Use alignment guides, rulers, and test on multiple devices or upload a draft if possible. - Q: Are submission fees refundable?
A: Generally not. That’s why pre-submission checks are crucial to avoid avoidable losses. - Q: What tools help with centering?
A: Word and Google Docs have built-in alignment tools; design software like InDesign or Canva; and specialized apps like Card Centering Tool for trading cards. - Q: Can templates really prevent rejections?
A: Templates enforce correct margins, headings, and layouts, which significantly reduce formatting errors.