Card Centering Analyzer Tutorial: Measure and Improve Your Card Centering
Learn how to use card centering analyzers to measure and optimize your card centering for better grading results with our step-by-step tutorial.

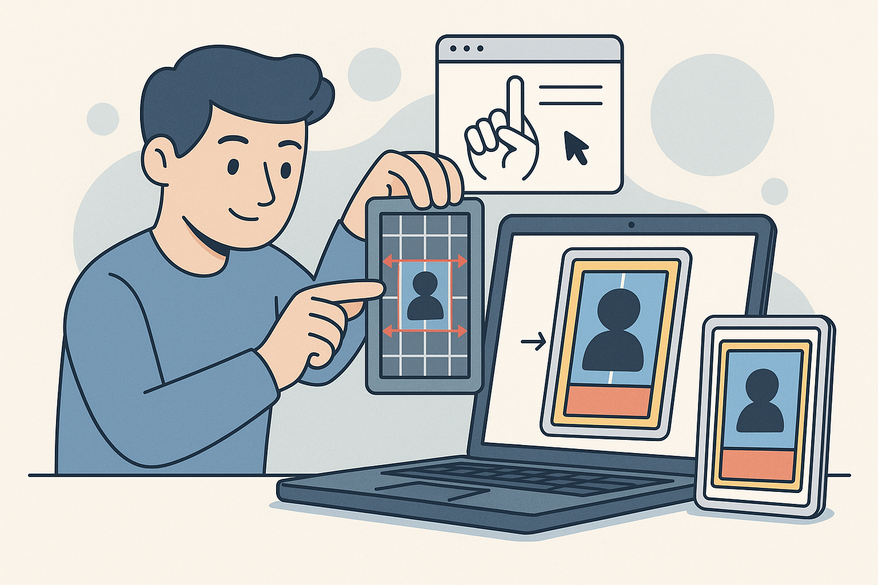
Estimated reading time: 8 minutes
Key Takeaways
- Understand the essentials: Learn what a card centering analyzer is and how it mimics professional grading measurements.
- Seamless setup: Install and configure mobile and web-based tools in minutes.
- Step-by-step workflow: Master image capture, auto-detection, manual fine-tuning, and ratio interpretation.
- Advanced insights: Explore combined verdicts, grade-comparison matrices, AI-assisted checks, and visualization guides.
- Practical use cases & troubleshooting: Real-world examples and fixes for border detection, inconsistent readings, and more.
Table of Contents
- Introduction
- What is a Card Centering Analyzer?
- Getting Started: Setup and Installation
- Detailed Step-by-Step Tutorial
- Advanced Features and Best Practices
- Real-Life Use Cases and Examples
- Troubleshooting and FAQs
- Conclusion and Additional Resources
Introduction
Centering is the measurement of border ratios—left versus right and top versus bottom—on a trading or sports card. It’s one of the most critical factors that separates a gem-mint grade from a lower grade. A perfectly centered card (50/50, 50/50) can earn PSA 10, BGS 10, or CGC 10, while an off-center card (60/40 or worse) can cap your grade at PSA 9 or below.
Modern card centering analyzer tools—both web tools and mobile apps—automate that measurement. They detect card borders, calculate centering ratios, and translate them into grading-style scores aligned with major grading companies. These digital solutions let collectors pre-screen cards before submitting them to PSA, BGS, CGC, SGC, TAG, ACE, and others.
This card centering analyzer tutorial will walk you through:
- What a card centering analyzer is
- How to set up and install your analyzer
- Step-by-step basic operations and advanced features
- Real-world examples and troubleshooting tips
By the end, you’ll have the expertise to measure, interpret, and optimize your card centering like a pro.
For an all-in-one, sub-millimeter precise online solution that automates centering measurements and predicts grading outcomes, check out Card Centering Tool.
What is a Card Centering Analyzer?
A card centering analyzer is a digital measurement tool that shows how evenly the printed image sits within a trading card’s borders. It does in seconds what graders once did with rulers and magnifying lamps. For a deeper dive into manual centering and understanding ratios, see the step-by-step manual centering guide.
Core functions of a card centering analyzer:
- Automatic border detection from a photo or scan
- Calculation of left/right and top/bottom centering ratios (e.g., 50/50, 55/45, 60/40)
- Conversion of ratios into grading-style centering scores for PSA, BGS, CGC, SGC, TAG, and ACE
Benefits of using a card centering analyzer:
- Pre-screen raw cards before submission to grading companies
- Compare centering thresholds across PSA, BGS, CGC, SGC, TAG, ACE
- Quantify centering metrics for buying and selling decisions
While these tools simplify centering measurement, consistent results require proper setup, image capture, manual fine-tuning, and knowledge of grading tolerances. This card centering analyzer tutorial gives you a structured guide to master every feature.
Getting Started: Setup and Installation
Before you measure centering, ensure your hardware and software are ready.
System requirements & prerequisites:
- A modern smartphone or computer with a camera or photo-upload capability
- Stable internet connection for web-based tools
- Clear, top-down card images on a solid contrasting background (white or black)
- Light diffusers or soft lighting to avoid glare and shadows
Installation / Access:
Mobile Apps (Card Centering Calculator):
- Open the App Store (iOS) or Google Play (Android).
- Search for “Card Centering Calculator” or “card centering analyzer.”
- Tap Install / Get and launch the app.
Web-Based Tools (CardGrade.io, PriceCharting):
- Open your browser (Chrome, Safari, Edge).
- Navigate to CardGrade.io → Centring Tool or PriceCharting’s Centering Calculator.
- No download; use directly in the browser.
Initial configuration:
- Create an account if required (note free vs. paid tiers).
- Set measurement units (mm or pixels).
- Toggle front/back analysis.
- Choose default grading standards (PSA, BGS, etc.).
- Review photo guidelines: card flat, camera parallel, no sleeves.
Detailed Step-by-Step Tutorial
This section covers the core workflow in most analyzers: UI overview, basic operations, and calibrating settings.
1. User Interface Overview
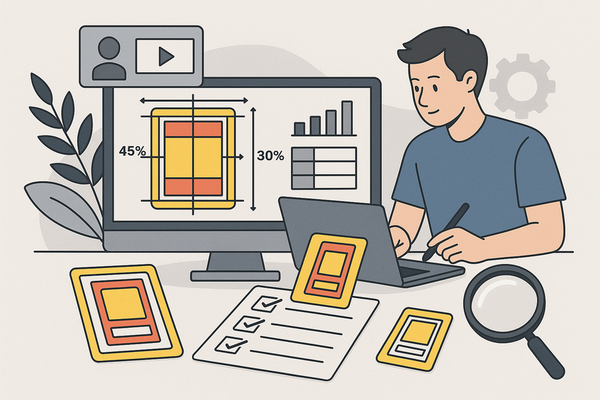
When you open a typical centering tool, you’ll see:
- Upload / Scan area: Buttons to import front and back photos or use your camera
- Card preview window: Displays the image with overlaid guide lines
- Draggable measurement bars: Adjust to match border edges precisely
- Results panel: Shows left/right and top/bottom ratios and predicted grades
- Tool controls: Zoom, pan, reset, toggle front/back, and unit settings
2. Performing Basic Operations
A. Capture or Upload Card Images
- Prepare card: Remove from holders, place on solid white or black background.
- Take photo: Top-down angle, fill frame with card plus slight margin, avoid shadows.
- Upload: Tap Upload front, choose your best shot. If supported, upload back.
B. Auto Detection & Manual Fine-Tuning
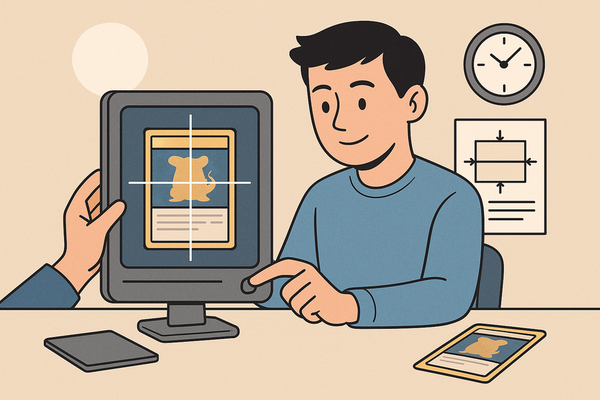
- Analyzer auto-detects borders and places guides.
- Drag guide lines to align with printed borders if detection is off.
- Use zoom controls to refine placement.
- Some tools flatten perspective, correcting angled shots automatically.
C. Reading Centering Measurements
Left/right centering: width of left border ÷ sum of left + right borders (e.g., 1.8 mm / 3.0 mm = 60/40). Top/bottom works similarly. The analyzer displays ratios and predicted centering grades. For a detailed centering tolerance comparison across major graders, see the PSA vs. BGS vs. CGC centering tolerances.
D. Calibrating Settings & Consistency Tips
- Maintain consistent camera distance and parallel framing for repeatable results.
- Switch background color if auto-detection struggles with certain card artwork.
- Take multiple shots and compare measurements for reliability.
Advanced Features and Best Practices
Once you’ve mastered basics, explore advanced options for optimal accuracy:
- Combined front & back verdict with “limiting side” indicator
- Grade-comparison matrix across PSA, BGS, SGC, CGC, TAG, ACE
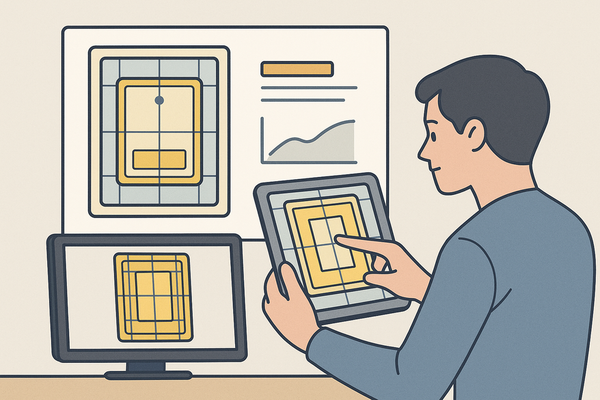
- Off-center visualization guide (simulate 65/35, 75/25 views)
- AI-assisted analysis checking corners, edges, surfaces alongside centering
Best practices:
- Shoot naked cards (no sleeves/slabbing) on a clean surface
- Use solid contrasting backgrounds (white or black)
- Ensure camera is directly above, parallel to card edges
- Eliminate glare and shadows with diffused lighting
- Manually fine-tune guides; don’t fully trust auto detection
Real-Life Use Cases and Examples
Example 1: Evaluating a PSA 10 candidate
- Front: 55/45 L/R, 50/50 T/B → within PSA 10 centering tolerance
- Back: 60/40 L/R, 55/45 T/B → borderline PSA 9 centering
- Decision: Submit, expecting PSA 9–10 based on limiting back side
Example 2: Sorting a Pokémon collection pre-grade
- Batch-upload 50 cards on CardGrade.io
- Flag cards worse than 40/60 and set them aside
- Allocate grading budget to 55/45+ cards only
Troubleshooting and FAQs
No tool is perfect. Here are common issues and fixes:
- Border detection errors – Use plain background, re-shoot top-down, improve lighting.
- Inconsistent results – Take multiple shots at same angle/distance; compare outputs.
- Discrepancy between eye and tool – Trust numeric ratios and use visualization guides to train your eye.
- Overall grade limited by back side – Always upload and measure both front and back.
Conclusion and Additional Resources
In this card centering analyzer tutorial, you learned:
- What a centering analyzer is and its core functions
- Setup and installation for web and mobile tools
- A detailed UI walkthrough, basic operations, and advanced features
- Real-world examples, troubleshooting tips, and FAQs
Continue practicing by analyzing different cards and refining your photography technique. As you gain experience, you’ll visualize off-center ratios with your eye and use the analyzer for final verification. Good luck and happy grading!
FAQ
- How do I fix border detection errors? Use a plain background, improve top-down lighting, and ensure the camera is parallel to the card.
- Why are my measurements inconsistent? Keep camera distance, angle, and lighting consistent; take multiple shots for comparison.
- What if the tool’s reading doesn’t match my visual inspection? Trust the numeric ratios and use visualization guides to train your eye.
- Do I need to measure both front and back? Yes—grading is limited by the most off-center side, so upload and analyze both.