Card Centering Analyzer Tutorial: Step-By-Step Guide for Grading Success
Learn how to use a card centering analyzer to optimize your card grading process and improve results with step-by-step instructions.

Estimated reading time: 10 minutes
Key Takeaways
- Measure centering accurately with AI-driven tools
- Optimize submissions to save fees and boost grades
- Follow a clear workflow: setup → scan → interpret
- Troubleshoot common detection issues
- Leverage advanced features for bulk and multi-aspect inspection
Table of Contents
- Section 1: What is the Card Centering Analyzer?
- Section 2: Step-By-Step Tutorial
- Section 3: Tips and Best Practices
- Section 4: Advanced Features and Use Cases
- Section 5: Conclusion and Next Steps
- FAQ
Section 1: What is the Card Centering Analyzer?
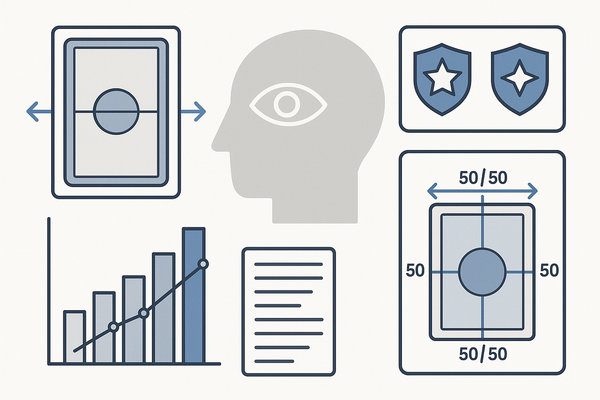
A card centering analyzer is a digital app, web tool, or physical overlay that measures border widths and computes front/back centering ratios. It acts as a centering tool or card centering calculator, giving you data-driven centering grades.
- Auto-detect borders via AI or image processing
- Calculate ratios (e.g., 55/45, 60/40)
- Map ratios to grading-company standards for an estimated max centering grade
Core physical functionality:
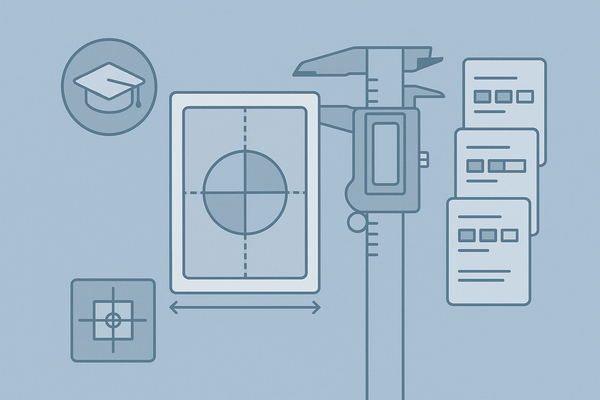
- Clear plastic overlay with printed scales
- Manual alignment yields percentages by reading border thickness
Applicable to Pokémon, Magic: The Gathering, sports cards, pre-grading preparation, and inventory management.
Section 2: Step-By-Step Tutorial
1. Setting Up the Card Centering Analyzer
Mobile app:
• Search “Card Centering Calculator” in the App Store or Google Play
• Grant camera/photo permissions
Online tool:
• Visit CardGrade’s free centering calculator (no sign-up needed)
Basic configuration:
• Use high image quality and a solid contrasting background
• Choose correct units (mm or px) and ratio display (e.g., 55/45)
• Ensure front & back support
For a faster, web-based option, try Card Centering Tool, a precision centering measurement web app that calculates left-to-right and top-to-bottom ratios on both front and back, then flags PSA, BGS, and CGC tolerances automatically.
2. Preparing Your Card for Analysis
- Place card on a solid white or black background
- Remove sleeves to avoid reflections and edge confusion
- Use even lighting to minimize shadows/glare
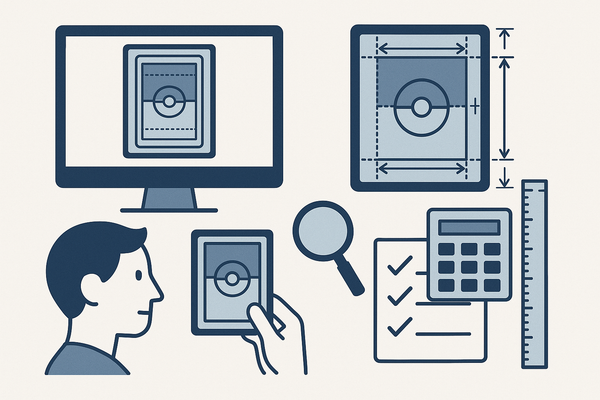
- Align camera directly overhead
3. Scanning or Uploading the Card
Mobile-app workflow:
• Open app, tap “Scan” or “Upload” front
• Auto-detect borders and compute ratios (55/45, 60/40)
• Repeat for back; view combined verdict
Browser-based workflow:
• Click “Upload front”; wait for auto-detection
• Click “Upload back”; view which side limits centering grade
• Use drag-and-adjust tools if detection errs
4. Reading and Interpreting Results
Displayed outputs:
- Numerical ratios (left/right, top/bottom)
- Color-coded grade estimates per company
- Max potential centering grade (PSA, BGS, CGC, SGC, TAG, ACE)
Decision criteria:
- Strong candidate (within thresholds)
- Marginal (rare cards vs. centering trade-off)
- Sell raw or keep ungraded
For PSA-specific centering requirements, see PSA 10 Centering Requirements, and to compare tolerances across graders, consult PSA vs BGS vs CGC: Centering Tolerances Compared.
5. Common Settings and Customizable Options
- Manual line adjustments for off-standard borders
- Zoom/loupe for precision measurement
- Company standard selection (PSA vs BGS vs CGC vs TAG)
- Front-only vs front-and-back mode: pros and cons
Section 3: Tips and Best Practices
- Always scan both sides before grading
- Standardize background, lighting, and angle
- Check centering before cleaning or sleeving
- Prioritize submissions based on centering results
Troubleshooting:
- Border detection issues: improve background, lighting, and angle; use manual adjustment
- Perspective distortion: ensure camera is overhead; enable auto-rectify
- Inconsistent results: maintain distance; use the same tool consistently
Section 4: Advanced Features and Use Cases
Explore advanced centering analysis and real-world applications to scale your grading prep:
- AI-powered multi-aspect inspection (centering, corners, edges, surface)
- Automatic perspective correction for bird’s-eye view
- Bulk batch analysis for large submissions
Section 5: Conclusion and Next Steps
Summarizing this card centering analyzer tutorial: setup → scan → interpret → submit smarter.
- Practice on low-value cards first
- Test multiple tools to find your preferred workflow
- Gradually adopt AI-driven full-card inspections
Leave comments with experiences, questions, and workflows, and share screenshots of challenging cards for community feedback.
FAQ
- Do I need to check both front and back?
- Yes. Grading companies gate on the worse side.
- What centering ratio is “good enough”?
- It varies by company; tools show max potential grades.
- Can I use phone photos?
- Yes, with a solid background, straight-on shot, and no sleeves.
- How is centering measured?
- Smaller border divided by total border yields a ratio like 60/40.
- Digital vs physical tools accuracy?
- AI-powered digital tools with manual fine-tuning are often more precise; overlays work for quick checks.
- What if auto-detection fails?
- Use manual adjustments or recapture with better lighting and alignment.
- Are these tools free?
- Many online calculators are free; apps may have paid features.
- Do analyzers evaluate beyond centering?
- Some AI-based systems inspect corners, edges, and surface for a comprehensive assessment.