Card Centering for Beginners: Essential Tips & Tools for Perfect Grading
Discover essential tips and tools for perfect card centering, a crucial skill for grading success. Learn how to master it for better buying, selling, and submissions.
Estimated reading time: 10 minutes
Key Takeaways
- Centering expressed as horizontal/vertical ratios (e.g., 55/45).
- PSA 10 requires front ≥ 55/45 and back ≥ 75/25; PSA 9 front ≈ 60/40.
- Use rulers, calipers, or centering calculator for precision.
- Consistent reference points and lighting are crucial; never alter cards.
- Mastering centering improves submission decisions, buying/selling, and grade predictions.
Table of Contents
- What Is Card Centering?
- Tools and Equipment Needed
- Step-by-Step Tips and Tricks
- Best Practices and Common Mistakes
- Enhancing Your Grading Process
- Additional Resources and Final Thoughts
- FAQ
What Is Card Centering?
Card centering describes how evenly your card’s printed image or inner border sits within its outer frame. Even flawless corners and surfaces can be capped by poor centering.
Defining the centering ratio
- Ratio = border split (%) across an axis.
- Perfect = 50/50; slight = 55/45; moderate = 60/40; extreme = 75/25.
Axes of centering
- Horizontal: left vs. right border.
- Vertical: top vs. bottom border.
- One axis can be perfect while the other is off-center.
Visual impact
- Symmetry appeals; off-center feels “off.”
- Well-centered cards earn “strong 10” premiums.
Grading thresholds
- PSA 10 front ≥ 55/45; back ≥ 75/25 (see PSA 10 centering requirements).
- PSA 9 front ≈ 60/40.
- BGS 9.5 front ≥ 55/45; back similar.
- Back centering counts less but can cap extreme cases.
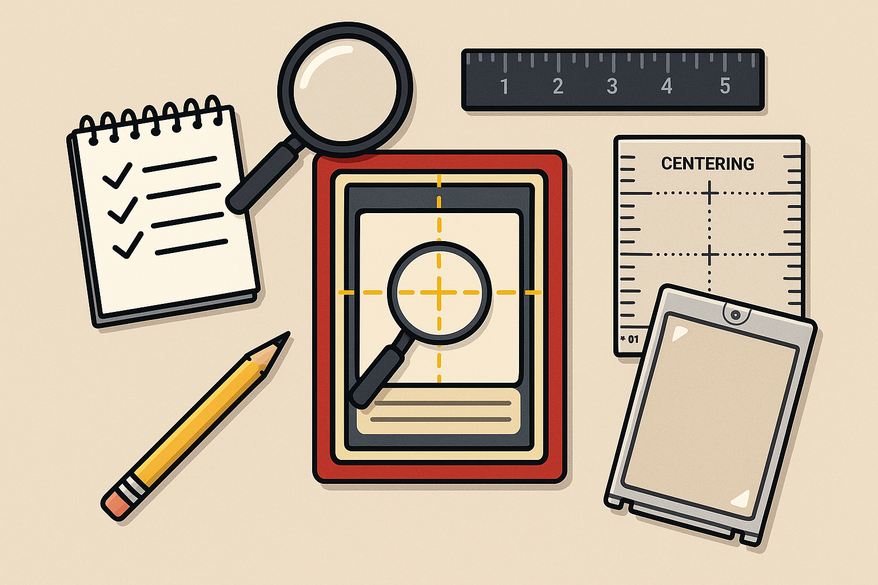
Tools and Equipment Needed
Essential budget tools
- Millimeter ruler ($5–10).
- Smartphone camera.
- Penny sleeve and clean mat.
- Desk lamp or DIY lightbox.
Precision upgrades
- Digital calipers (~$20).
- LED desk lamp or lightbox.
Digital aids
- CardGrader.ai Centering Calculator: upload photos, drag guides, get ratios.
- CenteringCheck.com: free online tool for various card types.
Step-by-Step Tips and Tricks for Beginners
Important: Measure and evaluate—do not alter cards.
Step 1 – Prep your workspace
- Wash hands or wear finger cots.
- Insert card into a penny sleeve.
- Place on a flat, dark mat under even light.
Step 2 – Choose reference points
- Pokémon: edge to inner colored border.
- Sports: edge to frame line or printed border.
- Consistency prevents errors.
Step 3 – Take measurements
- Horizontal: L = left edge to inner border; R = right edge to inner border.
- Vertical: T = top edge; B = bottom edge.
- Record L, R, T, B in millimeters.
Step 4 – Calculate ratios
- Horizontal total = L + R; Left% = (L÷total)×100; Right% = (R÷total)×100.
- Vertical total = T + B; Top% and Bottom% similarly.
- Round to nearest whole number; express as “larger/smaller.”
Step 5 – Compare to standards
- PSA 10 ≥ 55/45; PSA 9 ≥ 60/40; PSA 8 ≥ 70/30.
- BGS 9.5 ≥ 55/45; BGS 9 ≥ 60/40; back less strict.
Step 6 – Visual filter
- Train your eye on border thickness differences.
- Flip the card to inspect back centering.
- Use video tutorials for practice (search CSG/CGC centering).
Best Practices and Common Mistakes
Do’s
- Measure both axes separately.
- Prioritize front centering.
- Take straight-on, well-lit photos.
- Record measurements consistently.
- Cross-check borderline cases.
Don’ts
- Never trim or alter cards.
- Don’t ignore extreme back centering.
- Don’t rely solely on the naked eye for <5% differences.
- Don’t mix measurement points.
- Don’t confuse tilt with border issues.
Enhancing Your Grading Process
Benefits of centering mastery
- Save on grading fees by avoiding capped cards.
- Spot underpriced, well-centered raw cards.
- Predict grades by combining centering with surface and edges.
Troubleshooting imperfect centering
- Slight (57/43): likely OK for PSA 10/BGS 9.5.
- Moderate (63/37): caps around PSA 9; weigh costs vs. value.
- Severe (75/25+): caps at PSA 7 or below; submit only if still valuable.
- Check for diamond cut/tilt separately.
Additional Resources and Final Thoughts
Tools & guides
- CardGrader.ai Centering Calculator
- CenteringCheck.com
- Android: Card Centering Calculator on Google Play
- iOS: Card Centering Calculator on App Store
- Visual guide: Elite Fourum “A Visual Guide to Centering”
Final thought: Regular practice and tool use develop your eye for even minor centering flaws, boosting confidence and returns.
FAQ
What is considered good centering?
A ratio of 55/45 or better on both axes is generally strong for PSA 10 submissions.
How can I measure centering accurately?
Use a millimeter ruler or digital calipers under consistent lighting, then calculate ratios manually or with a centering calculator.
Does back centering affect the grade?
Back centering matters less but can still cap high grades if extreme (e.g., 90/10).


