Best Lighting for Trading Cards: How to Capture Glare-Free, Color-Accurate Photos
Discover the best lighting for trading cards. Learn pro tips for glare-free, color-accurate photos—ideal for grading, eBay, and social media.

Estimated reading time: 12 min
Key Takeaways
- The best lighting for trading cards uses diffused, daylight-balanced LEDs at 45-degree angles to minimize glare and show true colors.
- Proper lighting reveals centering, surface flaws, and enhances grading accuracy—vital for collectors and sellers.
- Background, card positioning, and avoiding reflections matter as much as the light source itself.
- Budget-friendly setups can yield high-quality, glare-free card photos with the right techniques and gear.
Finding the best lighting for trading cards is essential for capturing glare-free, color-accurate photos that showcase your collection’s true quality. Whether photographing Pokémon, Magic: The Gathering, sports cards, or any trading card game, the right lighting highlights centering, surface condition, and color accuracy—crucial factors for grading, selling, or digital analysis using tools like Midpoint. This guide covers how to set up the best lighting for trading cards, avoid common issues like glare and color distortion, and achieve professional results on any budget.
1. Why Lighting Matters for Trading Cards
Lighting affects more than brightness—it impacts clarity and color accuracy. Subtle details like centering lines, print dots, and micro-scratches can be missed under poor lighting. For grading and resale, even slight glare or color shifts can affect perceived grade and value.
Good lighting helps you:
- Spot centering errors and surface flaws before grading
- Capture true card colors for online sales or documentation
- Reduce glare on holo, foil, and slabbed cards
- Showcase crisp details buyers and graders look for
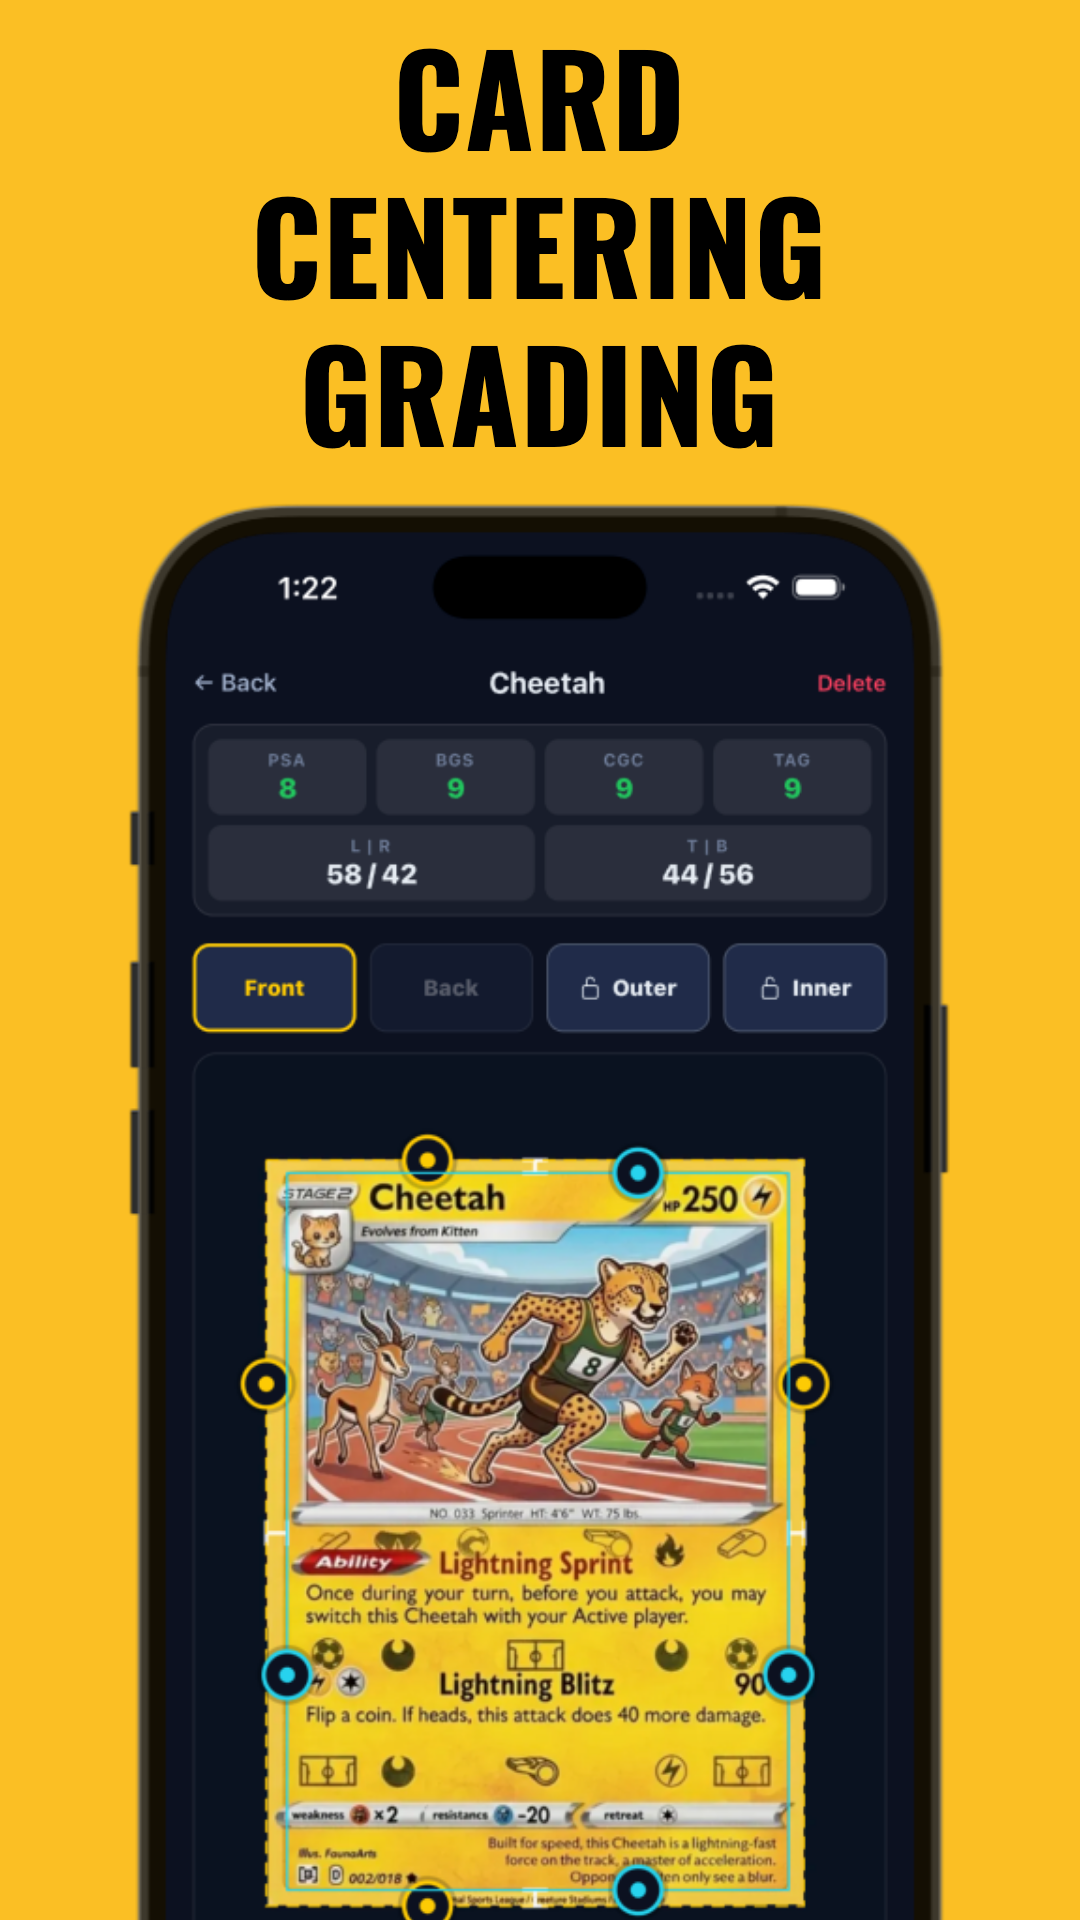
Using a digital centering tool like Midpoint works best with well-lit, glare-free photos—so lighting is key to accurate results.
2. The Best Overall Lighting Setup: Two 45-Degree Lights with Diffusers
The ideal lighting for trading cards is a two-light setup: daylight-balanced LEDs positioned at 45-degree angles from the card, each softened with a diffuser or softbox. This arrangement minimizes glare and shadows while evenly illuminating the card’s surface and edges, ensuring accurate centering lines and true colors.
- Place your card flat on a neutral background.
- Position one light at 45 degrees to the left and another at 45 degrees to the right, about 12–20 inches away.
- Use softboxes, umbrellas, or white fabric to diffuse harsh light.
This setup is favored by graders, sellers, and content creators because it produces clear centering lines and color-accurate images—perfect for Midpoint analysis or sharing in collector communities.
3. Natural Light vs. Artificial Light: When to Use Each
Natural daylight, especially from a north-facing window on an overcast day, offers soft, diffuse, color-accurate illumination. However, it can be inconsistent, with shadows or color casts varying by time and weather.
- Use natural light for soft, even illumination: place cards near a window with indirect sunlight, shooting mid-morning or late afternoon.
- Use artificial LEDs when you need consistent, controllable lighting: daylight-balanced (5000K–5500K) LED panels or ring lights are affordable and reliable.
For grading and portfolio documentation, artificial light is often preferred for repeatability and accuracy, especially when using digital grading tools or photographing many cards.
4. How to Avoid Glare on Holo, Foil, and Graded Cards
Holofoil, chrome, and slabbed cards reflect light easily, causing glare that obscures centering and surface details. To reduce glare:
- Set lights at 45-degree angles, slightly above the card surface.
- Move your camera off the direct reflection path—small adjustments can eliminate glare.
- Tilt slabbed cards a few degrees or raise one edge to break reflections.
- Use a polarizing filter on your camera or phone if glare persists.
Always take test shots and adjust as needed. For more on handling tricky surfaces, see this step-by-step pre-grading guide.
5. Recommended Color Temperature: 5000K–5500K (Daylight)
Color temperature affects how card colors appear in photos. For accurate, true-to-life images, use neutral white light between 5000K and 5500K, matching daylight conditions.
- Choose "daylight balanced" or "neutral white" bulbs or LEDs.
- Avoid warm (yellow/orange, <4000K) or cool (blue, >6500K) lights that distort colors and mislead buyers or graders.
- Set your camera’s white balance to "daylight" or manually to 5000K for best accuracy.
This is especially important for high-value cards or insurance documentation—see how card grade impacts insurance value for details.
6. Essential Lighting Gear for Card Photography
You don’t need a professional studio to get great results. Essential gear includes:
- LED panel lights (daylight-balanced, dimmable)
- Softboxes or diffusers (for even, shadow-free light)
- Ring lights (good for social media shots—use diffusion to avoid harsh reflections)
- Reflectors (white foam board or paper to bounce light and fill shadows)
- Polarizing filter (reduces glare on foils and slabs)
- Tripod or overhead mount (for steady, consistent shots and straight edges)
- Light box (optional, great for batch photos or close-ups of surface flaws)
A simple setup with two affordable LED panels and a tripod can produce professional-quality, glare-free card photos. For budget and pro options, see this detailed guide.
7. Card Positioning and Framing for Perfect Photos
Positioning matters as much as lighting for accurate, professional photos:
- Lay the card flat on a smooth, neutral background (white, gray, or black).
- Keep card edges parallel to the frame—use grid lines on your camera or phone for alignment.
- For slabbed cards, tilt slightly (2–5 degrees) to reduce reflections.
- Fill the frame so the card is prominent, leaving a small border for cropping and analysis.
Consistent positioning is crucial when using centering tools like Midpoint's free calculator, as misalignment can skew results.
8. Background and Environment: Keep Focus on the Card
A clean, neutral background prevents distractions and color distortion. Avoid busy patterns, colored surfaces, or glossy materials that reflect onto the card.
- Use white or gray paper, foam board, or matte desk surfaces.
- Avoid glass, shiny counters, or colored mats that introduce unwanted reflections or colors.
- Keep the area clutter-free—stray objects can distract buyers.
This is especially important for online sales where buyers scrutinize every detail. For more on maximizing card value, see how centering impacts card value and Card Values: How to Check, What Drives Value, and Pro Tips for Collectors.
9. Lighting for eBay, Social Media, and Grading
Different goals require tailored lighting:
- eBay listings: Bright, even light with minimal glare using the two 45-degree light setup for sharp, color-true images that stand out.
- Social media: Ring lights create eye-catching highlights; always use diffusers to avoid harsh reflections.
- Grading checks: Bright, diffused light plus a polarizer reveals flaws, centering, and surface defects for pre-grading.
- Close-ups: Small LED panels highlight surface texture—hold the card at a slight angle to catch imperfections.
Adjust your lighting to your specific use case. For grading and digital analysis, prioritize glare-free, color-accurate photos. For more on grading, see Card Grading: How It Works, What to Know, and When It's Worth It.
10. Budget-Friendly Lighting Setups and Tips
You don’t need expensive gear to get the best lighting for trading cards. Try this DIY setup:
- Use two desk lamps with daylight LED bulbs (5000K) covered with baking parchment or white fabric for diffusion.
- Place lamps 12–20 inches from the card at 45-degree angles for even light coverage.
- For natural light, shoot near a large window on cloudy days; use a white sheet as backdrop and a white book to bounce fill light and soften shadows.
Distance is key: too close causes hot spots; too far brings shadows. Adjust until you get even, shadow-free lighting. For more DIY tips, see how to pre-grade your card.
Conclusion
Mastering the best lighting for trading cards ensures sharper, truer photos that simplify grading, sales, and digital analysis. Whether using professional or DIY setups, consistent, glare-free, daylight-balanced lighting reveals every subtle detail. Pair your photos with tools like Midpoint to measure centering and estimate grades before submitting cards. With the right lighting, you’ll unlock the full value of your collection.
FAQ
Q: What is the best lighting setup for trading cards?
A: The best lighting for trading cards is two daylight-balanced LED lights at 45-degree angles with diffusers, placed 12–20 inches from the card. This setup minimizes glare and provides even, color-accurate illumination for grading, sales, and digital tools like Midpoint.
Q: How do I take glare-free photos of holo cards?
A: Use diffused lighting at 45-degree angles and adjust your camera position to avoid reflections. A polarizing filter can further reduce glare on holofoil and slabbed cards for clearer images.
Q: Is natural light better than LED lights for trading card photography?
A: Natural light (indirect daylight) can produce soft, color-accurate photos but is inconsistent. Daylight-balanced LEDs offer reliable, repeatable lighting and are often preferred for grading or digital centering analysis.
Q: What color temperature should I use for card photos?
A: Use 5000K–5500K (daylight white) lighting for the most accurate color reproduction. Avoid warm or cool lights that distort card colors and affect grading accuracy.
Q: How do I light graded card slabs without reflections?
A: Tilt the slab slightly, use diffused lights at 45-degree angles, and move your camera off-axis to break reflections. A polarizing filter also helps reduce glare on plastic cases for clear photos.
Q: Do I need a light box, or can I use a ring light for trading cards?
A: A light box provides consistent, shadow-free lighting ideal for batch photos or close-ups, while ring lights are good for social media shots but may cause circular reflections unless diffused properly.
Free to start
Try the Midpoint app
Grade any card from a photo, see its raw and graded values, track your collection’s worth over time, and get precise centering measurements. Download free on iOS and Android at cardcenteringtool.com.