How to Build DIY Grading Centering Solutions: A Step-by-Step Guide
Learn to build affordable, customizable DIY grading centering solutions for precise card centering checks, replicating professional methods and improving your collection.
Estimated reading time: 10 minutes
Key Takeaways
- Centering is a critical factor in card grading, affecting potential PSA, BGS, and CGC scores.
- DIY solutions offer cost savings, customization for different card sizes, and educational value.
- You can build simple overlays or jigs using acrylic, cardboard, or 3D-printed parts.
- Accurate use and maintenance ensure repeatable results and protect your cards.
- Alternative designs include magnetic sliders, digital grids, and professional-style frames.
Table of Contents
- Understanding the Basics of DIY grading centering solutions
- Benefits of DIY grading centering solutions vs. commercial tools
- Tools, Materials, and Resources
- Step-by-Step Guide to Building a Grading Centering Jig
- Alternative DIY Designs & Modifications
- Safety, Troubleshooting & Maintenance
- Conclusion
- FAQ
Understanding the Basics of DIY grading centering solutions
What is grading centering?
Grading centering describes how evenly the printed image sits within a card’s borders. Equal borders on all sides mean perfect centering, while one side thicker than the opposite indicates off-centering. Learn more in the centering guide.
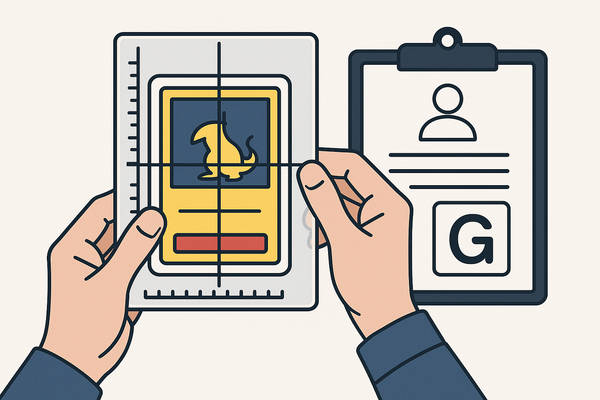
How professional graders measure centering
- Measure left vs. right margin and top vs. bottom margin, then reference a centering chart to assign a subgrade. Watch the centering measurement tutorial.
- On borderless or full-bleed cards, use logos, text, or symbols as pseudo-borders to estimate margin differences. See the borderless centering tutorial.
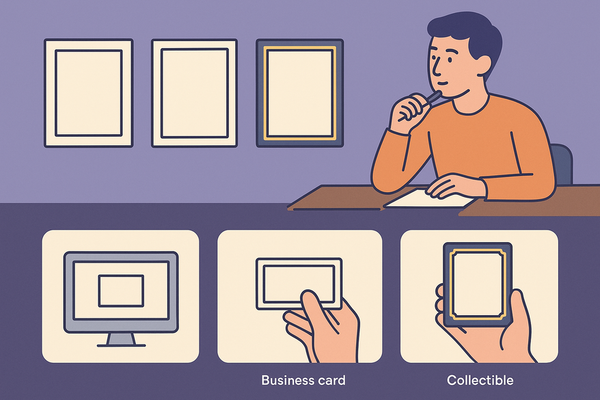
Common applications for centering checks
- Pre-grading sports cards, TCGs (Pokémon, Magic), and other collectibles to decide which cards are worth submitting. View the pre-grading tutorial.
- Teaching newer collectors the visual difference between good and bad centering.
Benefits of DIY grading centering solutions vs. commercial tools
- Cost savings – build from scrap materials or repurposed items instead of buying branded gauges.
- Customization – tailor to standard, Japanese, mini, or oversized cards and your target ratios (PSA, BGS, CGC).
- Learning value – designing your own jig forces you to understand centering ratios, improving your visual checks over time.
- Scalability – create multiple overlays or templates for different sizes; share or trade with friends.
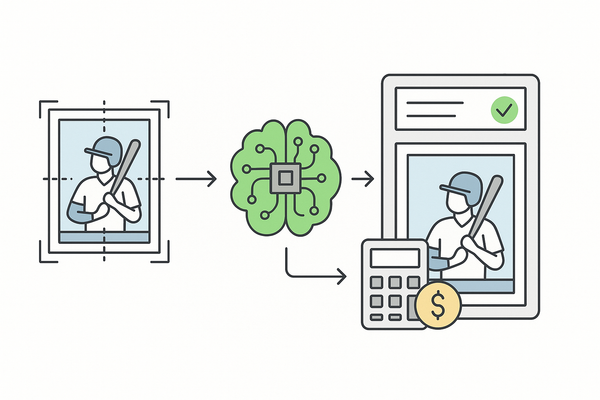
For those who prefer an automated option, the Card Centering Tool web app measures centering ratios to sub-millimeter precision and flags thresholds instantly—no homemade jig required. To see it in action, check out the quick demo below:
Tools, Materials, and Resources for DIY grading centering solutions
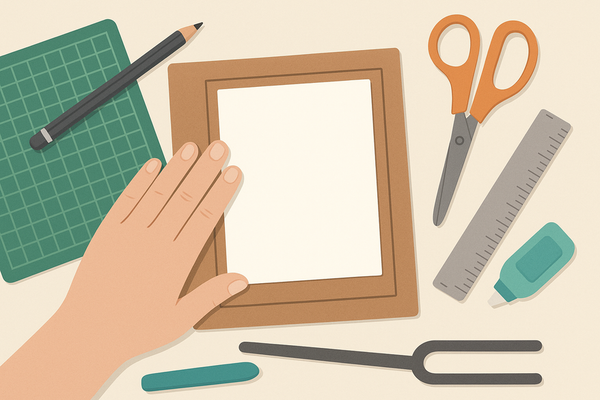
Essential tools
- Cutting – hobby knife or box cutter, sharp scissors
- Measuring – metal ruler with millimeter scale, calipers (optional), set square
- Marking – fine-tip permanent marker, pencil
- Shaping – small hand drill, file, sandpaper
- Digital optional – CAD/vector software (Inkscape, Fusion 360), 3D printer or laser cutter
Common materials
- Transparent overlays – clear acrylic sheets (1–3 mm), report covers, lamination film
- Frames and bases – cardboard, foam board, thin plywood, 3D-printed PLA/ABS parts
- Adhesives and fasteners – double-sided tape, spray adhesive, small screws or bolts
Budget sourcing tips
- Repurpose old picture frame glass or clear packaging
- Buy off-cuts from hardware stores or craft scrap bins
- Visit makerspaces or print shops for leftover acrylic or quick 3D print runs
- Shop online for deals on generic rulers, lamination sheets, and acrylic blanks
Step-by-Step Guide to Building a Grading Centering Jig
-
Plan & design
- Choose a standard card size (2.5″ × 3.5″) for front-centering.
- Decide on grid & percentage lines (50/50, 55/45, 60/40) or border-width comparison.
- Calculate millimeter offsets (≈1.22× for 55/45, 1.5× for 60/40) and label dashed lines.
-
Create printed template
- Draw an outer rectangle for the card outline and an inner one for perfect centering.
- Add scale lines labeled “50/50,” “55/45,” “60/40,” plus center crosshairs and tick marks.
- Print at 100% scale; verify by placing a real card inside and adjust as needed.
-
Transfer to durable material
- Overlay method: tape the template under acrylic, then trace lines with a fine-tip permanent marker.
- Lamination method: print on heavy paper, laminate, then trim precisely to the card outline.
-
Add card positioning frame (optional)
- Cut a frame matching the card’s dimensions from cardboard, foam board, or 3D-printed plastic.
- Align the card over the overlay, then attach the frame so the card seats identically each time.
- Ensures repeatable placement, similar to commercial templates.
-
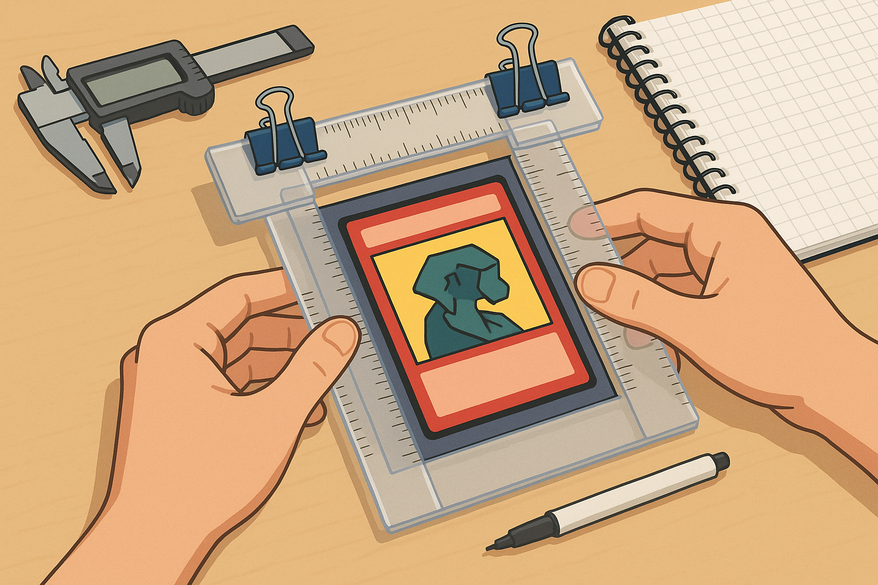
How to use the jig
- Seat the card in the frame or under the overlay, matching edges to the reference lines.
- Compare top vs. bottom and left vs. right borders against the marked scales.
- If borders fall within the 55/45 lines, the card is likely to reach PSA 10 gem status.
- For borderless cards, align logos or text as pseudo-borders as pros do.
-
Customizing your design
- Include multiple outlines for standard, Japanese, and mini cards.
- Color-code lines: green for 55/45+, yellow for 60/40, red for worse centering.
- Add a reverse-side template for back-centering checks.
Alternative DIY Designs & Modifications
Homemade Methods vs. Professional Techniques
- Printed paper or cardboard template: ultra-cheap and portable; less durable and may warp.
- 3D-printed centering frame: snug card recess with stepped ridges; requires 3D printer access.
- Magnetic or sliding-arm jig: magnetic arms touch borders; read margin widths on calibrated scales.
- Digital-assisted DIY: display a grid on a tablet or overlay in image software; risk of screen scratches.
Accuracy & usability tweaks: use high-contrast lines, laser engraving, anti-slip backing, or rubber feet for stability.
Safety, Troubleshooting & Maintenance
Safety precautions
- When cutting, use a sharp knife, cut away from your body, and work on a cutting mat.
- For drilling or sanding, wear eye protection and clamp small pieces securely.
- Use adhesives in a well-ventilated area and avoid gluing surfaces that touch your cards.
Troubleshooting common issues
- Mis-scaled lines: ensure print scale is set to “actual size” or 100%, then adjust template.
- Inconsistent readings: use a frame or corner stops to seat the card identically each time.
- Hard-to-judge borders: thicken lines, switch to darker ink, or add intermediate tick marks.
- Card scratches: smooth all edges with fine sandpaper and use soft sleeves when testing.
Maintenance practices
- Store your jig in a protective sleeve or box to prevent warping and fading.
- Clean with a microfiber cloth and plastic-safe cleaner; avoid acetone.
- Re-trace faded lines periodically, using the original printed template as a guide.
Conclusion
DIY grading centering solutions empower collectors with an affordable, customizable, and accurate pre-grading tool. Building your own jig deepens your understanding of centering ratios and mirrors professional techniques. Start simple with a printed template, then evolve your design by adding frames, size outlines, sliding arms, or digital overlays. Tailor targets to PSA, BGS, or CGC standards most relevant to your collection and share your creations for community feedback!
FAQ
- What tools do I need to build a centering jig?
At minimum, you need a hobby knife, metal ruler, fine-tip marker, and clear acrylic or cardboard. Optional tools include calipers, a set square, and a small hand drill. - How accurate is a DIY centering solution compared to commercial gauges?
When designed and used properly—with precise scale lines and consistent card placement—DIY jigs can match the accuracy of entry-level commercial tools, though high-end pro gauges may offer finer precision. - Can I use this jig for borderless cards?
Yes. Align logos, text, or corner symbols as pseudo-borders and compare against the same ratio scales you’d use for bordered cards. - How do I maintain and store my centering jig?
Keep it in a protective sleeve or box, clean gently with a microfiber cloth, and avoid solvents. Re-trace faded lines using your original template when necessary.