How to Photograph Cards for Grading: Pro Tips & Checklist
Learn how to photograph cards for grading with expert tips on lighting, angles, and condition checks to boost your chances of a PSA 10. Step-by-step guide.

Estimated reading time: 10 min
Key Takeaways
- Proper lighting and camera angles help reveal card condition for grading.
- Straight-on, top-down shots with all corners visible are recommended.
- Clean cards and contrasting backgrounds can reduce glare and highlight flaws.
- Capture front, back, and detailed close-ups to assist with pre-grading checks.
- Use digital grading tools like Midpoint to estimate grades before submission.
Curious about how to photograph cards for grading? Whether you’re sending Pokémon, Magic: The Gathering, sports cards, or Yu-Gi-Oh to PSA, BGS, CGC, or TAG, the quality of your photos can affect your ability to check card condition—and spot flaws that affect value. This guide walks you through every step, from lighting and background setup to card inspection and digital grading, so you can capture images that help you evaluate your cards before you spend $30+ on grading.
Step 1: Gather Your Equipment
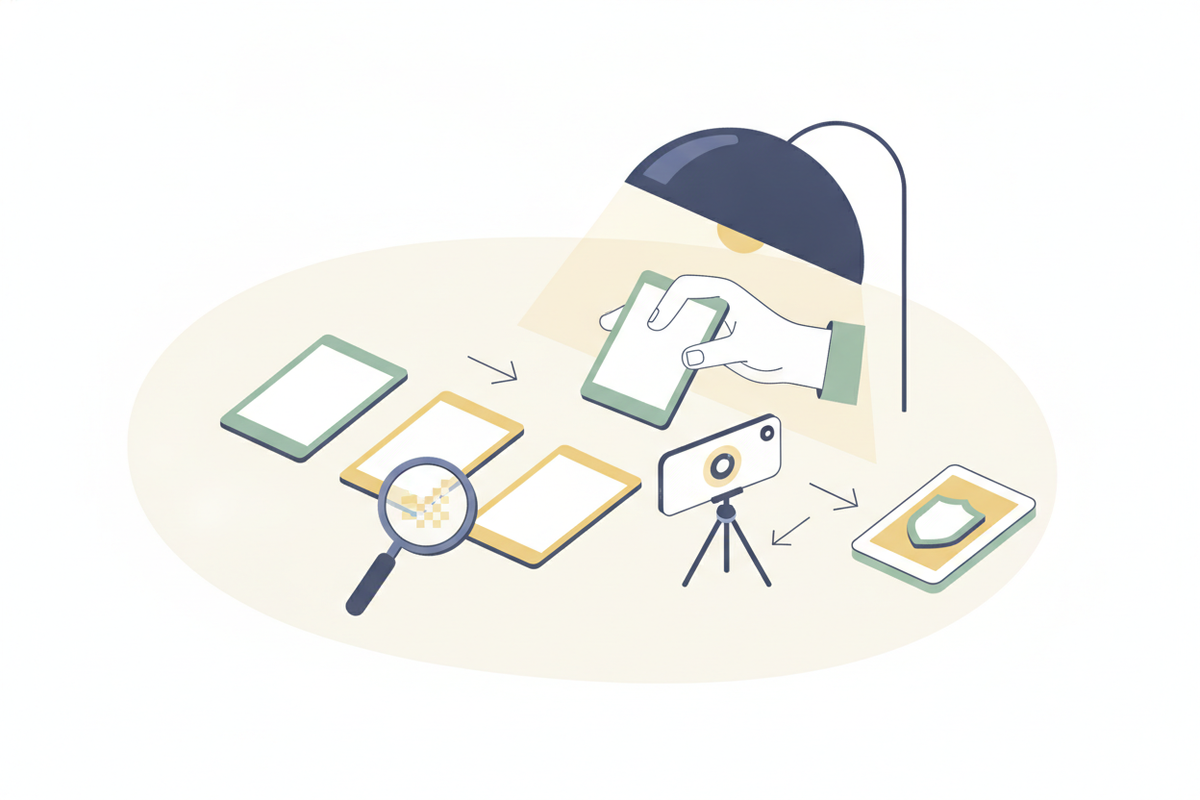
Start with the right tools to help ensure clear, sharp images that highlight details:
- Camera or smartphone with high resolution (12MP+ is ideal).
- Tripod or stable surface to prevent blur.
- Indirect, soft lighting sources—natural daylight is often best, but LED panels or lamps can work too.
- Plain, contrasting background (white or black; dark for holo cards).
- Microfiber cloth to clean the card gently.
- Magnifier or loupe (10x-30x) for close inspection.
Optional: Use a macro lens attachment for your phone to capture details of corner wear, print lines, or whitening on card edges.
Step 2: Prepare the Card for Photography
Condition is important for grading. Here’s how to inspect cards before grading and prepare them for photos:
- Wash your hands to avoid oil or dirt transfer.
- Remove the card from sleeves or top loaders if safe, especially for clear shots of edges and surface. Only handle the edges; avoid adding fingerprints.
- Clean the card gently with a microfiber cloth to remove dust or debris.
- Lay the card perfectly flat on your background to prevent warping or shadows.
Inspect under a lamp or using your magnifier for surface damage (scratches, print lines, dents), whitening, and miscut cards—these all can affect grading.
Step 3: Set Up Lighting and Background
The best lighting for trading cards is soft, even, and indirect. Here’s how to get it right:
- Natural daylight near a window (not direct sun) is often ideal. It can reduce glare and show true color.
- For indoor shots, use two lamps at 45-degree angles on each side of the card to help minimize shadows and reflections.
- Avoid flash, harsh spotlights, or overhead lights—they can cause hot spots, reflections, and holo glare.
- Backgrounds matter: Use a white background for most cards, but a dark/black background for holofoil or shiny cards to help surface flaws stand out.
Keep the area free of clutter. A clean, contrasting background helps the camera and grading tools focus on the card itself.
Step 4: Frame and Focus Your Shots
Framing is important—grading companies need to see the entire card, including all corners and edges, for accurate assessment:
- Place the card parallel to the camera sensor, shooting straight down from above (top-down composition).
- Fill the frame so the card takes up most of the image, but leave a small border so all corners and edges are visible and in focus.
- Use your camera’s focus and HDR mode for maximum sharpness and dynamic range.
- Set ISO low (100-400) to minimize grain, and use a timer or remote trigger to avoid shake.
If your phone has a macro mode, use it for close-ups of corners, edges, and any surface damage that could affect the grade.
Step 5: Capture All Necessary Angles
To help graders (and digital grading tools like Midpoint) evaluate your card, capture:
- Front—the main shot, centered, showing all borders and design elements.
- Back—to check for surface scratches, print lines, whitening, and centering.
- Close-ups of all four corners—zoom in to reveal corner wear and potential dings or bends.
- Detailed shots of edges—especially for whitening or miscut cards.
- Surface raking-light shots—take angled photos with light coming from the side to expose scratches, dents, or print lines on cards.
Document any flaws you find. This pre-submission checklist can help you understand what is surface damage on a card and how it may impact the final grade. For a complete self-check, see How to Pre-Grade Your Card: A Step-by-Step Guide.
Step 6: Edit and Review Your Photos
Before using digital grading tools or submitting to a grading company, ensure your images meet quality standards:
- Crop so the card is centered and edges are visible, but avoid over-editing.
- Adjust brightness and contrast only to match what you see in person.
- Zoom in to check sharpness—blurry photos can hide flaws and lead to inaccurate assessments.
- File format: Save as high-resolution JPEG or PNG with minimal compression.
If you use a scanner, set it to at least 600dpi, but be aware that shiny or holo cards may scan poorly (flatbed scanners can create glare or miss surface details). For most collectors, a modern phone camera is often suitable for photographing cards for grading.
Step 7: Use Digital Grading Tools for Pre-Submission Checks
Now that you have detailed photos, you can use an app like Midpoint to:
- Measure centering and check for off-centering, which can affect grades. For more, see How Centering Impacts Card Value: A Detailed Guide.
- Analyze corners, edges, and surface for whitening, print lines, and scratches with AI-powered tools.
- Get a digital estimate of your likely PSA, BGS, CGC, or TAG grade—so you have an idea whether your card could grade a 10, or if flaws might hold it back.
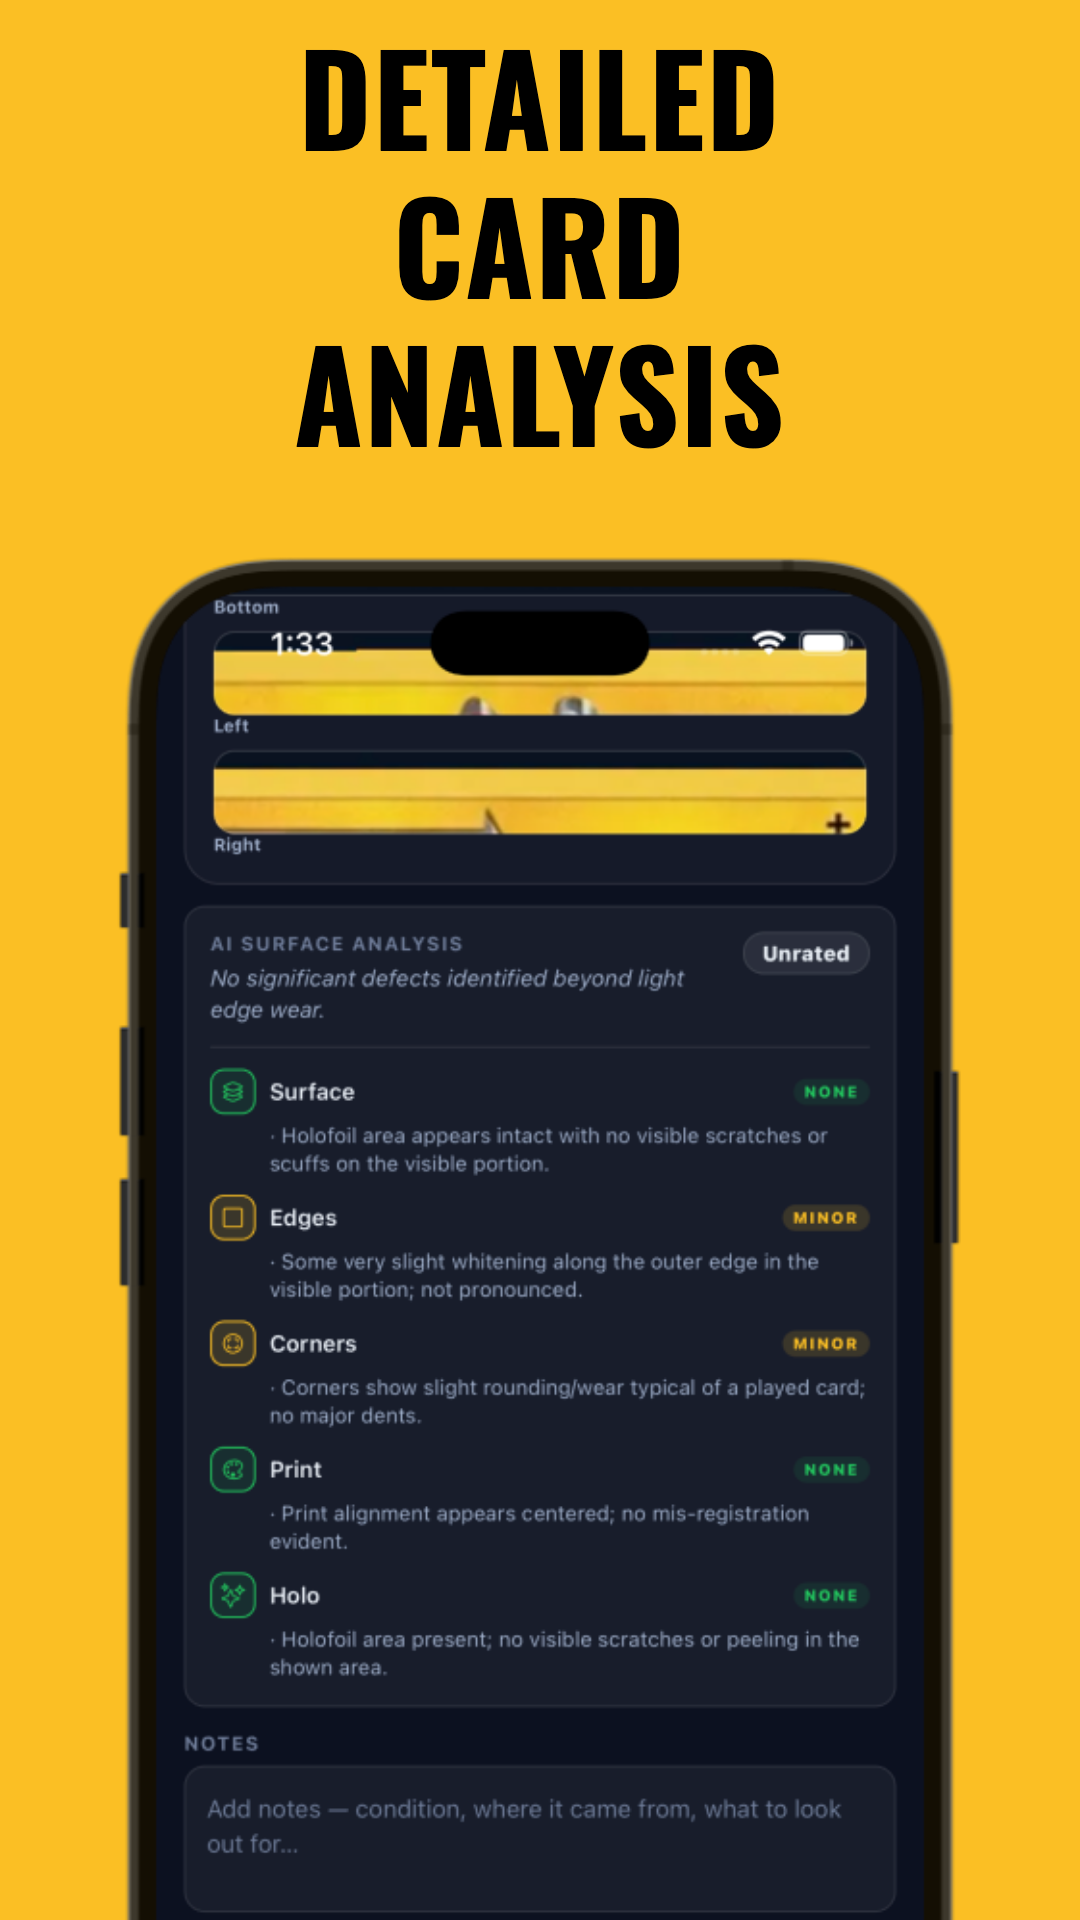
If you want to understand how AI compares to human graders, check out How AI Transforms Card Centering Analysis.
Tips & Common Mistakes
- Avoid direct flash or overhead lighting—they create glare, especially on holo or shiny cards.
- Don’t photograph cards in sleeves or top loaders unless they can’t be safely removed. Plastic can hide flaws or add reflections.
- Use a steady hand or tripod—blurred images can hide edge wear or surface damage.
- Don’t crop out corners or borders; graders need to see the whole card for accurate assessment.
- Inspect under raking light for hidden scratches, print lines, or surface dents. Surface flaws are a common reason cards don’t grade a 10.
For more tips on maximizing your card’s value and protection, see How to Store Valuable Cards: The Ultimate Collector's Guide.
Conclusion
Knowing how to photograph cards for grading isn’t just about snapping a picture—it’s about revealing every detail that matters to PSA, BGS, CGC, or TAG. Sharp, well-lit photos let you inspect for surface damage, corner wear, print lines, whitening, and centering issues before you submit. With digital tools like Midpoint, you can get AI-powered grading estimates and make informed decisions about which cards are worth sending in. Take the time to capture your cards properly—it can make a difference in the outcome of your submission.
FAQ
- What is the best lighting for photographing trading cards for grading?
Soft, indirect daylight is often best—ideally near a window. For indoor setups, use two lamps at 45-degree angles to help reduce glare and highlight surface flaws. Avoid direct flash and overhead lights, which can cause reflections and hot spots. - Should I use a scanner or a camera to photograph cards for grading?
A camera or smartphone is usually better, especially for holo or shiny cards. Scanners can cause glare and miss surface scratches. If you use a scanner, set it to at least 600dpi and check for accurate color and detail. - How do I avoid glare on holo or shiny cards?
Use indirect lighting and a dark background. Move your light sources to the sides (45 degrees) and tilt the card slightly if needed. Never use flash. Always review photos for reflections before submitting. - What shots do graders need: front, back, corners, or close-ups?
You should provide straight-on shots of the front and back, plus close-ups of all corners, edges, and any areas with visible flaws. Surface raking-light shots can reveal scratches and dents that affect the grade. - How close should the card fill the frame for grading photos?
The card should fill most of the frame, with all borders and corners visible. Don’t crop too tightly—graders and digital tools need to see the entire card for accurate assessment. - Should I remove the card from a sleeve or top loader before taking grading photos?
Yes, if it’s safe for the card. Sleeves and top loaders can hide flaws and create reflections. Handle the card by the edges and use a microfiber cloth to clean it before photographing.
Free to start
Try the Midpoint app
Grade any card from a photo, see its raw and PSA 10 value, and track what your collection is worth — free.
Get it on iPhoneGet it on Android