Card Centering Analyzer Tutorial: How to Measure and Master Card Centering
Learn to use a card centering analyzer to measure and master card centering for better grading results. Perfect your card presentations now!
Estimated reading time: 10 minutes
Key Takeaways
- Accurate Centering Measurement: Learn how to use digital tools to replace guesswork with precise border ratios.
- Streamlined Workflow: Discover setup, from installation to capturing images, for efficient grading prep.
- Troubleshooting Tips: Overcome common issues like skewed images and inconsistent scans.
- Advanced Customization: Explore manual adjustments, batch processing, and perspective correction features.
- Best Practices: Standardize your photography setup and use both auto-detection and manual fine-tuning.
Table of Contents
- Introduction
- Overview of Card Centering Analyzer
- Getting Started
- Detailed Tutorial Walkthrough
- Troubleshooting & Best Practices
- Conclusion & Additional Resources
Introduction
In this tutorial, you’ll learn how to precisely measure and optimize card centering for top grading results. Centering refers to how evenly a card’s design sits between its edges, and it can make or break a subgrade. Leading grading companies assign centering ratios (e.g., 60/40, 55/45). To replace guesswork with exact metrics, follow this guide or try our step-by-step guide.
Overview of Card Centering Analyzer
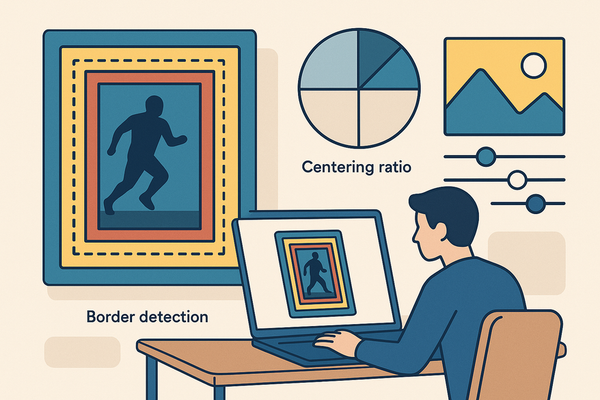
What Is a Card Centering Analyzer?
A card centering analyzer is a digital or physical tool that measures border widths and computes centering ratios. Whether you use a mobile app, web calculator, or plastic overlay, this tool replaces eyeballing with precise metrics.
Key Roles
- Pre-screen submissions before grading (PSA, BGS, CGC, SGC, TAG)
- Compare raw cards during buying, selling, or trading
- Document centering for high-value transactions and insurance
Features & Benefits
- Auto border detection (AI): Finds card edges in seconds.
- Manual adjustment guides: Pixel-level tweaks for perfect alignment.
- Front/back analysis: Identify the limiting side for grading.
- Real-time ratios: Map directly to PSA/BGS/CGC thresholds.
- Multi-format support: From Pokémon to Magic: The Gathering.
Getting Started
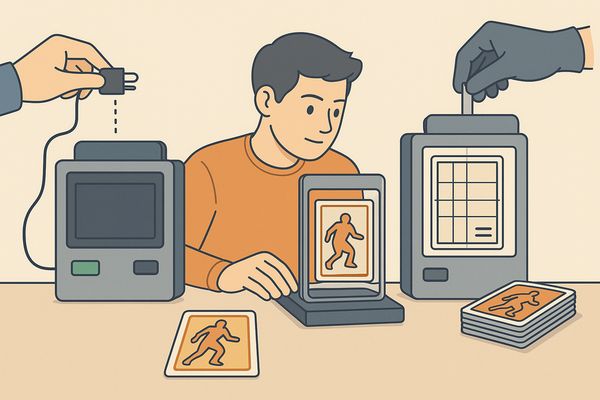
Installation & Setup
- Choose Platform
- Mobile: Download “Card Centering Calculator” from the App Store or Play Store.
- Web: Visit CardGrade’s centering page.
- Permissions: Allow camera and library access.
- Account & Preferences: Select your default grading company.
- Configure Card Type & Size: Enable auto-rectification for angled photos.
- Prepare a Test Card: Remove sleeves, choose clear borders.
- Capture or Upload Image: Align card using on-screen guides.
System Requirements
- Modern iOS/Android device or PC with camera
- Latest compatible OS
- Good lighting and resolution
- Basic understanding of centering ratio formula
Tips for First-Time Users
- Use a solid background and flat surface
- Keep camera at 90° to the card
- Allow margin around the card
- Practice with uniform-border cards
Detailed Tutorial Walkthrough
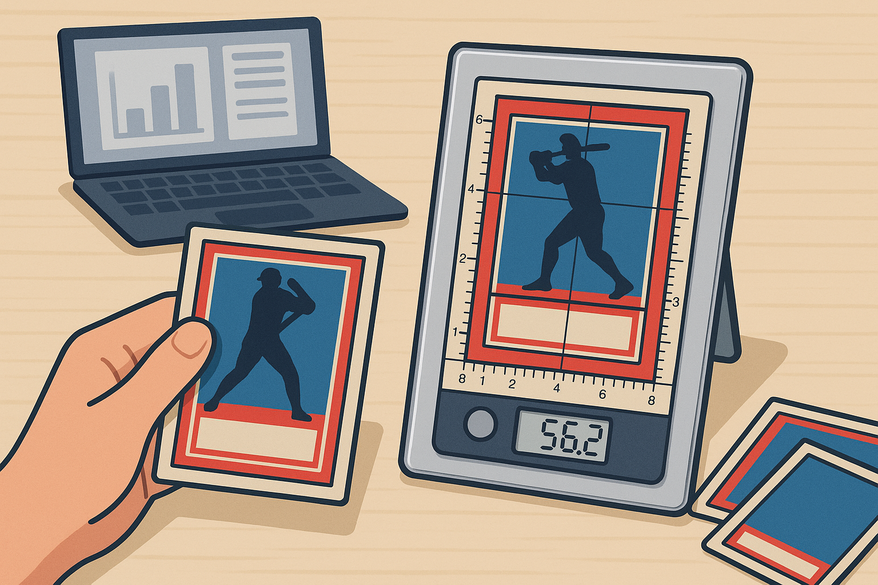
Basic Operations
- Load the card front via upload or scan.
- Auto-detect borders; verify overlay alignment.
- Fine-tune guides manually for precision.
- Read left/right and top/bottom ratios.
- Check embedded grade mapping (PSA/BGS/CGC/SGC/TAG).
- Analyze the back to determine the limiting side.
Advanced Features
- Custom grading profiles
- Batch processing
- Manual border mode
- Perspective correction
- Data export (CSV)
- Side-by-side comparisons
Visual Aid
Here’s a snapshot of the main dashboard with the overlay:

Troubleshooting & Best Practices
Common Issues & Solutions
- Improper detection: Use plain background, remove sleeves.
- Skewed images: Shoot at 90° or use rectification.
- Inconsistent scans: Maintain a stable setup.
- Irregular borders: Zoom in and align on design points.
- Performance issues: Update the app and close background apps.
Best Practices
- Standardize lighting and camera height
- Combine auto and manual detection
- Grade by the worst ratio (front vs. back)
- Export results for your records
Maintenance Tips
- Keep the tool updated
- Calibrate periodically
- Clean lenses and surfaces
- Monitor grading standards changes
Conclusion & Additional Resources
Recap: We defined centering impact, covered setup, walked through key operations, and tackled troubleshooting.
Next Steps: Experiment with different card types and use this tutorial as your reference.
Further Resources:
• App FAQs: iOS App
• Grading page: CardGrade Centering
• Community forum: Reddit Discussion
For a live preview of the tool in action:
FAQ
- Q: What devices are supported?
A: Modern iOS/Android smartphones and PCs with cameras supported by the tool. - Q: How do I improve border detection?
A: Use even lighting, a plain background, and enable perspective correction. - Q: Can I batch process cards?
A: Yes, advanced batch processing is available for submissions. - Q: How are centering ratios calculated?
A: The formula is smaller border ÷ (smaller + larger border) to get a percentage.