Card Centering Analyzer Tutorial: Step-by-Step Guide for Perfect Grading Prep
Master the art of card grading with our card centering analyzer tutorial. Learn precise measurements and save on grading fees with our step-by-step guide.
Estimated reading time: 12 minutes
Key Takeaways
- Objective measurements replace guesswork with precise border ratios.
- Pre-grading decisions save time and submission fees.
- Digital and physical tools ensure consistent, repeatable centering analysis.
- Automated scans predict grading-company centering subgrades instantly.
Table of Contents
- Card Centering Tool Demo
- Purpose & Benefits
- Tutorial Overview
- Understanding the Card Centering Analyzer
- Key Features & Functions
- Setting Up the Analyzer
- Detailed Workflow
- Tips, Tricks, and Best Practices
- Summary and Next Steps
- FAQ
Card Centering Tool Demo
Explore our interactive web app that measures front-and-back centering down to sub-millimeters and flags PSA, BGS, or CGC Gem Mint tolerances. Visit the Card Centering Tool to get started.
Purpose & Benefits
- Objective centering measurement replaces guesswork with precise ratios like 60/40 or 55/45.
- Pre-grading helps collectors submit only cards likely to meet grading standards.
- Saves time and money by avoiding fees for off-centered cards.
- AI-driven scans or calibrated overlays deliver consistent, repeatable results.
Tutorial Overview
This tutorial walks you through:
- Defining a card centering analyzer and its role in grading prep.
- Comparing digital calculators to physical rulers and overlays.
- Setting up both app-based and manual measurement tools.
- Core and advanced functions for accurate readings.
- Tips, troubleshooting, and best practices.
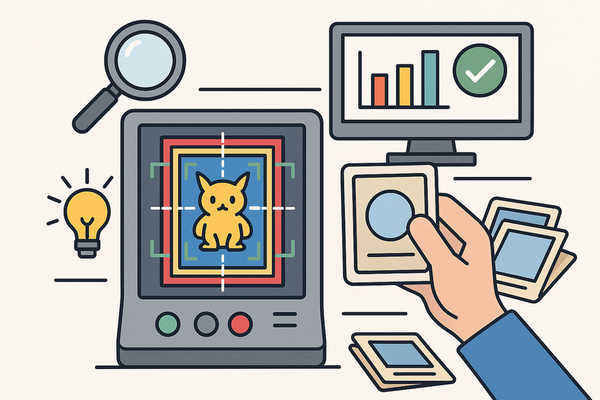
Understanding the Card Centering Analyzer
A centering analyzer measures the distance from a card’s image to each border and converts them into ratios like 50/50 or 60/40. Those ratios predict how grading companies will judge your card’s centering.
For a hands-on manual approach, see our step-by-step guide on measuring card centering.
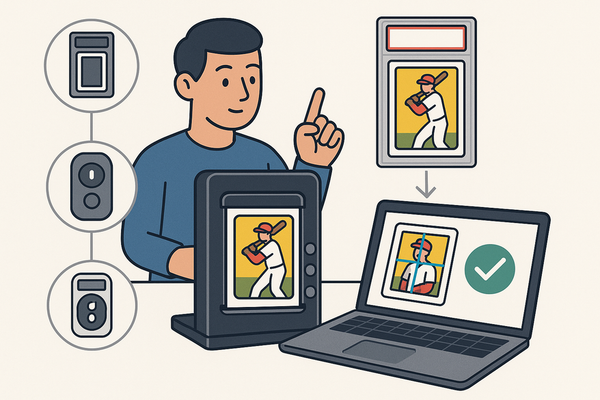
Key Features & Functions
Modern centering analyzers offer:
- Automated Border Detection: AI-powered scans detect card and image edges with minimal effort.
- Real-Time Ratio Display: Instant centering ratios after each scan.
- Grading-Company Projections: Estimates centering subgrades for PSA, BGS, CGC, SGC, and TAG.
- Manual Fine-Tuning: Draggable guides for edge adjustments when auto-detection misses.
- Front & Back Integration: Determines which side limits your overall centering grade.
- Advanced Settings: Sensitivity controls, card-type presets, grading profiles, and UI themes.
- Physical Overlay Tools: Transparent overlays with millimeter rulers, conversion charts, and color-coded grade zones.
Setting Up the Analyzer
Proper setup ensures accurate readings. Follow these prerequisites and installation steps:
Digital Tools
- Hardware: Smartphone, tablet, or scanner with good resolution.
- Environment: Flat, plain background; even lighting; no glare.
- Card Prep: Remove sleeves or top loaders.
- Access Steps: Install the Card Centering Calculator app or open the web tool in your browser.
- Configuration: Select card-type presets, grading companies, detection sensitivity, and overlay colors.
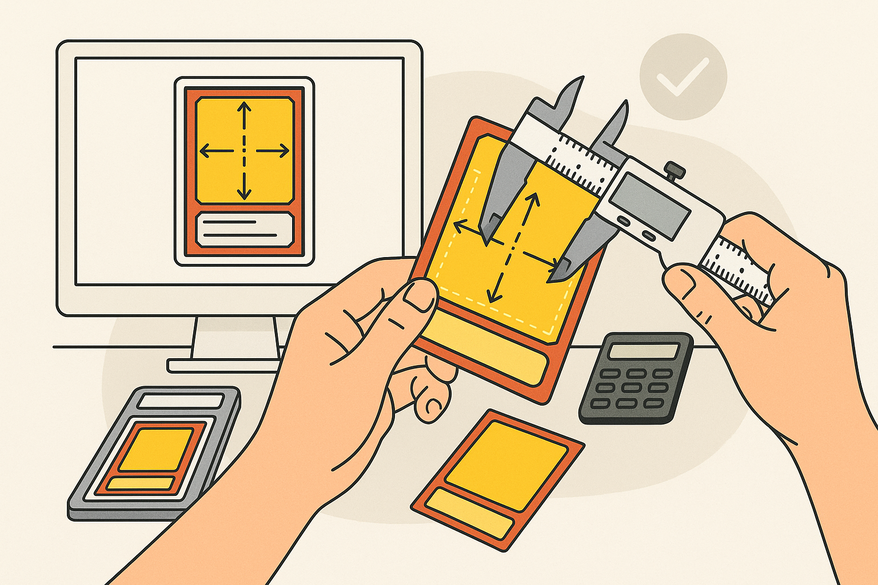
Physical Overlay Tools
- Clean, unsleeved card and Legends overlay tool.
- Microfiber cloth for cleaning.
- Unbox overlays, remove protective film, and align rulers to card edges.
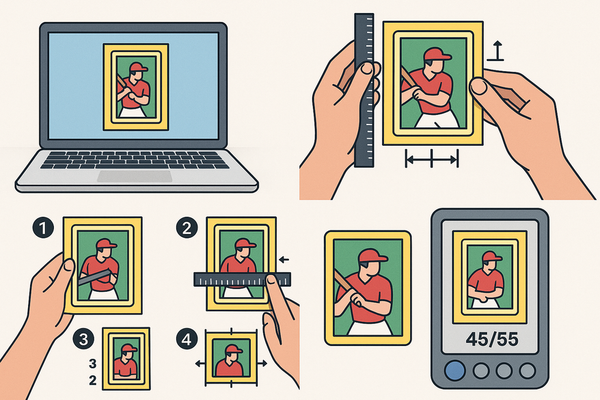
Detailed Workflow
Digital Workflow
- Photograph cards straight-on with even lighting.
- Upload front image; let AI detect borders.
- Adjust guides if needed; note the ratios (e.g., 60/40 left/right).
- Upload back image; determine which side controls your grade.
- Review grading estimates and export results.
Physical Overlay Workflow
- Place card behind a transparent overlay.
- Align borders to printed rulers; read millimeter scales.
- Convert measurements to percentages using printed charts.
- Check color-coded zones for grade suitability.
Tips, Tricks, and Best Practices
- Use a tripod or stand to keep photos consistent.
- Shoot cards parallel to the camera; avoid skewed angles.
- Take multiple shots to verify ratio consistency.
- Choose high-contrast backgrounds for edge detection.
- Always clean cards and remove any protective sleeves.
- Verify auto-detections with manual guide adjustments.
- Measure both sides; grading companies consider the worse side.
- Aim for target tolerances (often 55/45 or better for top grades).
Summary and Next Steps
In this tutorial, you learned how to:
- Use digital and physical analyzers to obtain precise border ratios.
- Predict grading outcomes and avoid costly submission errors.
- Set up tools, follow core workflows, and apply best practices.
Next, explore detailed tutorials for specific tools, study grading standards, and practice on a variety of card types to refine your technique.
FAQ
- What is card centering and why does it matter?
- Centering indicates how evenly the image sits inside the borders, expressed as ratios. Good centering is crucial for achieving top grades.
- Can I analyze foil or glossy cards?
- Yes—avoid reflections with even lighting and use manual guide tweaks if auto-detection struggles.
- Do I need to remove protective sleeves?
- Yes. Sleeves cause glare and can distort edge detection.
- Which grading companies are supported?
- Most tools project centering subgrades for PSA, BGS, CGC, SGC, TAG, and occasionally ACE.
- Is a perfect 50/50 required for a gem-mint grade?
- Not always. Many companies accept tolerances up to 55/45 for gem-mint centering.