Card Centering Analyzer Tutorial: Step-by-Step User Guide for Perfect Card Centering
Discover how to master card centering with this comprehensive tutorial. Learn to use the Card Centering Analyzer tool to enhance your grading submissions.

Estimated reading time: 8 minutes
Key Takeaways
- Master card centering: Learn to use auto-detection and manual guides for pixel-perfect alignment.
- Grading comparisons: Benchmark centering ratios against PSA, BGS, CGC, SGC, TAG, and ACE standards.
- Improve outcomes: Apply best practices to avoid grade drops and set accurate listing prices.
- Advanced tips: Utilize AI auto-centering, combine front/back analysis, and troubleshoot common issues.
Table of Contents
- Overview of the Card Centering Analyzer
- Getting Started
- Using the Card Centering Analyzer
- Advanced Features & Best Practices
- Practical Examples & Use Cases
- Conclusion & Next Steps
- Call to Action
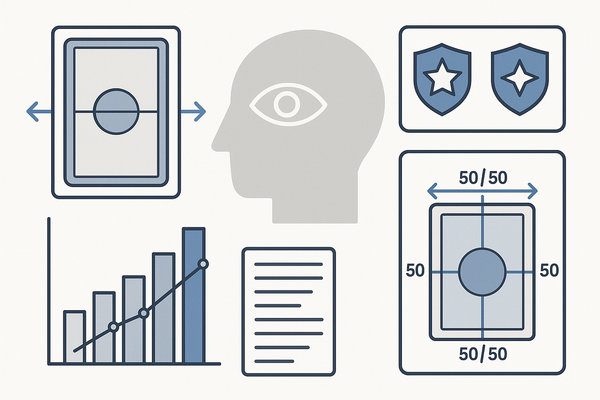
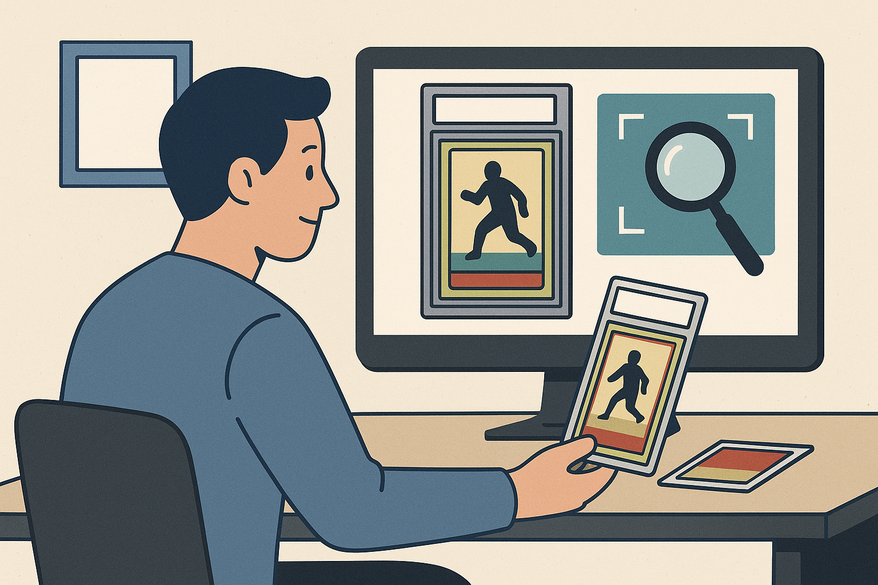
“Card centering analyzer tutorial” is your go-to guide for mastering card centering analysis. A card centering analyzer measures how evenly a trading card’s artwork sits within its borders—reporting ratios like 55/45 or 60/40 and estimating how grading companies view that centering. It scans or uploads a card photo, auto-detects borders, then calculates those ratios against standards used by PSA, BGS, CGC, SGC, TAG, and ACE. Centering is critical in grading decisions—slight misalignment can drop a card from a Gem Mint 10 to a 9 or lower.
For those preferring manual methods, see our step-by-step guide for collectors. For a quick web-based solution with sub-millimeter precision, try Card Centering Tool. Watch the app preview below to see how it performs automatic edge detection and grader tolerance checks before you pay grading fees:
Section 1: Overview of the Card Centering Analyzer
Key Features
- Auto-detection: Uses AI to locate card edges and border boundaries instantly.
- manual adjustment: Drag guide lines to correct any misreads.
- Zoom/Precision controls: Pinch or scroll to fine-tune measurements.
- Grade comparison: See side-by-side centering thresholds for PSA, BGS, CGC, SGC, TAG, and ACE.
How It Works
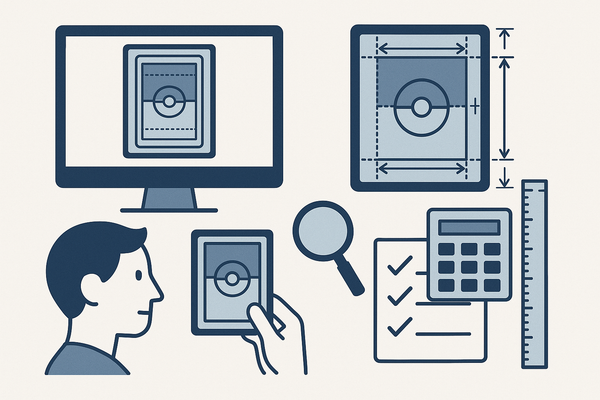
- Scan or upload a high-resolution card image.
- The analyzer auto-detects borders and draws measurement lines.
- You review ratios (e.g., 60/40) and grade-estimate bars.
- Adjust guides manually if needed for pixel-perfect centering.
Supported Card Types
- Trading cards: Pokémon, One Piece, Lorcana
- Sports cards: Baseball, basketball, football
- Other collectible cards
Grading Standards Comparison
- PSA Centering Tiers
- BGS Subgrades
- CGC Visual Standards
- SGC, TAG, ACE thresholds
For an in-depth comparison of centering tolerances across PSA, BGS, and CGC, see centering tolerances compared.
Section 2: Getting Started
Installation & Setup
Mobile Apps
- Download from Google Play or the App Store.
- Grant camera and photo-library permissions.
- Open the app; you’ll see options to Scan or Upload.
Web Tools
- Navigate to the centering URL—no account or login required.
- Click Upload to browse your files or drag-and-drop an image.
First-Time Workflow
- Launch the tool on your device.
- Upload or scan the card front.
- Ensure the card lies flat, is centered, and the image is straight-on.
- Confirm borders are clear and unobstructed.
Interface Orientation
- Upload/Scan button: Top-left corner for adding images.
- Auto-detect toggle: Enables AI border finding.
- Draggable guide lines: Click and drag edges to refine borders.
- Zoom controls: Magnifier icons or pinch gestures.
- Grade comparison panel: Shows PSA, BGS, CGC, SGC, TAG, and ACE cutoffs.
Tip: Capture annotated screenshots of each control area for quick reference.
Section 3: Using the Card Centering Analyzer
Core Workflow
- Upload or scan your card image.
- Wait for auto-detection to outline borders and calculate ratios.
- Inspect the reported centering ratio (e.g., 55/45 or 60/40).
- Manually adjust guide lines if any border is misread.
- View grade-estimate outputs for PSA, BGS, CGC, and others.
Technical Detail
Centering equals (smaller border ÷ larger border) × 100.
Example: Left border = 4 mm, right = 6 mm → smaller=4, total=10 → 40% → 60/40 ratio.
Quick-Use Tips
- Use flat, straight-on photos to reduce keystone distortion.
- Place cards on a solid, contrasting background for clear edge detection.
- Zoom in on corners for precise guide-line adjustments.
- Analyze both front and back; grading uses the weaker side’s centering.
- Take multiple photos; compare results to ensure consistency.
Common Use Cases
- Grading submission decisions: Decide if a card merits grading.
- Pre-sale checks: Validate centering strength to set listing prices.
- Service selection: Pick a grading company with more lenient centering tolerances.
- Front/back limiting factor: Identify which side controls the final grade.
Section 4: Advanced Features & Best Practices
Advanced Functionalities
- AI Auto-Centering: Machine-learning model refines edge detection.
- manual Precision Guides: Overlay gridlines for exact alignment.
- Combined Front/Back Analysis: One report shows both sides and flags the weaker.
Best Practices for Accuracy
- Photograph cards “naked” (no sleeve) when recommended.
- Avoid glare: Use diffuse, even lighting.
- Keep the camera parallel to the card to prevent tilt.
- Use the highest image resolution available.
- Finalize with manual guide placement for pixel-level accuracy.
- Repeat measurements on borderline cases to confirm results.
Troubleshooting
- Mis-aligned Photo? Retake with card square to camera.
- Misread Edges? Use a plain background and remove obstructions.
- Inconsistent Estimates? Maintain identical lighting and camera angle.
- Sleeve Glare? Remove the sleeve per tool instructions.
Section 5: Practical Examples & Use Cases
Real-Life Grading Prep
- Place your card on a clean, flat surface.
- Capture a straight-on photo of the front.
- Upload to the centering analyzer.
- Review the centering ratio and grade estimate.
- Adjust guides if the auto-detect lines are off.
- Repeat for the back side to identify the weaker.
Pre-Sale Evaluation
- Run the analyzer to confirm centering before listing.
- Use the report to justify pricing or decide if grading adds value.
Section 6: Conclusion & Next Steps
Summary
Card centering analyzers let collectors measure centering ratios, compare these against grading-company thresholds, and make informed submission or sale choices. With clean, straight-on photos and careful manual fine-tuning, you can predict grading outcomes more accurately and avoid unexpected grade drops.
Next Steps
- Experiment with AI and manual guide modes for your favorite cards.
- Compare results across PSA, BGS, CGC, SGC, TAG, and ACE standards.
- Join community forums and share screenshots to get peer feedback.
- Bookmark support pages and FAQs for troubleshooting.
Section 7: Call to Action
Ready to perfect your card centering?
- Try a free demo of the Card Centering Analyzer today.
- Download the mobile app and start analyzing in seconds:
- Leave feedback or questions in the comments below or email our support team at support@rashdetector.com.
- Suggest future tutorial topics—your input shapes our next how-to guides!
FAQ
- Can I use a phone camera?
- Yes—modern phone cameras produce high-resolution images that most analyzers accept.
- Can I check both sides of a card?
- Absolutely—front/back analysis reveals which side will limit the final grade.
- Is an account required to use the web tool?
- Web tools like CardGrade.io need no login; mobile apps may prompt sign-in.
- Which card games are supported?
- Pokémon, One Piece, Lorcana, baseball, basketball, football, and more.