The Ultimate Card Centering Analyzer Tutorial: A Complete Step-by-Step Guide
Learn how to use a card centering analyzer to accurately measure card alignment. This tutorial covers setup, best practices, and real-world card grading insights.

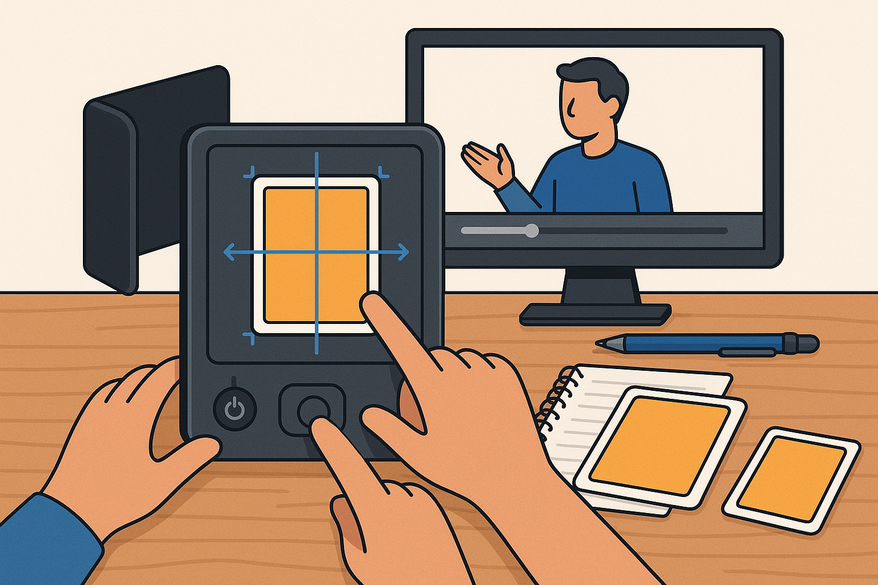
Estimated reading time: 8 minutes.
Key Takeaways
- Precise measurements: Replace subjective eyeballing with repeatable border-width ratios.
- Grading alignment: Maps results to PSA, BGS, CGC, SGC, TAG and ACE tolerances.
- Workflow breakdown: Covers setup, image capture, guide adjustment, and interpretation.
- Best practices: Use high-resolution scans, diffuse lighting, and analyze both front and back.
- Real-world uses: From Pokémon pre-grading to sports card investing and flipping for profit.
Table of Contents
- Understanding the Card Centering Analyzer
- Why Card Centering Matters
- Getting Started: Prerequisites
- Analyzer Interface Overview
- Step-by-Step Tutorial
- Best Practices & Advanced Tips
- Practical Examples & Use Cases
- Summary & Conclusion
- Additional Resources
- FAQ
Understanding the Card Centering Analyzer
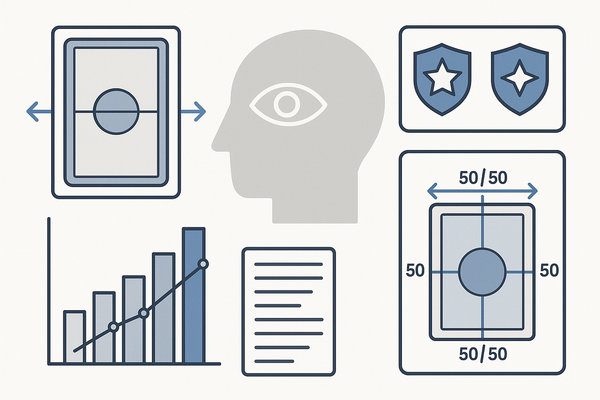
A card centering analyzer is a digital tool that measures how evenly artwork sits within a card’s borders, producing clear ratios like 60/40 or 55/45. It eliminates guesswork and aligns with grading-company logic.
Before you begin, consider using the Card Centering Tool, which measures trading cards to the millimeter and flags PSA, BGS, CGC and TAG tolerances instantly.
Why Card Centering Matters
A slight centering shift can drop a card from PSA 10 to PSA 9 and cost thousands of dollars. With a centering analyzer, you can:
- Ensure PSA: 55/45 or better for PSA 10; 60/40 for PSA 9.5
- Hit BGS thresholds: 60/40 for Black Label 9.5; 65/35 for 10
- Meet CGC, SGC, TAG, ACE minimum ratios
Value impact: Accurate centering maximizes fee-to-grade ROI and avoids costly surprises.
Getting Started: Prerequisites
- Desktop or laptop with Chrome, Firefox, or Safari
- iOS/Android device for mobile app options
- Flatbed scanner or smartphone camera
- Bright, diffuse lighting and a contrasting background
- Cards removed from sleeves to prevent false borders
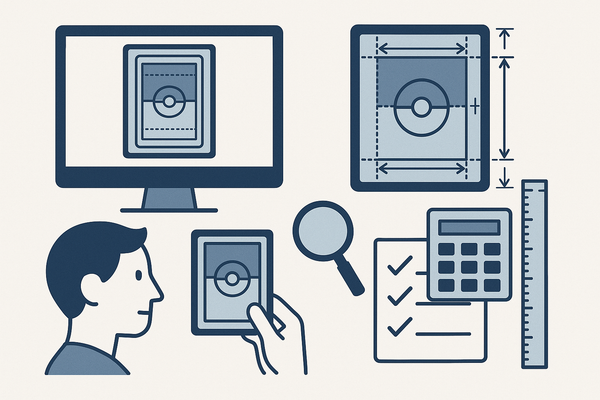
Analyzer Interface Overview
- Image Input Area: Upload photos or scan directly.
- Measurement View: Overlay guides on the card image.
- Results Panel: Displays left/right and top/bottom ratios.
Step-by-Step Tutorial
Installation and Setup
Web Tool:
1. Open your browser.
2. Navigate to the centering tool URL.
3. Grant camera/scanner permissions when prompted.
Mobile App:
1. Install from the App Store or Google Play.
2. Open the app and allow camera and photo-library access.
Preparing Your Card and Workspace
- Use bright, diffuse light to avoid shadows.
- Place the card flat on a contrasting surface.
- Align the card straight to minimize manual corrections.
Capturing or Uploading the Card Image
- Click “Upload Front” or “Scan Front.”
- Use guided capture for auto-alignment.
- Repeat for the back image to get a combined verdict.
Adjusting Borders and Guides
- Auto-Detection: Software auto-recognizes card edges.
- Manual Placement: Drag guides to inner borders.
Reading Centering Ratios
View ratios like 60/40 or 55/45 for left–right and top–bottom. The overall centering verdict follows the worse side, mirroring grading-company logic.
Interpreting Grading Guidance
The tool maps your ratios to maximum centering subgrades, displaying messages such as “PSA 10 max centering” or “BGS 9.5 max centering.” Use these as guidance, not guarantees.
Saving and Comparing Results
- Export a PDF or capture a screenshot for records.
- Log centering data in a spreadsheet.
- Compare similar cards to decide what to submit or sell.
Best Practices & Advanced Tips
For deeper precision, review our Card Centering Basics: Essential Tips for Accurate Sports Card Grading and manual vs. automated workflows.
- Use high-resolution scans for precise edge detection.
- Always analyze front and back—grading follows the worse side.
- Anchor guides to internal print elements like logos or text boxes.
Practical Examples & Use Cases
Pokémon Pre-grading
Scan front and back of alternate-art cards. Adjust yellow border guides for pixel-perfect placement. Submit only those within 60/40 or 65/35 ranges for PSA 10.
Sports Card Investing
Pre-purchase: run seller photos through a web analyzer. Post-arrival: re-check via mobile app. Avoid cards that cap at lower centering thresholds.
Card Flipping for Profit
Screen large lots into “gem potential,” “strong 9,” or “sell raw.” Refine selling thresholds based on actual grading outcomes for consistent profits.
Summary & Conclusion
In this tutorial, you learned why centering matters, how to set up and use a centering analyzer, practical best practices, and real-world use cases. Armed with data-driven insights, you can now maximize grades and make smarter collecting or flipping decisions.
Additional Resources
- Live demo 1 and Live demo 2
- How to Measure Card Centering: A Step-by-Step Guide for Collectors
- Card Centering Basics: Essential Tips for Accurate Sports Card Grading
FAQ
Q1: Must I measure both front and back?
A: Yes—grading companies use the worse side for overall centering.
Q2: How accurate is the tool compared to professional graders?
A: With clear, straight images and precise guide placement, these tools match professional methods.