How to Use a Card Centering Analyzer: A Complete Card Centering Analyzer Tutorial
Learn how to use a card centering analyzer to measure card centering before grading. This tutorial covers tools, methods, and best practices in detail.

Estimated reading time: 8 minutes
Key Takeaways
- Pre-grade precision: Measure centering before submission to save fees and avoid surprises.
- Ratio insights: Understand how border ratios like 55/45 or 60/40 impact PSA, BGS, and CGC grades.
- Tool variety: Choose between web apps, mobile calculators, and physical gauges to fit your workflow.
- Best practices: Consistent setup and lighting ensure reliable readings every time.
- Informed decisions: Use centering data to decide whether to submit, hold, or trade a card.
Table of Contents
- Introduction
- Understanding the Card Centering Analyzer
- Step-by-Step Setup Guide
- Detailed Tutorial on Using the Analyzer
- Troubleshooting and Best Practices
- Practical Demonstration
- Conclusion
- Call to Action
Introduction
Get ready to elevate your grading game. This tutorial shows you exactly how to measure card centering before sending your cards for professional grading. Centering refers to how evenly the printed image sits within the card’s borders—and it directly affects grades from PSA, BGS, CGC, SGC, TAG, and ACE. By using a precise centering analyzer—whether it’s a web app, mobile tool, or physical gauge—you’ll calculate border ratios like 60/40 or 55/45 with sub-millimeter accuracy.
For a hands-on start, try the Card Centering Tool, a web app that flags whether your card meets PSA, BGS, or CGC Gem Mint tolerances.
Understanding the Card Centering Analyzer
A centering analyzer measures border widths (left vs. right, top vs. bottom) and computes a ratio by dividing the smaller border by the sum of both borders. Ratios like 50/50 indicate perfect centering, while 55/45 or 60/40 help you gauge quality before submission. For a manual measurement primer, see our step-by-step guide.
Formula example:
- Left border = 1.8 mm, right border = 1.2 mm, total = 3.0 mm.
- 1.8 ÷ 3.0 ≈ 60% → 60/40 centering.
Centering cutoffs vary by grader—PSA often uses a 55/45 front threshold for Gem Mint, with different back tolerances. Compare standards in our centering tolerances comparison.
Step-by-Step Setup Guide
You can choose from three formats:
- Web app: Tools like CardGrade’s free analyzer or the Card Centering Tool.
- Mobile app: Card Centering Calculator on iOS and Android.
- Physical gauge: Transparent centering templates.
Prerequisites & system requirements
Web/Mobile: modern browser or device, good lighting, flat non-reflective background.
Physical: microfiber cloth, card sleeve, conversion chart.
- Web App: Open your browser, navigate to the analyzer page, click “Upload front” and “Upload back.”
- Mobile App: Download from the App Store or Google Play, grant camera permission, tap “Scan” or “Upload.”
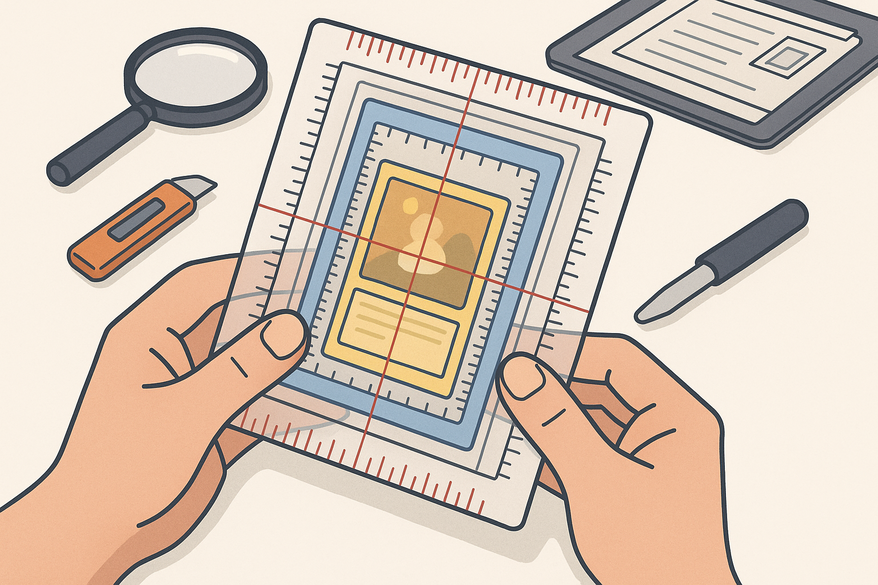
- Physical Gauge: Place the card under the template on a flat surface, read millimeter marks, then convert to percentages.
Detailed Tutorial on Using the Analyzer
Web-Based Tool Workflow
- Prepare the card: clean it and place on a non-reflective surface.
- Upload front image: ensure the full card is in frame, then click “Upload front.”
- Auto-detect & fine-tune: AI finds borders; drag guides if needed.
- Review front centering: ratios appear (e.g., 55/45).
- Repeat for the back image.
- Interpret results: see PSA, BGS, and CGC grade estimates.
Mobile App Workflow
- Open the app and start a new scan.
- Align the card within the guides; let AI calculate ratios.
- Adjust lines if necessary and review grade estimates.
Physical Gauge Workflow
- Place the card under the template.
- Read each side’s millimeter marks and convert to a percentage (e.g., 3 mm:2 mm = 60/40).
- Use color zones to identify grade-level centering.
Troubleshooting and Best Practices
Common Issues & Fixes
- Angled photos → retake directly above the card.
- Busy backgrounds → switch to a solid backdrop or adjust guides manually.
- Measurement variance → standardize your setup and average multiple readings.
- Sleeve glare → remove the card or use a matte sleeve.
Best Practices
- Maintain the same surface, lighting, and device position each session.
- Cross-check high-value cards with both digital and physical tools.
- Compare ratios to current PSA and BGS cutoffs—learn more in our PSA 10 centering requirements.
Practical Demonstration
Case study: Modern Pokémon card
- Front Analysis: 55/45 left/right, 60/40 top/bottom → PSA 9 estimate.
- Back Analysis: 65/35 left/right, 60/40 top/bottom → back is the limiting factor.
- Decision Matrix: submit at PSA 9 price or hold out for a better-centered copy.
Conclusion
In this tutorial, you’ve learned what a card centering analyzer is, how to set it up across web, mobile, and physical formats, and how to interpret centering ratios. Armed with these best practices, you can refine your pre-grading process, reduce submission fees, and make smarter buy/sell choices.
Call to Action
- Share your centering questions or favorite tools in the comments.
- Subscribe for more grading tutorials on corners, edges, and surfaces.
- Download our free pre-grading checklist covering centering, corners, edges, and surface details.
FAQ
- What is card centering? It’s the measure of how evenly the printed image sits within a card’s borders, impacting its grading score.
- Why does centering matter? Even slight off-centering can drop a card from Gem Mint to lower grades, affecting value significantly.
- Which ratio qualifies for PSA 10? PSA generally requires at least 55/45 centering on the front; back tolerances vary.
- Which tool is best? Use a web app for speed, a mobile app for convenience, and a physical gauge for cross-verification.