Card Centering Analyzer Tutorial: The Complete Step-by-Step User Guide
Master card centering with our tutorial. From setup to expert tips, learn to evaluate card alignment accurately for better grading results.

Estimated reading time: 10 minutes
Key Takeaways
- Precision: Automated edge detection ensures accurate centering ratios.
- Speed: Batch processing handles dozens of cards in minutes.
- Consistency: Standardized measurements align with major grading companies.
- Troubleshooting: Easy-to-follow fixes for skewed detection and low-contrast cards.
- Best Practices: Photo setup tips and expert workflows to optimize grading outcomes.
Table of Contents
- What Is a Card Centering Analyzer?
- Key Benefits of Using a Card Centering Analyzer
- Getting Started: Setup and Installation
- Detailed Walkthrough of the Tool’s Interface
- Step-by-Step Tutorial
- Troubleshooting and Common Issues
- Advanced Features and Customizations
- Best Practices and Expert Tips
- Automate Your Workflow with Card Centering Tool
- Conclusion & Additional Resources
- FAQ
What Is a Card Centering Analyzer?
A card centering analyzer is a software utility—either web-based or mobile—that measures the border widths around a trading card’s print area and calculates centering ratios (e.g., 60/40). By using edge-detection algorithms like Sobel filters or AI vision, the tool outputs precise left/right and top/bottom ratios. Whether you’re a hobbyist, reseller, or prepper for official grading, this analyzer streamlines the process.
If you prefer a manual approach, check out our step-by-step guide on how to measure card centering manually.
Key Benefits of Using a Card Centering Analyzer
- Accuracy: Automated edge detection reduces human error. See the tool’s accuracy page.
- Efficiency: Batch-upload dozens of cards with the Android app.
- Consistency: Standardized measurements via the iOS app produce uniform centering scores.
- Better Grading Decisions: Identify front/back limitations early using the grading estimation.
- For beginners, see Card Centering Basics: Essential Tips for Accurate Sports Card Grading.
Getting Started: Setup and Installation
System Requirements
- Device: Recent smartphone, tablet, or computer capable of handling high-resolution photos. Watch our system overview video.
- Camera: Clear, well-lit images—phone cameras are recommended.
- Browser/OS: Up-to-date Chrome, Firefox, Safari, Edge or latest Android/iOS.
Web-Based Tool Setup
- Open your browser and navigate to the centering analyzer page.
- Grant camera permission if prompted for live capture.
- No installation required—upload images directly.
Mobile App Setup (Android/iOS)
- Search “Card Centering Calculator” on Android or iOS.
- Tap Install/Get, then open the app and allow Camera & Photos access.
- Optional: Create an account to save history and collections.
Detailed Walkthrough of the Tool’s Interface
Main Workspace / Preview Area
- Central image panel shows your card with colored overlay lines for outer edges and print area from the web tool.
- Zoom controls or pinch-to-zoom for pixel-level inspection.
Upload / Capture Controls
- Buttons labeled “Upload front,” “Upload back,” or file-picker icons in the upload interface.
- Camera icon for live capture in mobile capture mode.
Measurement Guides and Adjustment Tools
- Draggable handles on each side for manual edge placement in the detection settings.
- Loupe or magnifier tool for pixel-perfect alignment in the loupe feature.
Results Panel / Metrics Display
- Displays left/right (e.g., 60/40) and top/bottom (e.g., 55/45) ratios via the results dashboard.
- Overall centering score and estimated subgrade per grading company.
Settings and Preferences
- Units (mm, px), detection sensitivity, perspective correction toggle in preferences.
- Select target grading profile (PSA, BGS, CGC, etc.).
Step-by-Step Tutorial
Step 1: Prepare Your Card and Workspace
- Remove the card from sleeves/top loaders; use a solid white or black background. See the TAG grading group post.
- Ensure even lighting—avoid glare and shadows; keep the card straight.
Step 2: Capture or Upload the Card Image
- Mobile: Select “Scan” or “Capture,” then hold the camera directly above the card for a bird’s-eye view, as shown in this PokeGrading thread.
- Web: Take photos externally, then click “Upload front” and “Upload back” on the web tool.
Step 3: Auto-Detect Borders
The tool runs edge-detection or AI vision to draw outer and inner border lines. Try the Android app.
Step 4: Manually Adjust Centering Parameters (If Needed)
Drag each border line to match the physical edge and printed area; use the iOS app loupe for precision.
Step 5: Run the Analysis
Formula: smaller border ÷ (sum of both borders) → ratio (e.g., 1.8 mm ÷ 3.0 mm = 60/40). Learn more about centering calculations.
Step 6: Interpret the Output
Review left/right and top/bottom ratios and overall score; note that the lowest of front/back ratios often determines the final centering grade in the ratio interpretation.
Troubleshooting and Common Issues
Issue 1: Auto-Detection Lines Are Crooked
- Causes: Camera angle, low contrast, perspective distortion.
- Fixes: Realign camera, use a plain background, or manually adjust guides. See our video guide.
Issue 2: Inconsistent Results Across Photos
- Causes: Angle or lighting variations.
- Fixes: Use a tripod, maintain consistent lighting, and capture multiple shots to choose the best.
Issue 3: Tool Struggles with Borderless or Thin-Border Cards
- Causes: Low contrast between the card and background.
- Fixes: Use a high-contrast background, manual edge placement, or tweak sensitivity in the web tool guide.
Issue 4: Front/Back Orientation Mismatch
- Causes: Different rotation or angle between front and back shots.
- Fixes: Replicate exact orientation and camera settings for both sides.
Advanced Features and Customizations
- AI-Based Vision and Multi-Attribute Analysis: Detects corners, edges, and surface defects for a holistic grade prediction—see our AI vision tools.
- Custom Grading Profiles: Choose per-company thresholds or define custom cutoffs in the iOS app.
- Batch Processing & Collection Management: Upload multiple cards, save results, and export to CSV/spreadsheets.
- Perspective Correction & Detection Controls: Enable/disable image rectification and tweak sliders for complex artwork as discussed in this PokeGrading thread.
Best Practices and Expert Tips
- Follow photo guidelines: unsleeved cards, contrasting background, perfect top-down alignment. Watch our video guide.
- Know grading cutoffs: PSA 10 often requires ≥55/45 on both axes—see PSA 10 centering requirements.
- Pre-screen purchases and submissions to sort cards into “Send,” “Maybe,” and “Don’t Send” piles.
- Combine numeric data with visual inspection—check color consistency and surface condition.
- Keep the tool updated: install app updates or clear your web cache via the Android app.
Automate Your Workflow with Card Centering Tool
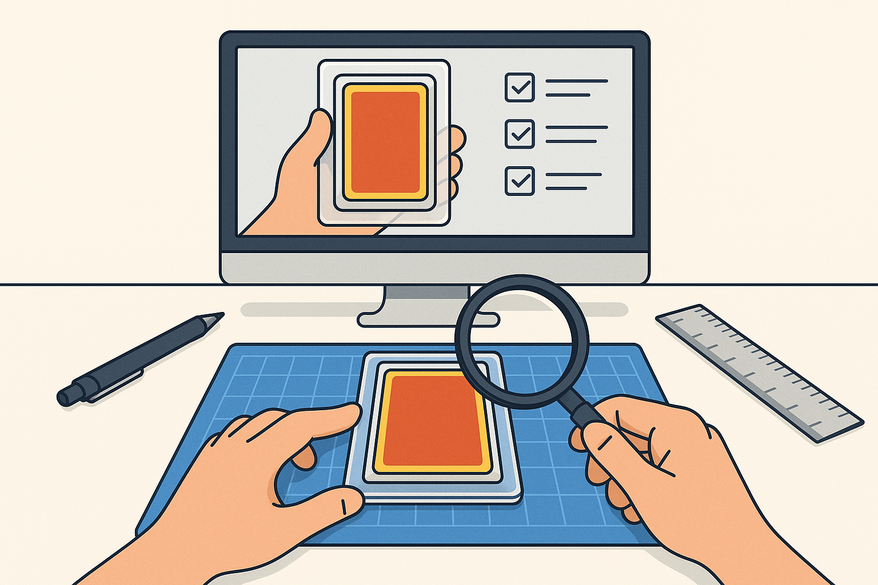
For faster, more precise analysis, try the Card Centering Tool web app. It automates edge detection and ratio calculation in seconds. Below is a quick preview:
Conclusion & Additional Resources
This tutorial has equipped you to measure card centering accurately, batch-process collections, and make informed grading decisions. Integrate these workflows to maximize your submission success and avoid surprises when cards return.
Additional Resources
- Official user manual or help center for your analyzer.
- YouTube walkthrough.
- TikTok demo.
- Community forums:
- Grading standards by PSA, BGS, CGC—see official centering guidelines on each company’s website.
FAQ
How accurate is the card centering analyzer?
Our analyzer uses advanced edge-detection and AI vision to achieve sub-millimeter precision, reducing human error and ensuring repeatable centering ratios.
Can I adjust the detection if the auto-lines are off?
Yes. Simply drag the border handles in the preview area, or use the loupe tool for pixel-perfect alignment.
Is there a limit to how many cards I can process?
The web app supports batch uploads of dozens of cards in one session. Mobile apps may vary by device performance.
Does the tool work for non-sports or borderless cards?
It can struggle with low-contrast or borderless prints. Use a contrasting background, higher sensitivity, or manual edge placement to improve results.