Mastering the Card Centering Analyzer Tutorial: A Step-by-Step User Guide
Learn how to master the card centering analyzer tool with this step-by-step guide and save money on grading by evaluating centering accuracy before submission.

Estimated reading time: 8 minutes
Key Takeaways
- Save fees by measuring centering before grading submissions.
- Automate precision with the Card Centering Tool.
- Manual guide adjustments refine AI-detected borders.
- Mapping ratios to PSA, BGS, CGC thresholds aids decision-making.
- Dual workflows: live scanning and batch image uploads.
Table of Contents
- 1. Introduction Overview
- 2. Understanding the Card Centering Analyzer
- 3. Installation and Setup
- 4. Detailed Usage Walkthrough
- 5. Advanced Features and Customizations
- 6. Troubleshooting
- 7. Summary and Best Practices
- FAQ
1. Introduction Overview
Avoid wasted grading fees by evaluating your card’s centering ratio before submission. This guide walks you through every step—from installation to advanced tips—so you pick only the best candidates for gem-mint potential. For more on fee avoidance, see How to Avoid Wasted Submission Fees Through Improved Centering.
To streamline measurements, try the Card Centering Tool, a web app that handles millimeter-precise centering analysis before fees add up:
What you’ll find in this guide:
- Understanding the analyzer
- Installation and setup
- Step-by-step usage
- Advanced features and customizations
- Troubleshooting tips
- Summary and best practices
2. Understanding the Card Centering Analyzer
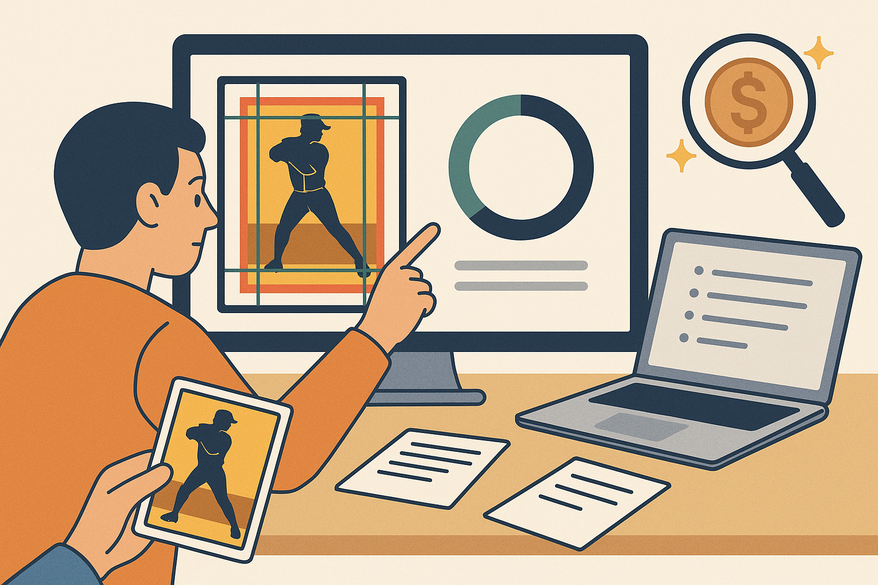
A card centering analyzer measures how well a trading card’s image is centered, outputting left/right and top/bottom ratios (e.g., 60/40). It then maps those ratios to PSA, BGS, or CGC subgrade thresholds. For a manual approach, visit How to Measure Card Centering: A Step-by-Step Guide for Collectors.
Why it matters: Centering is a key subgrade in PSA, BGS, SGC, CGC, TAG and ACE grading. Even a slight off-center can drop your grade by a full point.
- Scan or upload: Auto-rectify to a top-down view.
- AI detection: Millimeter-level border measurement.
- Manual guides: Refine edges for accuracy.
- Dual analysis: Front and back comparisons.
- Grade mapping: Instant PSA, BGS, CGC centering grades.
- Visualization: Preview common off-center ratios.
3. Installation and Setup
Prerequisites & System Requirements
- Device: iOS/Android or modern desktop browser
- Camera: Required for live capture
- Storage & RAM: App under 50 MB, ≥ 2 GB RAM
- Internet: Needed for download and optional processing
Mobile App Installation
- Open Google Play or App Store and search “Card Centering Calculator.”
- Verify publisher: Jade Lizard Software LLC.
- Tap Install/Get and wait for download.
- On first launch, grant camera and photo-library permissions.
Web Tool Setup
- Navigate to the centering tool on CardGrade or PriceCharting.
- Test image upload or enable camera capture.
- Optionally create an account for history and advanced features.
Initial Configuration
- Select grading companies (PSA, BGS, CGC, SGC, TAG, ACE).
- Adjust detection sensitivity or edge tolerance.
- Choose color themes or measurement units (mm vs px).
Troubleshooting Installation
- Installation fails: check storage and update OS.
- App crashes: force-close and reinstall.
- Camera permission denied: Settings → Apps → Card Centering Calculator → Permissions.
- Web errors: switch browsers or disable ad blockers.
4. Detailed Usage Walkthrough
Two primary workflows guide you through centering:
- Scan/Live Capture: Real-time detection and leveling.
- Upload Images: Batch evaluation of existing photos.
- Place your card on a contrasting, even-lit background.
- Capture or upload the front, ensuring a straight-on view.
- Drag manual guides to the printed border edges as needed.
- Record the horizontal/vertical ratio (e.g., 60/40).
- Repeat for the back to identify the limiting side.
- View the mapped grades and decide on submission.
- Save or export results and screenshots.
Manual ratio formula: (larger border ÷ total border) × 100 → centering percentage.
5. Advanced Features and Customizations
- Adjust sensitivity slider for high-contrast or busy designs.
- Create grading preference profiles for different companies.
- Switch color schemes or overlay modes to suit your environment.
- Select categories for sports vs. TCG border differences.
- Use manual guides on borderless cards or vintage styles.
- Set custom centering ranges for modern vs. vintage cards.
- Reuse templates for identical card designs.
- Enable batch processing in web tools.
- Use keyboard shortcuts (arrow keys, spacebar toggle).
- Auto-rectify tilted images for perfect alignment.
6. Troubleshooting
- Misread borders: improve lighting or adjust guides manually.
- Tilted images: use auto-level or retake.
- Discrepancies: ensure consistent guide placement front vs. back.
- Detection errors: zoom in or lower sensitivity.
- Upload hangs: resize images to 1500–2500 px and check your network.
7. Summary and Best Practices
- Always measure both front and back; use the poorer side for decisions.
- Maintain solid backgrounds, good lighting, and straight-on captures.
- Refine AI guides with manual adjustments for millimeter accuracy.
- Understand how centering ratios map to PSA, BGS and CGC standards.
- Follow a consistent workflow to maximize repeatability.
With this tutorial, you now have a data-driven method to choose the best cards for grading and avoid costly centering deductions.
FAQ
- Do I need to scan both front and back?
- Yes—grading uses the worse side as the determining factor.
- Can I scan sleeved cards?
- No—remove sleeves to eliminate glare and distortion.
- Does perfect centering guarantee gem-mint?
- No—other subgrades like corners and surface also matter.
- How accurate are these tools compared to official graders?
- They provide advisory measurements but are not guaranteed official standards.