Mastering Card Photo Editing for Grading: A Complete Guide
Learn card photo editing for grading to reveal card flaws accurately. This guide covers essential tools, best practices, and step-by-step editing techniques.
Estimated reading time: 8 min read
Key Takeaways
- Use consistent capture and lighting setups to reveal flaws accurately.
- Leverage industry-standard tools—Photoshop, Lightroom, GIMP—for precise corrections.
- Follow a step-by-step workflow: prepare, adjust levels, correct white balance, and export properly.
- Adopt best practices: regular monitor calibration, locked camera settings, and clean backgrounds.
- Avoid common mistakes: over-editing, inconsistent settings, dirty backgrounds, and misused filters.
Table of Contents
- Introduction
- Understanding Card Photo Editing for Grading
- Essential Tools and Software
- Step-by-Step Process for Editing
- Best Practices and Tips
- Common Mistakes to Avoid
- Case Studies & Comparisons
- Conclusion
- Additional Resources
- FAQ
Introduction
Card photo editing for grading means preparing images so that graders can see every flaw without any beautification. By the end of this guide, you’ll have a transparent, consistent workflow—and if you’d like more background on why grading matters, check out what is card grading and why does it matter.
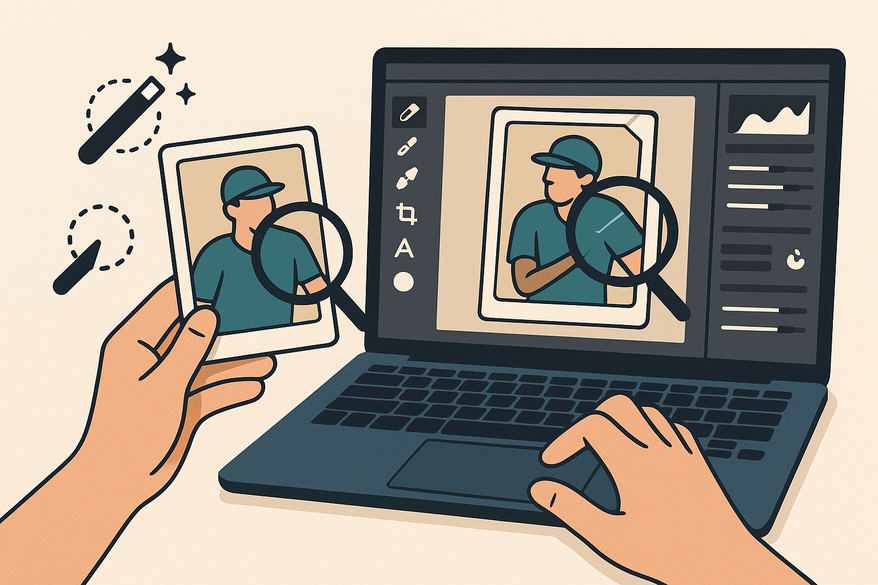
Understanding Card Photo Editing for Grading
“Card photo editing for grading” is about adjusting images to show a card’s true condition. Professional services evaluate corners, edges, centering, surface marks, and authenticity cues. Poor photo quality—like low resolution, bad lighting, or glare—can hide whitening, scratches, or off-center borders. Proper editing corrects exposure and color, removes distractions, and highlights flaws so graders see exactly what’s on your card.
- Definition: Image adjustments reveal edge wear, print lines, and surface marks.
- Grading metrics: Corners, edges, centering, surface, and authenticity checks.
- Impact of bad photos: Shadows or glare can mask whitening or scratches.
- Role of editing: Use exposure, contrast, and white balance to make flaws visible.
Essential Tools and Software
To edit card photos for grading, you need reliable software and hardware:
- Photoshop (paid)
- Curves, Levels, Masks for pixel-level control
- Create batch-action scripts for consistent edits
- Lightroom (subscription)
- Global adjustments: exposure, white balance, contrast
- Batch-sync edits across hundreds of images
- GIMP (free)
- Core tasks: crop, color correction, brightness/contrast
- Workflow is steeper but no cost barrier
- Calibration hardware
- X-Rite i1Display Pro or Datacolor SpyderX for monitor accuracy
- Recalibrate monthly to match real card colors
- CardGrade inspection tools
- Directional lighting rigs to expose edge and surface flaws
- Magnification setups for pre-capture defect discovery
Step-by-Step Process for Editing Card Photos for Grading
- Prepare the Photo
- Capture at ≥600 dpi or 24 MP using a DSLR or flatbed scanner.
- Use a clean, non-reflective gray/white background.
- Two LED lights at 45° angles prevent hotspots and shadows.
- Keep camera perpendicular to the card to avoid foreshortening.
- Basic Editing Workflow
- Crop tightly, leaving a 2–3 mm border for centering judgment. is my card off-center: how to tell before grading
- Adjust Levels: set black/white points so details aren’t lost.
- Correct white balance: sample neutral gray background.
- Increase contrast +10 to +20 to reveal edge wear and scratches.
- Advanced Techniques
- Dodge & Burn at 1–3% opacity to highlight or recover details.
- Use Clarity/Structure sparingly to avoid halos.
- Skip artistic LUTs or filters—focus on corrective grading only.
Best Practices and Tips for Optimal Card Photo Editing for Grading
- Monitor Calibration
- Recalibrate every 4 weeks using your X-Rite or Datacolor device.
- Ensures colors on screen match real card pigments.
- Consistent Settings
- Lock aperture, ISO, shutter speed, white balance, and light positions.
- Prevents variation across a photo series.
- File Management
- Save masters as 16-bit TIFF for archival quality.
- Export JPEGs at quality 80–90 for online or submission.
- Watermark Strategy
- Place a small watermark outside card edges or in a corner.
- Avoid covering defects or altering a grader’s view.
Common Mistakes to Avoid in Card Photo Editing for Grading
- Over-Editing: Excessive sharpness or saturation makes cards look better than reality.
- Inconsistent Settings: Varying white balance or exposure misleads graders across images.
- Dirty Backgrounds: Dust or creases can be mistaken for surface defects.
- Misused Filters: Artistic color grading can distort foil, holographic, or print textures.
Case Studies & Comparisons of Card Photo Editing for Grading
Case Study 1: Uneven Lighting vs. Corrected Exposure
Before: Side lighting hides corner whitening; shadows mask wear.
After: Dual 45° LEDs and Levels correction reveal true corner damage.
Case Study 2: Flat White Balance vs. Neutral Gray Correction
Before: Yellow-cast scan obscures accurate print colors.
After: Gray-background white balance reveals true tints and textures.
Annotations: Callouts point to corner dings, surface scratches, and centering off by ±1 mm. These examples show how proper editing for grading uncovers flaws without altering reality.
Conclusion
Card photo editing for grading is about transparency, not beautification. Thoughtful capture, precise exposure and color correction, and consistent workflows help graders see every scratch, whitening, and centering issue. Accuracy always beats enhancement. Practice different lighting rigs, editing steps, and compare results side by side. Your cards will get fair, accurate grades every time.
If you need precise centering measurements to complement your photo edits and avoid grading surprises, try out Card Centering Tool before submission.
Additional Resources
- PSA Grading Guide
- CardGrade Edge & Surface Inspection
- how to measure card centering: a step-by-step guide for collectors
FAQ
- What resolution should I use for card photos?
Aim for at least 600 dpi or a 24 MP image to capture fine details. - Can I retouch scratches to make my card look better?
No. Only corrective edits to reveal flaws are allowed—no beautification. - How often should I calibrate my monitor?
Recalibrate every 4 weeks with a hardware device for consistent color accuracy. - Is it acceptable to crop tightly around the card?
Yes, but leave a 2–3 mm border so graders can assess centering. - Which file format is best for archival and submission?
Save masters as 16-bit TIFF for archives and export JPEGs at 80–90 quality for grading submissions.


