How to Make a Homemade Card Centering Tool: The Ultimate DIY Jig Guide
Learn how to create a precise homemade card centering tool for crafting with this detailed DIY guide. Save time and achieve professional results.
Estimated reading time: 12 minutes
Key Takeaways
- Build a simple, cost-effective jig for precise card centering and repeatable accuracy.
- Use common materials—acrylic, foam board, wood—and basic tools you likely own.
- Follow a clear 4-step process: design, cut, assemble, and finish.
- Customize with movable stops, color-coded lines, higher fences, and sliding guides.
- Maintain your tool with non-slip pads, protective finishes, and regular accuracy checks.
Table of Contents
- Section 1: Understanding the Need
- Section 2: Materials & Tools You’ll Need
- Section 3: Build Your Homemade Card Centering Tool in 4 Steps
- Section 4: Customize Your DIY Centering Tool
- Section 5: Troubleshooting & Maintenance Tips
- Section 6: Conclusion & Call-to-Action
- Take Your Centering Further with the Card Centering Tool App
- FAQ
Section 1: Understanding the Need
Every crafter has faced uneven borders, crooked sentiments, or time-consuming manual measurements. A homemade card centering tool acts as a simple L-shaped jig that:
- Provides a fixed 90° corner reference for perfect right-angle alignment.
- Features built-in centerlines and ¼″ (5 mm) tick marks for quick grid placement.
- Enables repeatable placement—slide your card into the corner, match the center marks, and work without extra measuring.
This low-cost, quick-build jig brings consistent, professional accuracy to stamping, layering, and die-cut windows.
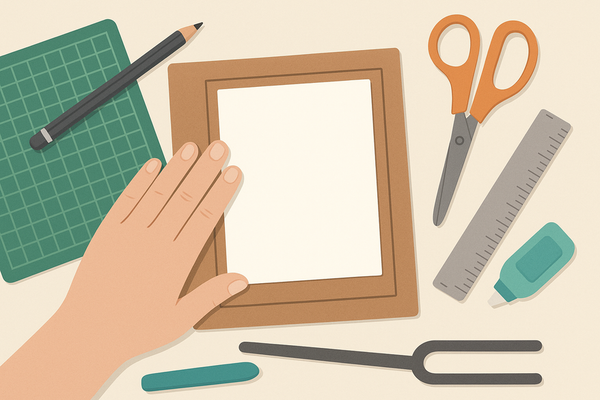
Section 2: Materials & Tools You’ll Need
Materials
- Base: Clear acrylic sheet (1/8″ × 8″ × 10″), wood/MDF board (¼″–½″ × 8″ × 10″), or foam board/chipboard for a budget option.
- Fence strips: 1″-wide wood or acrylic strips matching base edges.
- Marking elements: Self-adhesive ruler tape, laminated grid paper, or a fine-tip permanent marker.
- Adhesives: Wood glue, double-sided tape, or optional super glue for acrylic joints.
- Non-slip backing: Silicone pads, cork sheet, or shelf-liner.
- Finish (wood only): Clear acrylic spray or brush-on polyurethane.
Tools
- Steel ruler and set square for precise 90° checks.
- Craft knife & cutting mat, handsaw or circular saw, or acrylic scoring knife.
- Pencil and fine-tip marker for layout and labeling.
- Clamps or heavy books to hold fences during glue drying.
Cost-Saving Tips
- Repurpose scrap acrylic, MDF offcuts, or an old clipboard as your base.
- Look for hardware-store remnants at a discount.
- Print a grid on paper and seal with packing tape instead of buying ruler tape.
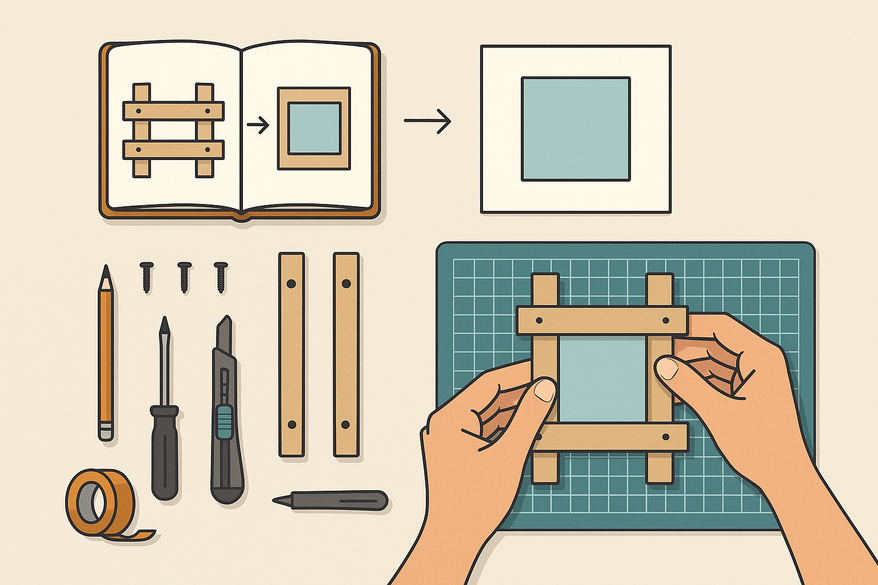
Section 3: Build Your Homemade Card Centering Tool in 4 Steps
Step 1: Design & Layout
- Decide on main card sizes (A2: 4.25″ × 5.5″, square: 5″ × 5″, trading: 2.5″ × 3.5″).
- Calculate base dimensions: largest card size + 2″ margin (e.g., 8″ × 10″).
- Plan fence placement: bottom fence on the long edge, left fence on the short edge for an L shape.
- Sketch a provisional grid: centerlines and ¼″ tick marks outward.
Pro tip: Ten minutes of planning prevents re-cuts later.
Step 2: Cutting & Marking
- Cut the base: mark and cut your 8″ × 10″ rectangle using the appropriate tool.
- Cut fence strips: match the full base width and height; sand edges straight.
- Draw reference lines: pencil center vertical and horizontal lines, add tick marks every ¼″ (or 5 mm).
- Prepare grid or ruler tape: trim to fit and check accuracy before adhering.
Step 3: Assembly
- Attach bottom fence: apply adhesive, align flush, use a set square, and clamp until cured.
- Attach left fence: repeat on the short edge, verifying the 90° corner.
- Add grid or ruler tape: bubble-free adherence and seal with clear tape or overlay; draw with permanent marker if hand-marking.
- Label fences: mark common dimensions (2.5″, 3.5″, 4.25″, 5″, 5.5″) and highlight center points.
Step 4: Finishing & Validation
- Add non-slip pads to the underside corners or full base.
- Seal wood surfaces and markings with a protective finish.
- Optional: cut a finger notch or drill a U-shaped window for better mark visibility.
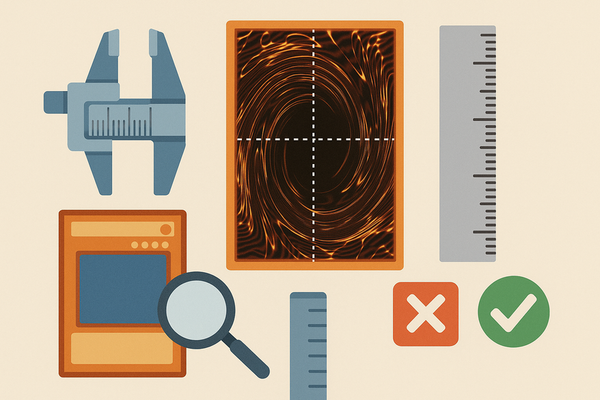
- Test accuracy: slide a sample card into the corner, measure border widths, and fine-tune any discrepancies.
Final note: Add a usage reminder (e.g., “For A2: flush at corner, center at 2.125″”) to turn your jig into a pro-grade alignment tool.
Section 4: Customize Your DIY Centering Tool
- Movable Stops: Glue rare-earth magnets under fences and use steel or magnetic blocks.
- Color-Coded Centerlines: Print or draw lines in different colors for each card size.
- Higher or Dual Fences: Increase fence height to 1.5″ for thicker layers.
- Sliding U-Frame Guide: Build a removable foam board frame that slides along the fences.
- Multi-Use Integration: Route a scoring groove or embed a magnetic sheet for die cutting.
Personal tip: My sliding U-frame halved my setup time for shaker cards and keeps the jig versatile.
Section 5: Troubleshooting & Maintenance Tips
- Tool slides: Add more pads or cover the bottom with shelf-liner.
- Uneven borders: Recheck fence angles with a square and confirm center mark placement.
- Worn markings: Redraw with an archival marker and reseal with laminate or spray.
- Loose joints: Reinforce with brad nails, screws, or clear epoxy for acrylic.
- Warping: Store flat in a dry space; switch to MDF or acrylic if foam board warps.
- Cleaning: Wipe acrylic with mild soap and water; avoid ammonia; dust after each use.
Section 6: Conclusion & Call-to-Action
By building your own jig you get:
- Faster batch alignment and pro-looking borders.
- Consistent results for stamping, layering, and window openings.
- A customizable, budget-friendly tool for your craft studio.
Now it’s your turn:
- Share a photo of your finished tool in the comments.
- Tell us about any custom tweaks—magnetic stops, color codes, sliding guides.
- Ask questions or suggest features you’d love to see.
Ready for more DIY insights? Check out our DIY Card Centering Techniques: Home vs. Professional Methods for Optimal Grading.
Take Your Centering Further with the Card Centering Tool App
If you’d rather skip manual measurements and get sub-millimeter accuracy automatically, try the Card Centering Tool. This web app analyzes your card photo and instantly reports centering ratios against PSA, BGS, and CGC tolerances—saving you grading fees and guesswork.
FAQ
- What materials do I need to build this centering tool? Gather a sturdy base (acrylic, MDF, or foam board), fence strips, grid tape or paper, adhesives, non-slip backing, and basic cutting tools.
- Can I adjust the size for larger or smaller cards? Absolutely—you only need to recalculate the base dimensions (card size + 2″ margin) and trim your materials accordingly.
- How do I ensure a perfect 90° angle? Use a quality steel set square to check each fence before glue cures; clamps help hold the joint tight.
- How do I maintain my tool’s accuracy? Regularly reseal worn markings, reinforce loose joints, and store the jig flat in a dry area.
- Can I use alternative materials? Yes—chipboard, picture-frame backing, even an old clipboard can become the base as long as it’s flat and square.