How to Photograph Trading Cards for Grading: A Step-by-Step Guide
Master how to photograph trading cards for grading. Learn essential tips for capturing clear, detailed images to ensure accurate grading results.
Estimated reading time: 7 minutes
Key Takeaways
- Accuracy is everything: High-quality, honest images reveal corners, edges, centering, and surface flaws essential for grading.
- Consistent setup: Use steady mounts, even lighting, and neutral backdrops to standardize your shots.
- Step-by-step workflow: Clean, position, light, focus, and capture multiple angles to document every detail.
- Avoid common pitfalls: Minimize glare, misalignment, blur, and overediting to maintain integrity.
- Ethical post-processing: Limit edits to brightness, white balance, and minor contrast; avoid altering the card’s true condition.
- Organize for efficiency: Use a clear folder structure and proper file formats for easy retrieval and grading submissions.
Table of Contents
- Why Proper Photography Matters for Grading
- Essential Equipment and Setup for Card Photography
- Step-by-Step Guide to Photographing Trading Cards
- Common Mistakes and How to Avoid Them
- Post-Processing and File Preparation
- Conclusion and Final Tips
- FAQ
1. Why Proper Photography Matters for Grading
Understanding grading criteria is the first step when you learn how to photograph trading cards for grading. Grading services evaluate cards based on:
- Corners – sharpness and wear
- Edges – chipping or fraying
- Centering – uniform borders
- Surface quality – scratches, print lines, scuffs
- Print integrity – color consistency and focus
Poor photography can mislead graders and collectors by masking defects or skewing color. Honest, detailed images:
- Eliminate glare that hides scratches.
- Ensure sharp focus to reveal edge wear.
- Maintain even lighting for true-to-life hues.
- Keep cards aligned to accurately display centering.
“Clear, honest images speed up processing, reduce disputes, and preserve your card’s true value.”
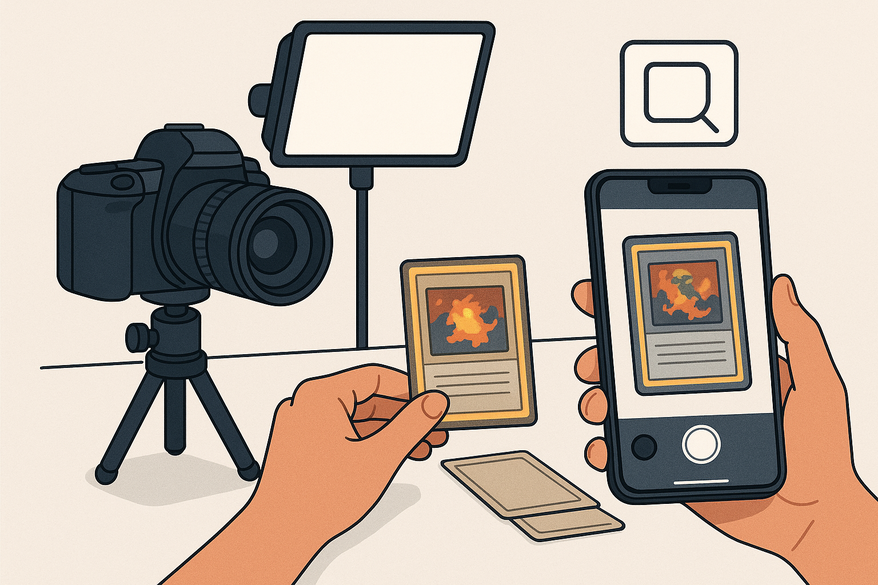
2. Essential Equipment and Setup for Card Photography
You don’t need a full studio—just consistent tools to capture every detail:
- Camera – smartphone with manual focus/exposure or an entry-level DSLR.
- Tripod or stable mount – prevents shake and maintains framing.
- Lighting – diffused LED lamps, softboxes, or natural window light.
- Backdrop – plain neutral background (black, white, or gray).
Budget vs. professional:
- Budget: smartphone + books as a stand + natural light + paper backdrop.
- Pro: mirrorless/DSLR + copy stand + LED lighting kit + photography mat.
For more gear insights, check out camera basics and lighting techniques.
3. Step-by-Step Guide to Photographing Trading Cards
Follow these precise steps for consistent, true-to-condition images:
- Clean the card area: wipe dust off the backdrop; wear gloves to avoid fingerprints.
- Position the card: lay flat and parallel to the camera using gridlines.
- Arrange lighting: place two sources at 45° angles; use diffusers to eliminate glare.
- Set focus & exposure: on smartphone, lock focus/exposure; on DSLR, use ISO 100–200, f/5.6–f/8, ≥1/125 s.
- Check color accuracy: set a custom white balance or use neutral white bulbs.
- Capture multiple shots: front, back, corner close-ups, and flaws.
- Review at full size: zoom in to inspect and retake if necessary.
Pro Tip: When shooting holo or refractor cards, adjust light angles to avoid hot spots.
To quantify centering ratios automatically, use the Card Centering Tool web app.
4. Common Mistakes and How to Avoid Them
Small errors can hide defects. Here’s how to dodge them:
- Glare: shift light angles or use polarizing filters.
- Misalignment: use gridlines or a copy stand for level shots.
- Poor lighting: add side lights for even coverage.
- Blur: mount on a tripod and use a timer or burst mode.
- Overediting: stick to brightness and white balance fixes only.
- Excessive cropping: leave a margin so borders remain visible.
Learn more about measuring centering manually in this step-by-step guide.
5. Post-Processing and File Preparation
After shooting, keep your edits honest and your files organized:
- Safe edits: brightness, white balance, minor contrast, straightening.
- Avoid: removing scratches, heavy filters, smoothing surfaces.
- File formats: JPEG for submissions, PNG for archival.
- Resolution: ≥2,000 px on the longest side.
- Organizing: use a clear folder structure like 2026/Baseball/Topps/1989/Griffey_Jr_#199/Front.jpg.
Proper file management supports grading submissions and insurance records.
Conclusion and Final Tips
Mastering how to photograph trading cards for grading ensures every image reflects your card’s true condition. With consistent lighting, precise framing, and ethical editing, you’ll:
- Showcase corners, edges, centering, and surface flaws.
- Achieve accurate grading and minimize surprises.
- Build reliable records for insurance, resale, or personal archives.
Practice regularly to refine your workflow and achieve professional-quality results every time.
FAQ
- What lighting setup works best for card photography?
- Use two diffused light sources at roughly 45° angles to eliminate glare and shadows. Softboxes or LED desk lamps with diffusers are ideal.
- Do I need a professional camera?
- No—modern smartphones with manual focus/exposure controls can produce excellent results when paired with a stable mount and good lighting.
- How much should I post-process my images?
- Keep edits minimal: adjust brightness, white balance, and minor contrast only. Avoid anything that alters the card’s true appearance.
- What file resolution is recommended?
- Aim for at least 2,000 pixels on the longest side and save as JPEG for submissions or PNG for archival.
- How do I organize my card photos?
- Create a logical folder structure by year, sport, brand, and player/card identifier to easily locate and compare images.


