Trading Card Photography Guide: How to Capture Cards for Grading Accuracy
Learn how to capture high-quality images of trading cards for grading accuracy. This guide covers lighting, camera settings, composition, and post-processing.
Estimated reading time: 8 minutes
Key Takeaways
- Lighting and diffusion are critical to minimize glare and shadows.
- Camera settings (aperture, shutter speed, ISO, white balance) ensure sharp, color-accurate images.
- Composition—keep the sensor plane parallel and the card centered for accurate grading.
- Post-processing should be minimal and truthful to preserve grading integrity.
- Consistent practice and the right gear yield professional-quality photos for grading, sales, and documentation.
Table of Contents
- 1. Understanding the Basics of Trading Card Photography
- 2. Essential Equipment and Tools for Trading Card Photography
- Cameras and Lenses
- Lighting Equipment
- Other Tools
- 3. Step-by-Step Photography Techniques for Photographing Trading Cards
- 4. Post-Processing for Grading Clarity
- 5. Troubleshoot Card Photography: Common Mistakes
- 6. Trading Card Photography Guide: Further Reading
- FAQ
1. Understanding the Basics of Trading Card Photography
Trading card photography is the art and technique of capturing still images that accurately represent a card’s condition for grading, sales, insurance, and recordkeeping. Clear photos allow graders to evaluate centering, edges, corners, surface flaws, print lines, and color fidelity when in-person inspection isn’t possible.
Common uses:
- Grading submissions and pre-grading reviews
- Online listings for eBay, COMC, and other marketplaces
- Insurance claims documentation
- Cataloging personal collections
Common challenges:
- Reflections and glare from glossy or holofoil surfaces
- Harsh shadows around edges
- Color balance shifts under mixed lighting
- Motion blur or autofocus errors
Sources:
2. Essential Equipment and Tools for Trading Card Photography
Cameras and Lenses
- DSLR or mirrorless camera with a dedicated macro lens (1:1 reproduction) for sharp close-ups.
- Recommended focal lengths: 60mm–105mm macro prime for minimal distortion.
- Smartphone with a clip-on macro filter (5×–15× magnification) as a budget-friendly alternative.
Sources:
Lighting Equipment
- Natural light: indirect window light with a sheer diffuser yields soft, even illumination.
- Soft boxes: 18″×24″ rectangular soft box for controlled, shadow-free coverage.
- LED panel lights: daylight-balanced (5600K) with adjustable brightness for consistent color.
- Ring light (optional): position at 45° or use diffusers to avoid circular reflections.
Source: Photography Life Natural Light Tips
Other Tools
- Sturdy tripod or copy-stand to eliminate camera shake.
- Card sleeve or acrylic holder to keep cards flat and dust-free.
- Neutral backgrounds (white, gray, or black polypropylene sheet).
- Microfiber cloth for gentle cleaning.
- Remote shutter release or camera timer to prevent vibration.
3. Step-by-Step Photography Techniques for Photographing Trading Cards
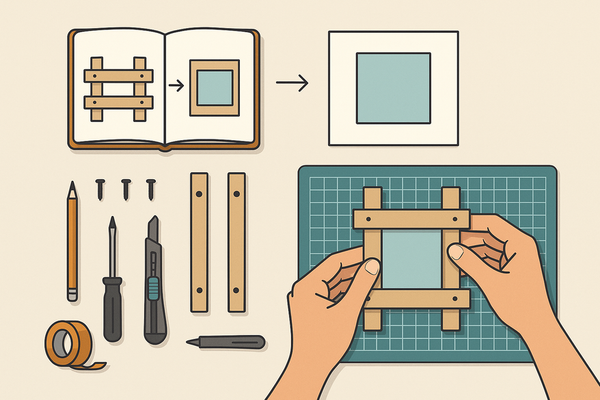
- Prepare the Card and Workspace
- Clean the card gently with a microfiber cloth.
- Place cards flat in sleeves or holders on a dust-free surface.
- Use an uncluttered, neutral backdrop.
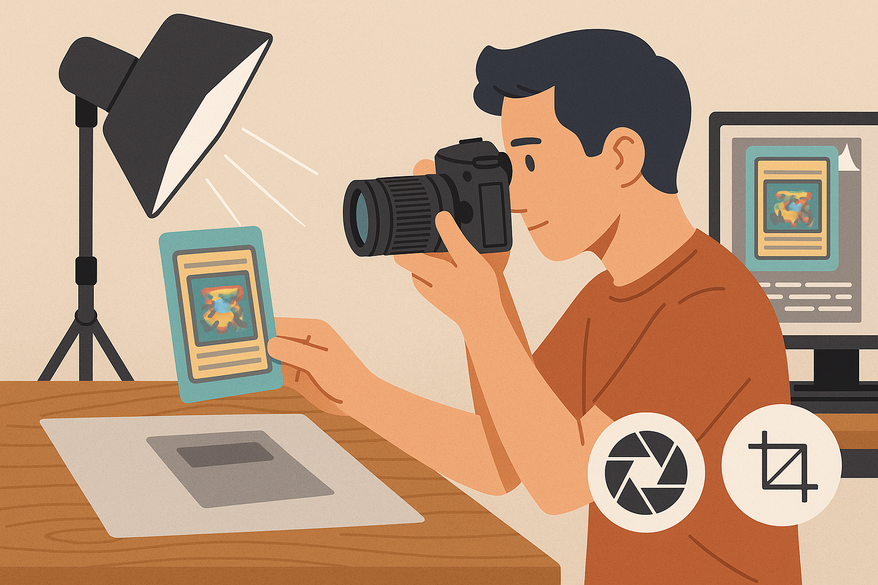
- Set Up the Lighting
- Position two light sources at 45° angles to minimize direct glare.
- Place diffusers (white umbrellas or sheer fabric) in front of each light.
- Use the same model of bulbs or panels for uniform color temperature.
- Configure Camera Settings (source: Digital Photography School White Balance Guide)
- Focus mode: single-point autofocus or manual focus with live view magnification.
- Aperture: f/8–f/11 for maximum depth of field.
- Shutter speed: ≥1/125 sec on a tripod; 1/250 sec when hand-holding.
- ISO: 100–200 to minimize noise.
- White balance: custom Kelvin (e.g., 5600K) or gray card reference.
- Minimize Reflections and Glare
- Tilt lights slightly instead of the card to change the angle of incidence.
- Move the camera off-axis if glare persists.
- Use softer light or a shallower angle for holofoil or chrome cards.
- Frame and Compose the Shot
- Keep the camera sensor plane parallel to the card surface.
- Center the card with equal margins on all sides.
- Ensure full visibility of all four corners and edges.
For detailed instructions on measuring card centering ratios, see our step-by-step guide.
4. Post-Processing for Grading Clarity
Keep edits minimal and truthful to maintain grading accuracy. A basic workflow includes:
- Crop and straighten so card edges are parallel to the frame.
- Adjust exposure and contrast to reveal surface details without creating false defects.
- Correct white balance so neutrals appear neutral.
- Apply mild sharpening (50–75% amount; radius 1.0–1.5) to enhance fine textures.
Recommended software:
- Adobe Lightroom Quick Start – batch edits and color management
- Adobe Photoshop Camera Raw for selective corrections
- Snapseed (mobile) for on-the-go tweaks
- Apple Photos or Google Photos for basic adjustments
5. Troubleshoot Card Photography: Common Mistakes
- Blurry Images: Confirm focus in live view, use a tripod, or increase shutter speed.
- Overexposed Photos: Lower exposure compensation, dim lights, and review the histogram.
- Poor Focus or Soft Edges: Switch to manual focus, stop down aperture (up to f/16) with care for diffraction.
- Excessive Glare: Re-angle lights, add extra diffusion, or darken ambient room light.
- Uneven Color or Color Casts: Avoid mixing light sources and re-calibrate white balance using a gray card.
6. Trading Card Photography Guide: Further Reading
Recap of the five pillars:
- Lighting
- Camera settings
- Composition
- Focus
- Post-processing
Official grading guides:
- PSA Grading Basics
- SGC FAQ
- Beckett Grading Overview
- CGC Comic Grading Resources
- PSA vs. BGS vs. CGC Centering Tolerances
Beyond great photography, accurate centering is equally crucial to achieving top grades. Try Card Centering Tool to automatically measure your cards’ centering and check tolerances before grading.
Call to Action: Apply these steps to your own cards and compare before/after shots. Share your images on social media with #CardCapturePro and join our community of collectors and photographers.
FAQ
- What camera settings yield the sharpest images?
- Use aperture f/8–f/11 for maximum depth of field, ISO 100–200 to minimize noise, and shutter speed ≥1/125 sec on a tripod.
- How can I reduce glare on glossy or holofoil cards?
- Position lights at 45° with diffusion, tilt lights instead of the card, and move the camera off-axis if needed.
- Is a smartphone sufficient for card photography?
- Yes—modern smartphones with a clip-on macro filter can achieve excellent results, especially in controlled lighting.
- How much post-processing is acceptable before sending for grading?
- Keep edits minimal: crop, straighten, adjust exposure/contrast, correct white balance, and apply mild sharpening only.
- What background is best for grading photos?
- Use a neutral, distraction-free backdrop (white, gray, or black) to keep the focus on the card.