Card Centering Analyzer Tutorial: The Ultimate Step-by-Step Guide
Master the card centering analyzer tutorial for accurate grading decisions with our ultimate step-by-step guide covering setup, tools, and best practices.

Estimated reading time: 8 minutes
Key Takeaways
- Learn to measure border widths with digital and physical analyzers.
- Use AI-driven tools for precise centering ratios (e.g., 60/40, 55/45).
- Interpret results against PSA, BGS, CGC, SGC, TAG, ACE grading standards.
- Follow best practices for image capture, lighting, and manual fine-tuning.
- Troubleshoot common issues and explore advanced features for batch processing and custom profiles.
Table of Contents
- Understanding the Card Centering Analyzer
- Getting Started (Installation & Setup)
- Step-by-Step Tutorial
- Tips & Best Practices
- Troubleshooting Guide
- Advanced Features & Customizations
- Conclusion
- Call to Action
Introduction
A card centering analyzer tutorial teaches collectors and graders how to use digital or physical tools to measure how well a trading card’s image is centered within its borders. A card centering analyzer is a specialized tool—either an online calculator, mobile app, or plastic gauge—that measures border widths on all four sides and converts those numbers into centering ratios (for example, 60/40 or 55/45). These ratios help predict grading outcomes and guide submission decisions. Mastering this centering analyzer tutorial is critical for achieving top grades (PSA, BGS, CGC, SGC, TAG) and avoiding costly mis-submissions.
For a seamless online centering measurement experience, check out Card Centering Tool, a free web app that instantly analyzes your card photos to determine if they meet PSA, BGS, or CGC standards before you submit.
In this step-by-step guide, you’ll find:
- An overview of how these tools work
- Setup instructions for digital and physical analyzers
- A detailed workflow for capturing images, auto-detecting borders, measuring ratios, and interpreting results
- Tips, troubleshooting steps, and advanced features
- A clear call to action to practice and improve your grading strategy
Understanding the Card Centering Analyzer
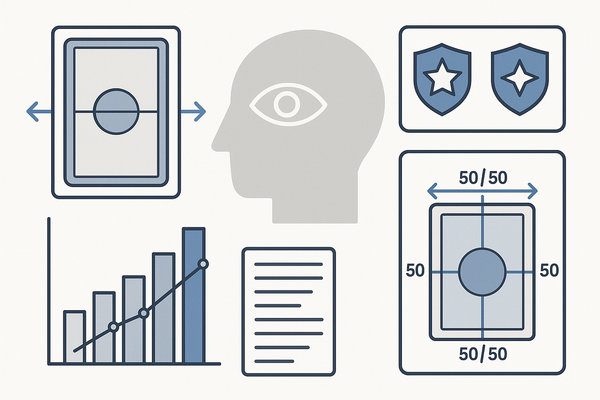
A card centering analyzer measures border widths on the left, right, top, and bottom of a trading card to compute centering percentages. These percentages inform collectors whether a card meets grading standards.
Core functionalities:
- Border measurement
– Formula: smaller border ÷ (smaller + larger) = centering percentage
– Example: 1.8 mm ÷ (1.8 mm + 1.2 mm) = 60/40 centering - Front and back analysis
– Analyzes both sides; grading uses the worse ratio - Automatic AI detection
– Uses computer-vision to detect edges and correct perspective - Manual fine-tuning
– Drag guides on each edge for precise alignment - Grading standard comparison
– Maps ratios to expected grades under PSA, BGS, CGC, SGC, TAG, ACE
Want an in-depth look at how PSA, BGS, and CGC tolerances stack up? See our centering tolerances compared here.
Benefits & applications:
- Pre-grading evaluation
Decide submission worthiness by checking centering thresholds—before you pay grading fees. For manual measurement techniques, refer to our guide. - Buying/selling decisions
Analyze auction photos to avoid overpaying for off-center cards - Set building & personal collection
Ensure key cards meet your centering standards - Consistent grading strategy
Reduce bias with objective measurements
Getting Started (Installation & Setup)
Before you begin this centering analyzer tutorial, gather your tools and prepare your card.
Prerequisites:
- Device
Smartphone, tablet, or computer with camera or scanner - Software
Web-based center tool (e.g., CardGrade.io) or mobile app - Card prep
Remove sleeves; use a contrasting background; shoot straight-on. For detailed photography tips, see the trading card photography guide.
Installation & Access:
- Online tools
Open in browser; no account needed; supports front/back uploads - Mobile apps
Install from App Store or Google Play; grant camera access; enable high-res export - Physical tools
Peel protective film from plastic gauge; keep microfiber cloth handy
Step-by-Step Tutorial
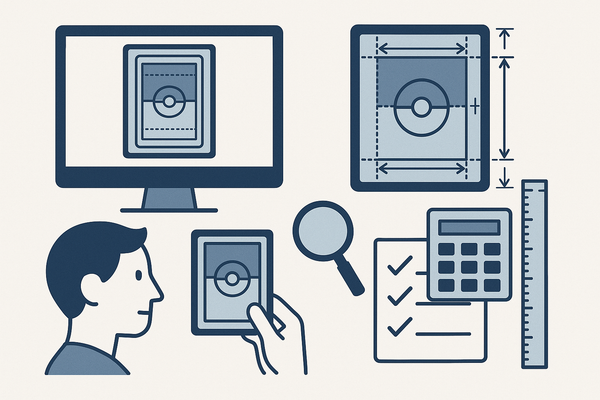
Follow these steps in our card centering analyzer tutorial to measure centering accurately.
Step 1: Capture or Upload Card Image
- Remove sleeves; place card on a solid, contrasting background.
- Take straight-on photos or scans of the front and back.
- Choose the sharpest images with minimal tilt.
- In a web tool: click “Upload Front” then “Upload Back.”
- In an app: use the built-in scanner or import photos.
Step 2: Auto-Detect & Adjust Borders
- Auto-detection uses AI to draw guides around detected edges.
- Drag the top, bottom, left, and right guides to align with the card’s borders.
- Zoom in for precise placement on narrow or patterned edges.
Step 3: Measure & View Centering Ratios
- Click “Measure” or “Calculate.”
- The tool computes border widths and displays ratios like 60/40 (Left/Right) and 55/45 (Top/Bottom).
- Review results for both front and back; note the off-center direction.
- See grading thresholds for PSA, BGS, CGC, SGC, TAG, ACE overlaid on results.
Step 4: Compare Front vs Back & Overall Verdict
- Identify which side has the worse centering ratio.
- Green/acceptable zones mean go ahead and submit.
- Red/out-of-range zones mean hold, raw sell, or reattempt scanning.
- Save or export your report for listings or records.
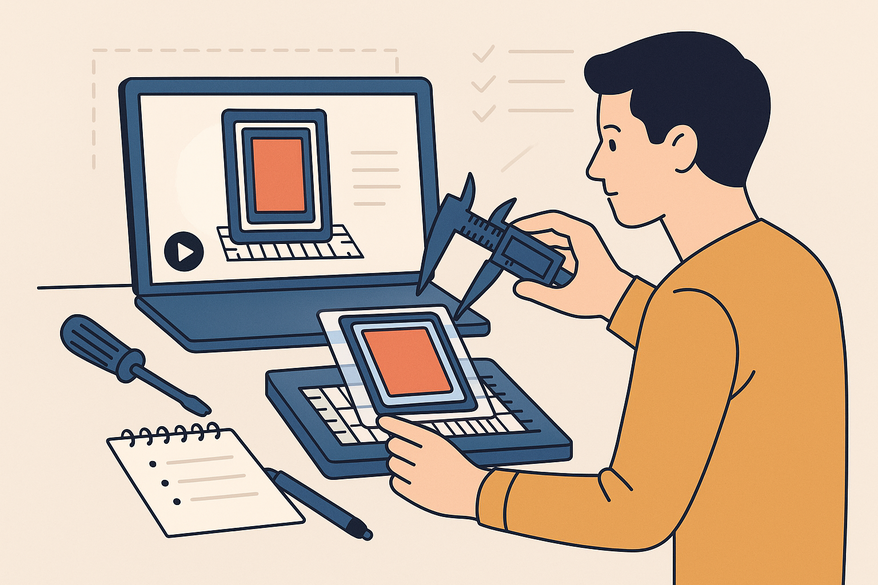
Step 5: Using a Physical Centering Tool (Optional)
- Remove films for clarity on plastic gauges.
- Align the card behind the transparent tool using printed scales.
- Read numbers (e.g., 3 and 2) and convert to percentages (e.g., 64/36).
Tips & Best Practices
- Use straight-on images; avoid perspective distortion.
- Take multiple shots to confirm consistent results.
- Employ uniform, diffuse lighting to prevent shadows or glare.
- Work with cards having distinct borders; manual adjustment for pattern-heavy designs.
- Always fine-tune guides manually after auto detection.
- Learn grading company centering thresholds (e.g., Gem Mint often accepts 55/45).
Common mistakes to avoid:
• Measuring sleeved cards • Ignoring the back side • Relying on a single guide placement • Skipping tool-specific image guidelines
Troubleshooting Guide
- Auto detection misaligns borders: retake photo with better lighting/angle; adjust guides manually.
- Inconsistent results: standardize distance/angle; use a tripod; try a scanner.
- Difficulty with borderless designs: manually define frame edges; zoom in.
- Upload errors or file issues: verify JPG/PNG, file size, internet; switch browsers.
- Physical vs digital mismatch: realign card on gauge; confirm conversion chart; use digital as reference.
Advanced Features & Customizations
- AI-driven multi-point inspection: evaluate borders, corners, edges, and surfaces in one scan.
- Custom grading profiles: set your own centering thresholds for different companies.
- Batch processing: analyze multiple cards or entire sets at once.
- Precision loupe & zoom tools: magnify and measure very thin or patterned borders.
- Data export & tracking: integrate with collection management tools for long-term analytics.
- Custom overlays & templates: pre-set guides for frequent measurements of specific card sets.
Conclusion
In this card centering analyzer tutorial, you’ve learned:
• What a card centering analyzer is and why objective centering analysis matters
• How to prepare your device, software, and card for analysis
• A step-by-step workflow: capture images, auto-detect borders, fine-tune guides, measure ratios, and interpret results
• Best practices, troubleshooting tips, and advanced features to refine your process
By mastering these steps, you’ll make smarter grading decisions, save money on submissions, and ensure consistent centering results. Continue exploring different analyzers, participate in community forums, and practice to perfect your technique.
Call to Action
Ready to transform your grading strategy with this card centering analyzer tutorial?
• Try a free online tool now
• Install a mobile app
• Practice capturing, measuring, and comparing visual vs. objective centering ratios
• Share your feedback in collecting forums
• Subscribe for more tutorials on corners, edges, surface analysis, and grading-company standards
Master objective centering today and unlock higher card grades tomorrow!
FAQ
- What types of analyzers are available? Online calculators, mobile apps, and plastic gauges all offer methods to measure card centering.
- How accurate is a card centering analyzer? Modern tools use AI and precise scales for millimeter-level accuracy on border widths.
- Can I use these tools for any card size? Yes—most digital tools accommodate standard trading-card dimensions; physical gauges support common sizes or include guides.
- What’s the best way to ensure consistent results? Use straight-on, well-lit photos or a scanner, take multiple shots, and fine-tune guides manually.
- How do I interpret centering ratios? Compare the smaller-to-larger border ratio (e.g., 55/45) against grading standards for PSA, BGS, CGC, SGC, TAG, and ACE.