How to Check Centering Before Grading: Step-by-Step Guide
Learn how to check centering before grading your trading cards. Master the ratio method, PSA standards, and top tips for accurate pre-grade estimates.

Estimated reading time: 9 min
Key Takeaways
- Card centering is an important factor in grading—measured as a ratio like 55/45.
- Check both front and back centering for PSA, BGS, CGC, and TAG standards.
- Use the 'eye test,' millimeter ruler, and digital tools for best results.
- Proper photos, straight-on angles, and good lighting are essential for accuracy.
- Apps like Midpoint offer centering estimates before you grade.
Wondering how to check centering before grading your trading cards? Card centering—how evenly the image sits within its borders—can have a significant impact on your card’s final grade and value. Whether you collect Pokémon, sports, or TCG cards, understanding centering, how to measure it, and what standards apply can help you make informed decisions before submitting for grading. This comprehensive guide covers everything: from what is card centering, how to measure card centering using ratios (like 55/45), to why both front and back centering matter, and how to check centering with confidence before submitting for grading.
Step 1: Understand What Card Centering Is and Why It Matters
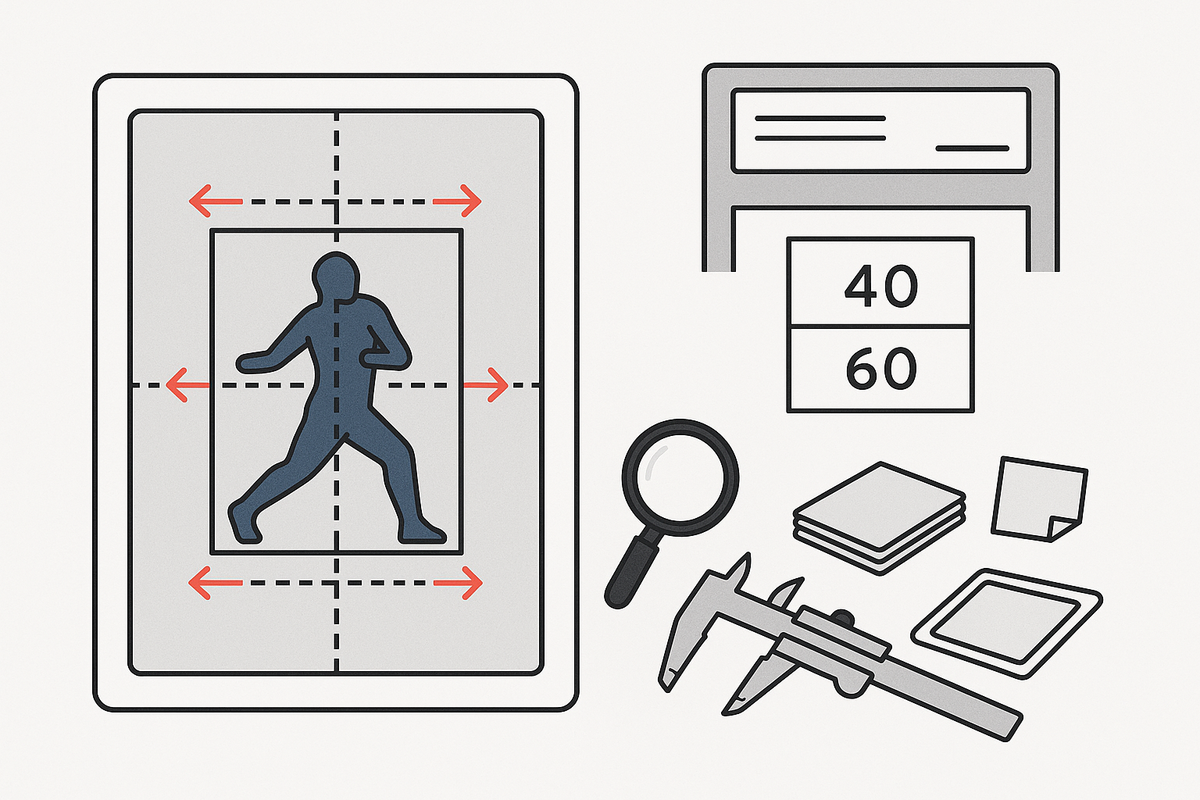
Card centering describes how well the printed image is aligned within the card’s borders—both horizontally (left/right) and vertically (top/bottom). Even small shifts can affect the card’s "eye appeal," grade, and ultimately, its market value.
Most grading companies like PSA, BGS, CGC, and TAG assess centering using a ratio, such as 55/45 or 60/40. For example, 55/45 means one border is 55% of the total width, the other is 45%. The closer to 50/50, the better the centering.
- Good centering for a card is generally considered 60/40 or better for a PSA 9, and 55/45 or better for a PSA 10 (front side).
- Both the front and back are checked, but stricter standards typically apply to the front.
- Poor centering can lower your card’s grade.
For a deeper dive into how centering impacts value, see How Centering Impacts Card Value: A Detailed Guide.
Step 2: Use the Visual 'Eye Test' (Squint Test) First
Before you break out rulers or apps, start with a simple but effective visual inspection. This 'eye test' helps spot obvious off-centering and saves time.
- Hold the card at eye level under good, even lighting.
- Squint or blur your vision slightly to focus on the card’s borders, not the artwork.
- Check if the left/right and top/bottom borders look symmetrical.
- Flip the card and repeat on the back—many cards have worse centering on one side.
If one border looks noticeably thicker or thinner, your card may not meet top grading standards. However, subtle off-centering may require measurement for confirmation.
Want to learn how AI tools improve this process? Read How AI Transforms Card Centering Analysis.
Step 3: Photograph Your Card Correctly for Accurate Checks
To measure centering precisely—by hand or with an app like Midpoint—you need a straight, distortion-free photo:
- Lay the card flat on a clean, neutral background.
- Use even, bright lighting to avoid shadows and glare on the borders.
- Hold the camera directly above the card (not at an angle) to avoid perspective distortion.
- Frame the card so all borders are clearly visible.
Check for tilt or rotation—angled photos can make a well-centered card look off-center. If necessary, retake the photo until the card appears perfectly upright and rectangular.
Step 4: Measure Border Widths with a Millimeter Ruler
The most common manual method for how to measure card centering is with a precise ruler:
- Measure the left and right borders (from the card's edge to the start of the artwork) to the nearest 0.5 mm.
- Measure the top and bottom borders the same way.
- Repeat on the back of the card—grading standards require both sides.
Write down your measurements. Even a 0.5 mm difference can significantly affect the centering ratio and grade. For a detailed ruler walkthrough, see How to Measure Card Centering: Step-by-Step Precision Guide.
Step 5: Calculate Centering Ratios (e.g., 55/45, 60/40)
Now, convert your measurements into centering ratios—a standard grading requirement:
- Add both left and right borders (or top and bottom) to get the total width.
- Divide each border width by the total, then multiply by 100 to get percentages.
- Express the ratio with the larger number first (e.g., 55/45 or 60/40).
Example:
If left border = 2.5 mm, right border = 3.5 mm.
Total = 6 mm.
Left: 2.5/6 = ~42%. Right: 3.5/6 = ~58%.
So the centering is 58/42 (right/left).
Repeat for top/bottom, and for the back of the card. For a handy calculator and more examples, check Card Centering Tool: Accurate Card Grading Estimates.
Step 6: Compare Against PSA, BGS, and CGC Centering Standards
Different grading companies have slightly different rules for what is considered good centering for a card. Here are PSA’s most common standards (front/back):
- PSA 10: 55/45 or better on the front, 75/25 or better on the back
- PSA 9: 60/40 or better on the front, 90/10 or better on the back
- PSA 8: 65/35 or better on the front, 90/10 on the back
BGS, CGC, and TAG have similar but sometimes different requirements. Always check the current standards for your card type and grading company.
Remember: Centering is only one factor—surface, corners, and edges matter too. For an all-in-one pre-grade process, see How to Pre-Grade Your Card: A Step-by-Step Guide.
Step 7: Use a Digital Centering Tool or App for Fast, Precise Checks
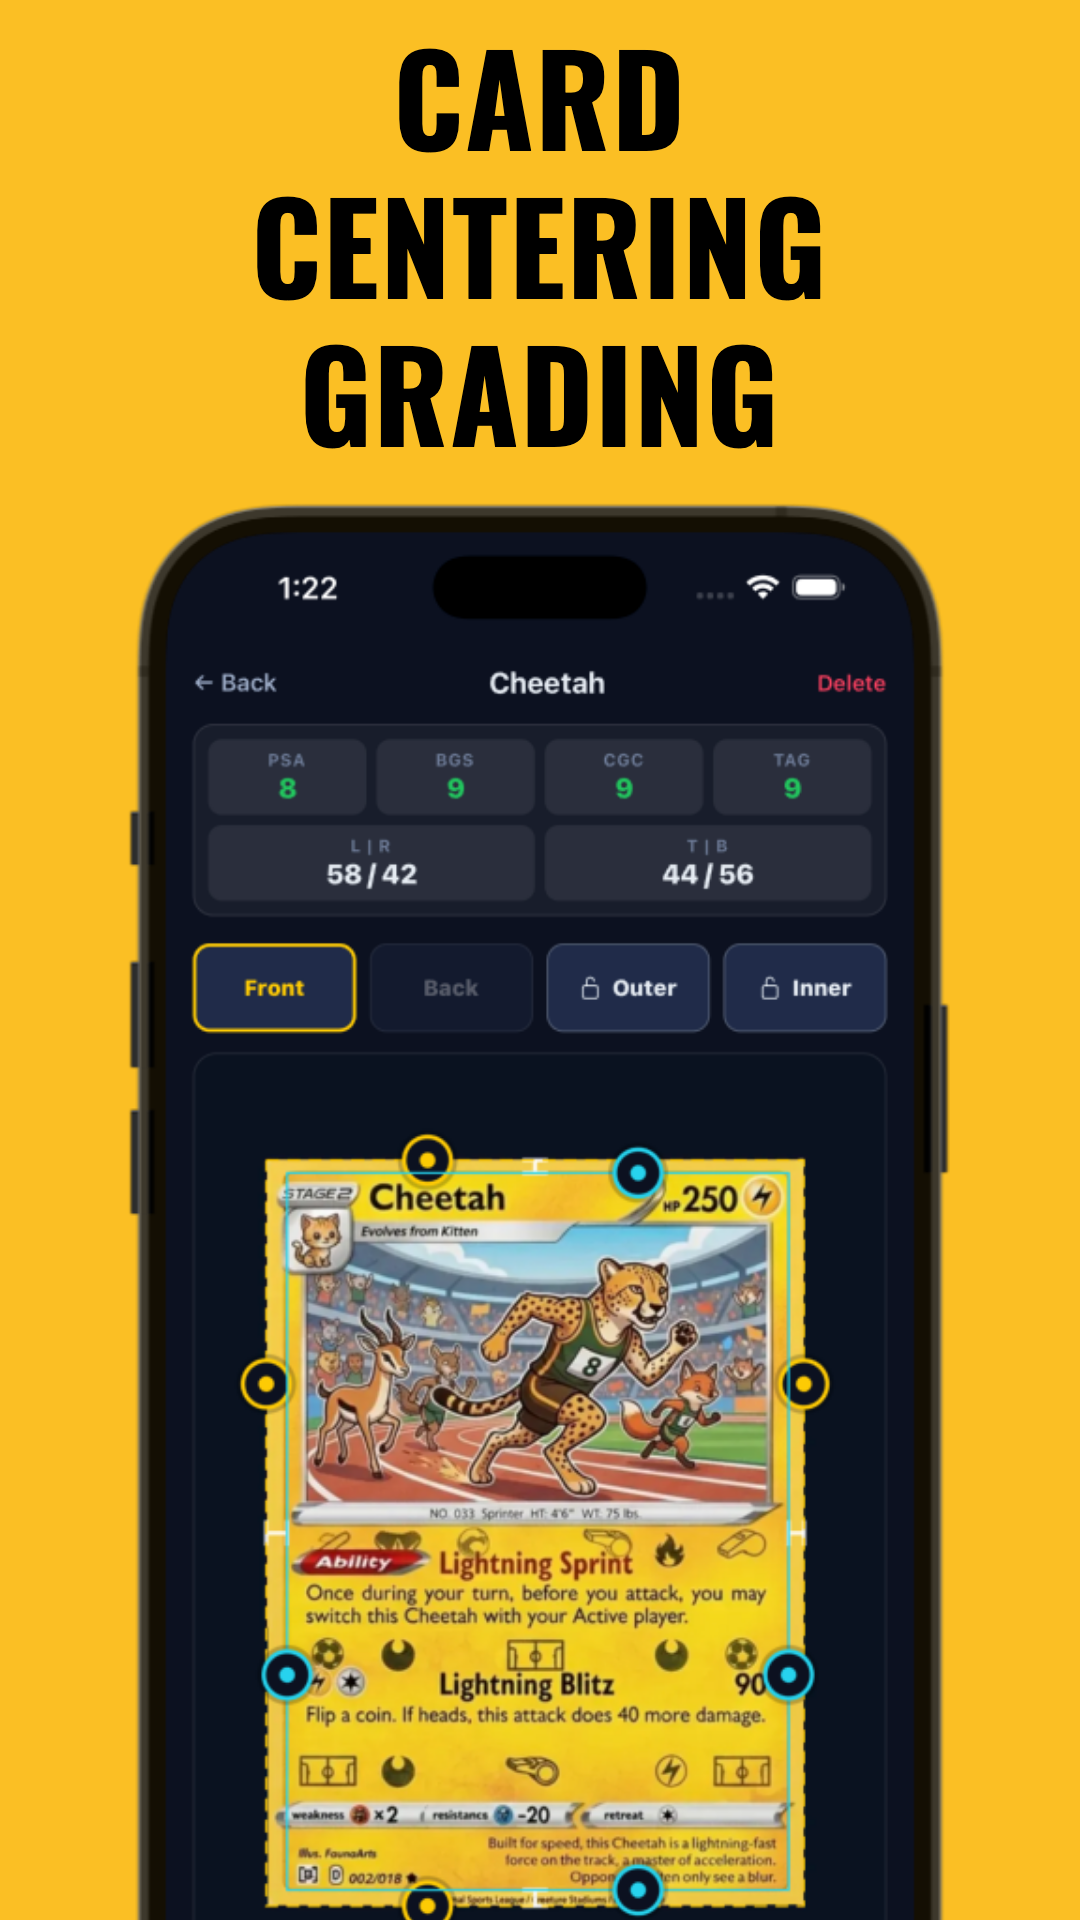
Manual measurements can be tedious and may be prone to error. Today, digital tools like Midpoint offer centering calculations based on uploaded photos.
- Upload a straight, well-lit photo of your card.
- Midpoint automatically detects the card’s edges and calculates left/right and top/bottom centering ratios for both sides.
- See at a glance if your card meets PSA, BGS, CGC, or TAG standards—before you spend money on grading.
These tools can also help detect tilt or subtle perspective distortion that could affect manual checks. Learn more about digital grading in What Is a Card Grading App? Complete Guide for Collectors.
Tips & Common Mistakes
- Always check both front and back centering—back centering can be a hidden grade-killer.
- Avoid tilted or angled photos—they can fake off-centering or hide real issues.
- Double-check your math when calculating ratios manually.
- Don’t rely on the naked eye for borderline cases—measure or use a tool.
- Use millimeter rulers—imperial rulers aren’t precise enough.
- Verify PSA/BGS/CGC standards for your card’s year and set, as some exceptions exist.
Conclusion
Learning how to check centering before grading is a valuable skill for any card collector. By understanding the basics of what is card centering, how to measure card centering accurately, and how much centering can affect grade and value, you can make more informed grading decisions. Whether you use a millimeter ruler or a digital tool like Midpoint, always check both sides of your card and compare to PSA and other standards. When in doubt, use technology to double-check your results and avoid grading surprises. Ready for instant centering checks? Try Midpoint today.
FAQ
- How do you tell if a card is centered before grading?
Start with the eye test (squint to check for obvious off-centering), then measure border widths with a millimeter ruler or use a digital tool like Midpoint. Calculate centering ratios and compare to PSA/BGS/CGC standards. - What is the easiest way to check card centering at home?
Use good lighting and take a straight photo of your card. Upload it to a centering app like Midpoint for centering ratio calculations and standard comparisons. - How do you measure centering on a trading card with a ruler?
Measure the distance from the card’s edge to the artwork on each border, front and back, to the nearest millimeter. Add the two borders for total width, then calculate the ratio (e.g., 55/45). - What centering ratio is needed for PSA 10?
PSA 10 generally requires 55/45 or better on the front, and 75/25 or better on the back. Always check the latest standards for your specific card type. - Do you have to check both the front and back centering?
Yes. Both sides are checked for grading, and poor back centering can lower the grade even if the front is perfect. - Can a tilted photo make a card look off-center when it is not?
Yes. Angled or crooked photos can create the illusion of poor centering. Always photograph cards straight-on, flat, and upright for accurate results.
Free to start
Try the Midpoint app
Grade any card from a photo, see its raw and PSA 10 value, and track what your collection is worth — free.
Get it on iPhoneGet it on Android