How to Inspect Cards Before Grading: A Complete How-To Guide
Learn how to inspect cards before grading—check centering, corners, edges, and surface for the best chance at a PSA 10. Essential tools and expert tips inside.

Estimated reading time: 12 min
Key Takeaways
- Learn how to inspect cards before grading for the best possible grade
- Understand centering, corners, edges, and surface flaws—and how each affects grading
- Set up a clean, well-lit inspection area and use the right tools
- Discover how to spot whitening, print lines, dents, and miscuts
- Decide if your card is worth submitting based on visible flaws
Wondering how to inspect cards before grading? Careful pre-grading evaluation can help you maximize your chances of a high grade and avoid disappointment. Whether you collect Pokémon, sports cards, or Magic: The Gathering, knowing how to check card condition, spot surface damage, and understand grade-impacting flaws is essential. This guide breaks down step-by-step how to examine centering, corners, edges, and surface—and when to use digital tools like Midpoint for more precise results.
Step 1: Create the Right Inspection Setup
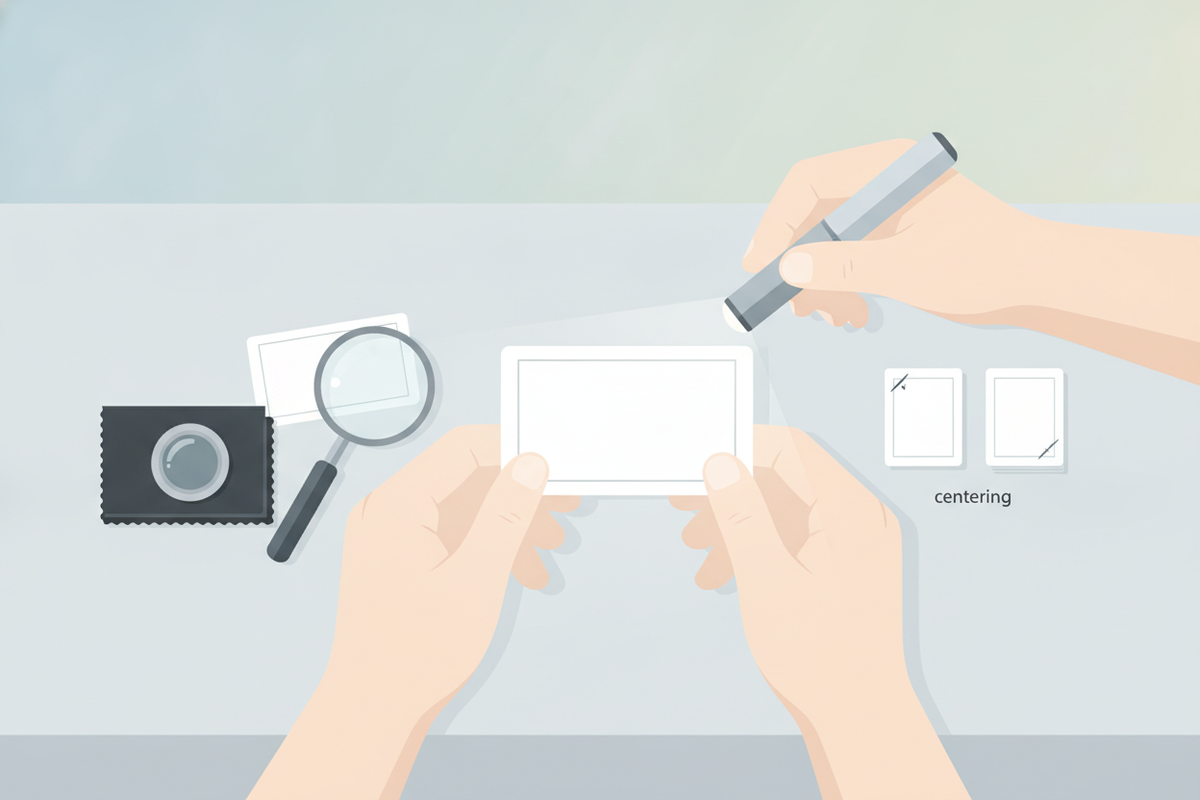
Start by preparing your inspection area. A controlled environment helps you spot flaws you’d otherwise miss and prevents new damage.
- Lighting: Use a bright, daylight-balanced LED lamp. The best lighting for trading cards is direct but diffused, minimizing glare and harsh shadows while revealing surface flaws and print lines.
- Surface: Work on a clean, dust-free, dark background (a black mat works well). This makes whitening, edge chipping, and dirt more visible.
- Humidity: Keep humidity moderate (40–55%) to avoid static and curling. Dry hands and gloves help prevent fingerprints.
- Tools:
- 10x jeweler’s loupe or magnifying glass
- Soft, powder-free gloves
- Ruler or digital centering tool (for example, Midpoint’s free centering calculator)
- Microfiber cloth for gentle cleaning
- Card sleeves and top loaders for safe handling
Step 2: Inspect Centering on Both Sides
Centering is one of the four main grading pillars. Poor centering can affect your grade regardless of flawless corners or surface. Learn how to check card centering accurately:
- Front & Back: Examine both sides—graders always check both. Many collectors make the mistake of only assessing the front centering.
- Symmetry: Look for uniform border widths. A miscut card (uneven border or off-register print) can significantly impact value.
- Tolerances: For a PSA 10, centering is generally expected to be around 55/45 or better (front) and 60/40 or better (back), though grading standards may vary. BGS has similar but sometimes stricter requirements.
- Measurement: Use a ruler or a digital centering tool. The Card Centering Tool explains why precision matters and how to avoid eyeballing errors.

Apps like Midpoint use digital analysis to provide centering estimates, helping you avoid grading mistakes.
Step 3: Examine Corners for Wear and Damage
Corner wear grading is critical—rounded, dinged, or fuzzy corners can drop a card from Gem Mint to Near Mint or lower.
- Sharpness: Use 10x magnification to check for blunting, rounding, or tiny bends.
- Whitening: Look for white spots at the tips (especially on dark-bordered cards).
- Fuzzing: Some sets are known for fuzzy corners; graders may be somewhat more forgiving if the issue is factory-related, but damage from handling is not excused.
- Front vs. Back: Don’t forget to check the back corners—surface whitening is often more obvious there.
Minor corner touches might still qualify for a PSA 9, but a 10 typically requires untouched, razor-sharp corners.
Step 4: Check Edges for Chipping and Layer Separation
Edges are easily overlooked but are a frequent source of grade deductions. Here’s how to inspect them:
- Chipping: Look for tiny spots where the color or print layer is missing—common on older or dark-bordered cards.
- Whitening: White flecks or lines along the edge signal wear.
- Rough Cuts: Some cards (like vintage Topps) have factory-rough edges; graders can distinguish between manufacturing and damage, but excessive roughness still impacts grade.
- Layer Separation: Check for signs of the card splitting on the edge (visible layers, warping).
- Dings: Rotate the card under angled light to spot subtle dents or compressions.
Step 5: Analyze Surface for Scratches, Print Lines, and Indentations
Surface flaws—scratches, print lines, haze, stains, or indentations—are often the hardest to spot and most likely to affect a Gem Mint grade.
- Scratches: Hold the card at different angles under bright light. Even faint lines can matter for grading.
- Print Lines: Look for faint, parallel lines (often from the printing process). One subtle print line may be forgiven on some modern cards, but multiple or deep lines will lower the grade.
- Clouding/Haze: A milky appearance or film can be factory-produced or from residue—gently clean with a microfiber cloth if safe.
- Stains and Fingerprints: Check for water spots, fingerprints, or foreign substances. Use gloves to prevent new marks.
- Indentations: Tilt the card and look for surface dents or impressions from pressure or writing.
If you’re unsure what is surface damage on a card or how severe it is, consult guides or use digital grading previews. Midpoint’s digital surface analysis (see detailed pre-grade steps) can help you spot hidden flaws.
Step 6: Inspect Both Sides—Don’t Make This Common Mistake
Many collectors focus only on the front, but graders always check both sides. Back centering, corner dings, or whitening can prevent a high grade even if the front is flawless.
- Repeat your inspection process for the back: centering, corners, edges, and surface.
- Check for manufacturer marks or print defects that are only visible on the back.
- Compare your findings—sometimes a back flaw is the main reason a card won’t grade a 10.
Step 7: Decide If the Card Is Worth Grading
Ask yourself: will this card grade a 10, or will flaws cap it at a 9 or lower? Use your inspection results and compare them to published grading standards (see this grading scale comparison).
- PSA 10: Virtually flawless—tiny print lines or a touch of edge whitening might be present, but only if everything else is perfect.
- PSA 9: Minor flaws—slight centering off, a tiny corner touch, or faint surface mark.
- If the card has deep scratches, obvious whitening, or poor centering, consider keeping it raw or selling as-is.
- Check recent sales for miscut cards value—sometimes rare miscuts or errors are more desirable ungraded.
Apps like Midpoint can help you estimate the likely grade and value, potentially saving you the cost of submitting cards that won’t meet your goals.
Tips & Common Mistakes
- Don’t rely on phone cameras alone—use proper lighting and magnification.
- Avoid cleaning aggressively; gentle microfiber only, and never use liquids.
- Always use gloves to prevent fingerprint oils and new surface marks.
- Photograph cards for grading submissions in good light and on a dark background—this also helps you document condition for insurance (see grading and insurance value).
- Never skip inspecting the back or use a single angle—rotate and tilt to reveal hidden flaws.
- Do not submit every card—pre-grading saves money and disappointment.
Conclusion
Learning how to inspect cards before grading is important for maximizing your collection’s value and avoiding costly mistakes. By mastering the assessment of centering, corners, edges, and surface damage—and using digital tools like Midpoint—you can make more informed decisions about which cards are worthy of submission. Take your time, use the right setup, and reference grading guides to give your cards the best shot at a top grade.
FAQ
- What should I look for when inspecting a card before grading?
Check centering (front and back), corners (sharpness, whitening), edges (chipping, layer separation), and surface (scratches, print lines, haze, indentations). Use bright light and magnification for best results. - How do you check centering on a card before sending it to PSA or BGS?
Measure border widths on all four sides on both the front and back. Use a ruler or a digital centering tool for precision. Apps like Midpoint offer centering analysis. - What is the best light or tool for inspecting cards before grading?
A daylight-balanced LED lamp provides ideal lighting. Pair it with a 10x jeweler’s loupe or digital magnification for the best inspection. - How do you tell if corners or edges will hurt a card’s grade?
Look closely for blunted, rounded, or whitened corners and chipped or lifted edges. Even small imperfections can drop a card from a PSA 10 to a 9 or lower. - Should I grade a card with surface scratches, whitening, or slight off-centering?
If flaws are minor, the card may still earn a high grade (PSA 9). Significant scratches, whitening, or poor centering usually prevent a Gem Mint grade—consider your grading goals and recent sales. - Do I need to inspect both the front and back of a card before grading?
Yes. Graders assess both sides, and flaws on the back (centering, whitening, dents) can impact the final grade as much as front-side flaws.
Free to start
Try the Midpoint app
Grade any card from a photo, see its raw and PSA 10 value, and track what your collection is worth — free.
Get it on iPhoneGet it on Android