Essential Trading Card Design Centering Guidelines
Learn essential trading card design centering guidelines to ensure visual balance and meet collector standards with optimal centering accuracy.
Estimated reading time: 8 minutes
Key Takeaways
- Precise centering is critical for visual appeal and grading subgrades.
- Front tolerances: ideal 50/50, acceptable 55/45–60/40; back tolerances up to 75/25.
- Use a 0.125" bleed and a 0.25" safety zone in templates to absorb trim shifts.
- Leverage grids, rulers, guides and align tools in your design software.
- Always test print and refine; lock templates to maintain consistency across a set.
Table of Contents
- Overview of Trading Card Design – Centering Accuracy
- Understanding Centering Guidelines
- Key Elements Affecting Centering Accuracy
- Tools & Techniques
- Common Challenges & Solutions
- Case Studies & Practical Examples
- Best Practices & Recommendations
- Conclusion & Call to Action
1. Overview of Trading Card Design – Centering Accuracy
Trading cards have evolved from simple cigarette inserts to detailed collectibles on a 2.5" × 3.5" canvas. Today, centering shapes perception across the hobby —off-center prints can drastically reduce market value. Grading services measure border widths and image placement down to fractions of a millimeter, making precision indispensable for any designer.
- Market Impact: Off-center cards often fetch lower grades and sell for less.
- Visual Stability: Even borders and centered art reinforce a professional look.
2. Understanding Centering Guidelines
Centering guidelines specify how your image, borders, and text align to the card’s geometric center. Designers refer to ratios like 50/50 or 60/40 to communicate border proportions. For best practices on avoiding design mistakes that lead to off-center prints, consider using proven layout workflows.
Grading tolerances for centering:
- Front faces: ideal 50/50; acceptable range 55/45 to 60/40.
- Back faces: top subgrade allows up to 75/25.
Straying beyond these thresholds can lower your centering subgrade. Balanced centering draws the eye to the subject, while miscentering creates unwanted visual tension.
3. Key Elements Affecting Centering Accuracy
- Design Elements
- Image window: Slight offsets multiply during the trimming process.
- Text blocks: Misaligned headings or stats break visual harmony.
- Logos & icons: These anchors must sit symmetrically to avoid a lopsided feel.
- Borders: Uniform thickness on all sides is measured in millimeters by graders.
- Negative Space & Balance
- Equal empty space around elements defines the optical center.
- Asymmetrical layouts require counterbalancing shapes or color density.
- Printing & Production
- Trim tolerance & bleed: Implement a 0.125" bleed plus a 0.25" safety zone.
- Press drift: Thin edges reveal plate misalignment; avoid razor-thin borders.
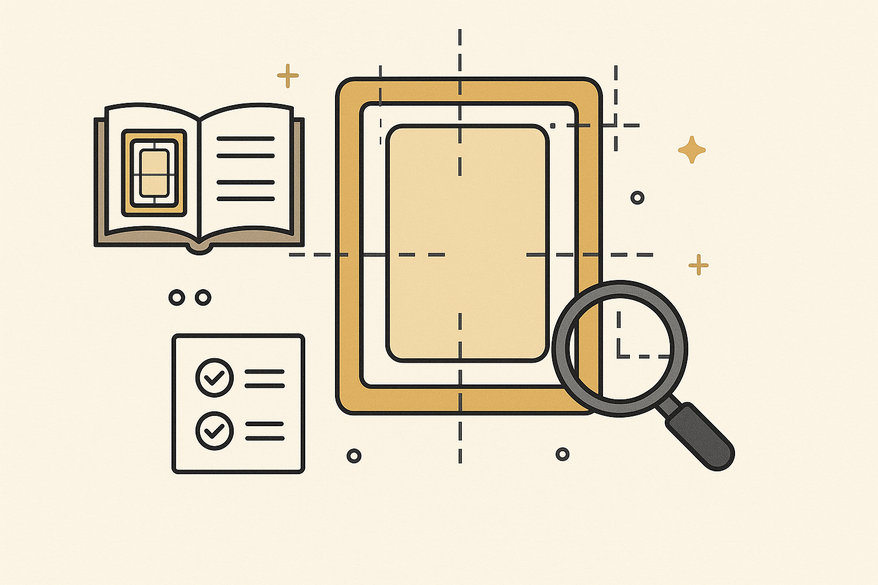
4. Tools & Techniques
Software Features
- Grids & rulers: Mark the exact center and equal margins.
- Guides: Set bleed (0.125") and safety (0.25") on a 2.625" × 3.625" template.
- Snap-to-grid/guides: Lock elements into place.
- Align tools: Center graphics and text both horizontally and vertically.
For a detailed method on measuring centering ratios, follow a step-by-step workflow aimed at collector-grade precision.
Automate your checks with Card Centering Tool to instantly flag PSA, BGS, and CGC tolerances.
Step-by-Step Document Setup
- Create a 2.625" × 3.625", 300 DPI, CMYK document.
- Add guides:
- Trim edge (document border)
- 0.125" bleed
- 0.25" safety area (2.375" × 3.375")
- Center the visible image window with align tools.
- Align art, titles, and text inside that window.
- Design outer borders inside the trim edge; simulate cut shifts.
- Save as a master template for consistent results.
Expert Tips
- Pull critical content inward; thicken borders minimally.
- Use numeric margins and 400–800% zoom to verify true alignment.
- Print and manually cut test sheets.
- Simplify border designs for forgiving production.
5. Common Challenges & Solutions
Typical Issues
- Uneven border thickness.
- Rotated art windows.
- Text drift within boxes.
- Logos positioned too close to edges.
Troubleshooting
- Recheck strokes and border shapes against guides; match stroke widths.
- Use rotation snap to lock at 0°.
- Keep critical elements inside the safety zone.
- Lock master templates and grids to prevent series-wide drift.
6. Case Studies & Practical Examples
Classic Bordered Sports Card
Uniform borders on all sides, a centered image window, and logo/nameplate perfectly aligned to achieve a 50/50 ideal (front tolerance 55/45–60/40).
Modern Full-Bleed Card
Background extends into the bleed; inner framing (vignette or glow) is locked inside the safety area for precise centering.
Before & After Concept
Before: Art was off by 2 mm and logo sat top-heavy. After: Recaptured centering with guides, resulting in balanced visuals and improved grading tolerance.
7. Best Practices & Recommendations
Actionable Tips:
- Always use a template with bleed, trim, and safety guides.
- Center your primary image window and text blocks.
- Maintain equal numeric border widths and avoid razor-thin edges.
- Apply a consistent master grid across all designs.
- Target visual 50/50 centering; allow up to 55/45 for the front.
- Run print tests and adjust based on real trims.
Quick Checklist:
- Document size + bleed set at 300 DPI?
- Bleed and safety guides visible and locked?
- Artwork & text centered within the safety area?
- Borders numerically equal & thick enough?
- Print test cut verified?
Conclusion & Call to Action
Robust centering guidelines ensure your trading cards meet collector and grader standards by maintaining a 50/50 visual balance and acceptable 55/45 tolerances. Utilize precise templates, alignment tools, and margin safeguards to deliver professional, high-value cards. Experiment with grids, test prints, and document your process to build an internal style guide for your next set.
Share your mockups or request personalized centering advice in the comments below or via our submission form. Let’s craft perfectly centered cards together.
FAQ
- What are acceptable centering tolerances for trading cards?
Ideal front centering is 50/50, with an acceptable range from 55/45 to 60/40; back faces can go up to 75/25 without penalty. - How do I set up my document template for accurate centering?
Create a 2.625" × 3.625" document at 300 DPI, set a 0.125" bleed and a 0.25" safety area, then add guides and snap elements to them. - How can I verify centering before sending for production?
Use align tools, snap-to-guides, and manual test prints—plus automation via Card Centering Tool for precise ratio checks.


