Card Centering Analyzer Tutorial: A Step-by-Step Guide
Learn how to accurately measure trading-card centering using a card centering analyzer. Improve your grading submission process with this easy tutorial.
Estimated reading time: 7 minutes
Key Takeaways
- Learn how to measure card centering precisely using an analyzer tool.
- Follow a structured process: launch, upload/scan, set guides, analyze, and interpret results.
- Prepare your card with proper lighting, background, and positioning for best accuracy.
- Utilize advanced features like AI detection, front-and-back comparison, and custom presets.
- Accurate centering boosts grading consistency, submission success, and can save fees.
Table of Contents
- Overview of the Card Centering Analyzer
- Getting Started with Card Centering Analyzer Tutorial
- Detailed Step-by-Step Tutorial for Card Centering Analyzer
- Tips, Best Practices, and Troubleshooting
- Advanced Features and Customizations
- Conclusion and Additional Resources
- Final Call-to-Action
- FAQ
Overview of the Card Centering Analyzer
Understanding the card centering analyzer and its core functions ensures you obtain precise alignment measurements every time.
Main Functions
- Automatic edge and border detection to find the card’s outer limits and interior margins.
- Calculation of horizontal and vertical centering ratios to assess balance.
Benefits
- Precision: More accurate than visual estimates.
- Speed: Instant centering results.
- Consistency: Uniform measurements across large collections.
Applications
- Preparing grading submissions for PSA, BGS, CGC, and other services.
- Screening and sorting cards before professional grading.
- Tracking centering trends across sets or series.
To compare centering tolerances for PSA, BGS, and CGC, explore detailed grade tier breakdowns.
Getting Started with Card Centering Analyzer Tutorial
Before diving in, make sure your device meets the requirements and your card is set up correctly.
System Requirements
- Mobile: iOS 13+ or Android 7+.
- Desktop: Chrome, Firefox, or Safari with camera access.
Installation & Access
- Mobile: Download “Card Centering Calculator” from Google Play or the App Store.
- Web: Go to the CardGrade centering tool (no account needed).
Preparation
- Place your card on a flat, solid-colored background.
- Remove protective sleeves to avoid glare if recommended.
- Ensure a straight-on, well-lit photo to minimize distortion.
Detailed Step-by-Step Tutorial for Card Centering Analyzer
Follow these steps to measure your card’s centering accurately.
- Launching the Tool
- Open the mobile app or navigate to the web tool.
- Grant camera or file-access permissions.
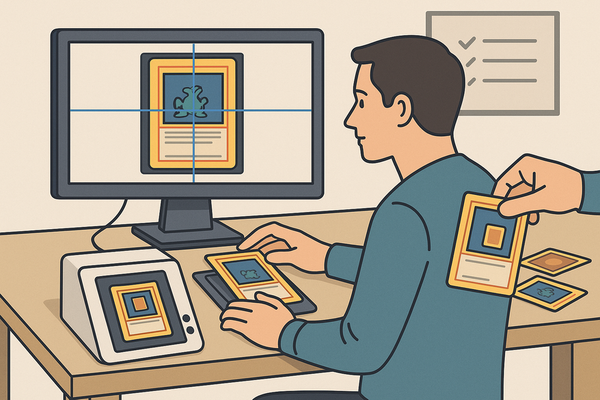
- Uploading or Scanning the Card
- Tap “Upload” or “Scan.”
- Select a saved photo, take a new shot, or drag and drop the file.
- Upload the front image first, then the back.
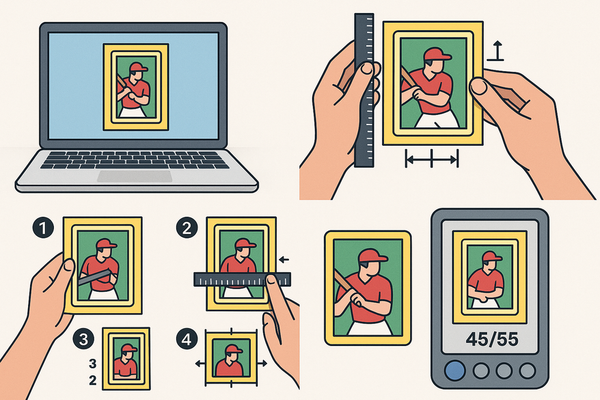
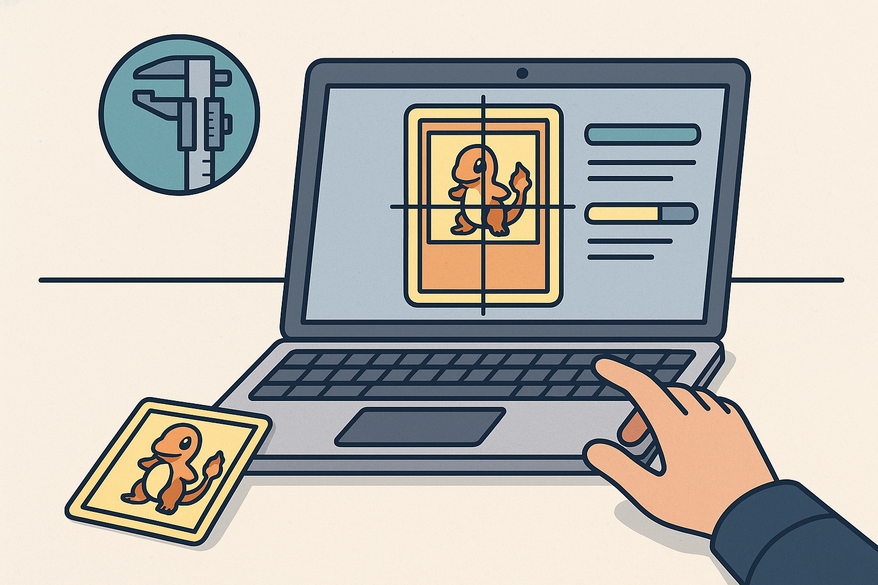
- Reviewing the Interface
- Locate the preview window, draggable guides, zoom controls, and results panel.
- Observe off-center graphs showing ratios like 65/35 or 75/25.
- Setting Measurement Borders
- Drag guides to align with the card’s printed borders.
- Zoom in to adjust pixel-level accuracy.
- Adjusting Settings
- Toggle auto-detection for initial placement, then refine manually.
- Change sensitivity, color overlays, or select PSA, BGS, or CGC mode.
- Running the Analysis
- Click “Analyze” or “Calculate.”
- View left/right and top/bottom centering percentages and the limiting side.
- Interpreting Results
- A 60/40 ratio means one border occupies 60% of the dimension and the opposite 40%.
- The worse ratio on front or back determines the overall centering grade.
Tips, Best Practices, and Troubleshooting
- Expert Tips:
- Shoot straight-on with even lighting to minimize errors.
- Include a margin around the card so borders aren’t cropped.
- Use manual placement if auto-detect misaligns any edge.
- Common Issues & Fixes:
- Blurry Borders: Retake the photo with better focus and lighting.
- Skewed Perspective: Frame the card squarely and move the camera back.
- Auto-Detect Errors: Disable auto mode and adjust guides manually.
- Confusing Ratios: Remember it compares opposite border widths for centering.
Advanced Features and Customizations
- AI-Based Border Detection – Machine learning for improved edge recognition.
- Front-and-Back Comparison – Simultaneous analysis to highlight the limiting side.
- Grade Previews – Estimated PSA, BGS, and CGC outcomes based on ratios.
- Custom Workflows – Save presets and export CSV for batch submissions.
Conclusion and Additional Resources
In this tutorial, you learned how to:
- Prepare your card with proper background and lighting.
- Upload or scan the card into the analyzer.
- Align guides and run the centering calculation.
- Interpret ratios and leverage advanced features for efficient grading prep.
Accuracy, speed, and consistency are the key benefits of using a card centering analyzer. To learn how improved centering can save grading fees, explore our detailed guide.
Final Call-to-Action
Put this card centering analyzer tutorial into action today. Measure one of your cards, capture the border ratios, and compare with PSA, BGS, or CGC standards. Share your results on social media with #CenteringPro or join our community forum for feedback. For more support, visit our live chat, email us, or explore advanced webinars on grading workflow optimization.
FAQ
- What is a card centering analyzer?
Software or online tool that detects borders and calculates centering ratios.
- Which devices support it?
Mobile (iOS 13+, Android 7+) and modern browsers (Chrome, Firefox, Safari).
- How accurate are the measurements?
They’re precise to the pixel level and more reliable than visual estimates.
- Can I batch-process multiple cards?
Yes, use custom workflows to export CSV files for bulk grading submissions.
- What if auto-detect fails?
Toggle off auto mode and manually place the measurement guides.