Card Centering Analyzer Tutorial: The Ultimate User Guide for Accurate Grading Predictions
Learn how to use a card centering analyzer to predict grading outcomes accurately. This tutorial covers setup, workflows, and best practices for collectors.
8 min read
Key Takeaways
- Learn how to measure trading card centering with digital and physical tools.
- Understand how centering ratios map to PSA, BGS, CGC, SGC and TAG grading standards.
- Discover workflows to automate measurements and make data-driven grading decisions.
- Get practical examples, best practices, and troubleshooting tips to streamline your process.
Table of Contents
- Background and Overview
- Getting Started: Setup, Installation & Requirements
- Step-by-Step Tutorial
- Practical Examples and Use Cases
- Best Practices and Tips
- Conclusion
- FAQ
Background and Overview
Why Use a Card Centering Analyzer?
A card centering analyzer transforms subjective guesses into objective measurements, calculating border alignment (e.g., 60/40 left/right, 55/45 top/bottom) and instantly mapping results to grading thresholds. This precise approach can save time, cut submission fees, and help you avoid sending poorly centered cards for grading.
Key users include sports and TCG collectors, dealers prepping bulk submissions, and anyone who wants to evaluate raw or online purchases with confidence.
For a deeper dive into manual measurement methods and centering basics, check out our detailed guide.
Getting Started: Setup, Installation & Requirements
Whether you choose a digital app or a physical overlay, you’ll need:
- A modern device (smartphone, tablet, or desktop) with a good camera or a clear centering ruler.
- Proper lighting and a solid background for crisp images.
- Internet access for web-based analyzers or cloud features.
Digital Tools:
- Install the App
Search for “Card Centering Calculator” in your app store and grant camera permissions. - Configure Settings
Select grading companies (PSA, BGS, CGC, SGC, TAG) and choose your units (mm or pixels). - Use the Web Tool
Visit online centering calculator and upload clear front/back images.
For PSA-specific cutoffs, review our PSA 10 centering requirements.
Physical Tools:
- Clear centering ruler or overlay.
- Clean, flat workspace with good lighting.
- Contrasting background (white or black) and a flat card.
- Align the card under the ruler edges to read border widths directly.
Step-by-Step Tutorial
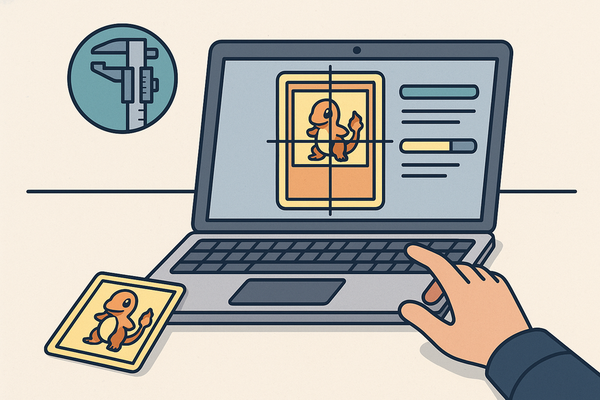
Digital Analyzer Workflow
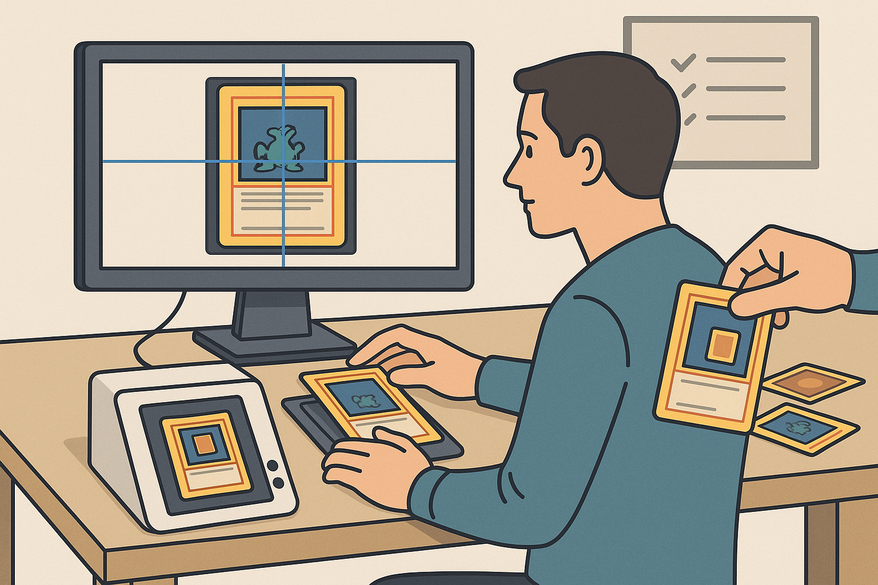
- Capture or Upload Image
Place the sleeve-free card on a solid background, then scan or upload front and back photos. - Auto-Detection
The AI finds edges, corrects tilt, and calculates initial centering ratios. - Manual Adjustment
Drag markers to fine-tune any misaligned borders. - Read Ratios
View left/right and top/bottom percentages (e.g., 58/42 L/R). - Assess Front & Back
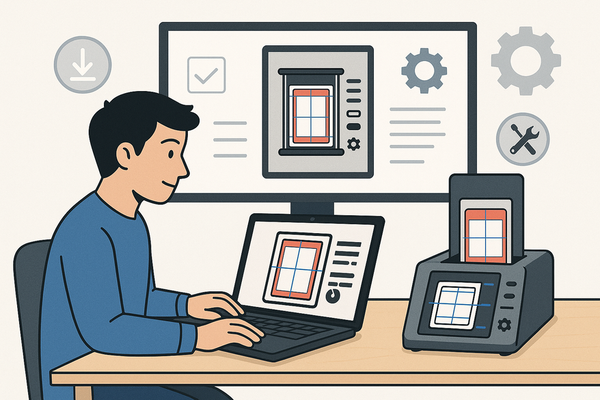
The tool flags the worse side per grading rules. - Preview Grades
Ratios are matched against PSA, BGS, CGC, SGC, TAG thresholds with color coding. - Export Results
Save scans with labels and export to spreadsheets or submission lists.
Try our app in action:
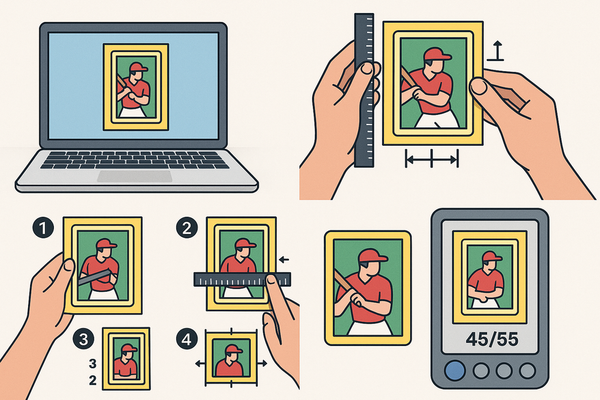
Physical Tool Workflow
- Align the Card
Center under the ruler’s reference edges. - Match Borders
Use the scale to align the thickest border features. - Read Values
Note left/right readings (e.g., 3–2 scale = 60/40 centering). - Convert to Percent
Refer to the printed chart for percentage equivalents. - Compare Standards
Check against 55/45 PSA 10 cutoff or BGS/CGC subgrade rules.
Practical Examples and Use Cases
Modern Pokémon Card
- Digital scan: 58/42 L/R and 54/46 T/B.
- Back scan: 52/48 L/R and 50/50 T/B → limiting factor is 52/48 (within PSA 10 range).
- Decision: include in submission.
Vintage Sports Card
- Physical ruler reads 5–1 (~83/17) → poor centering.
- Decision: sell raw or opt for a lower-tier grading service.
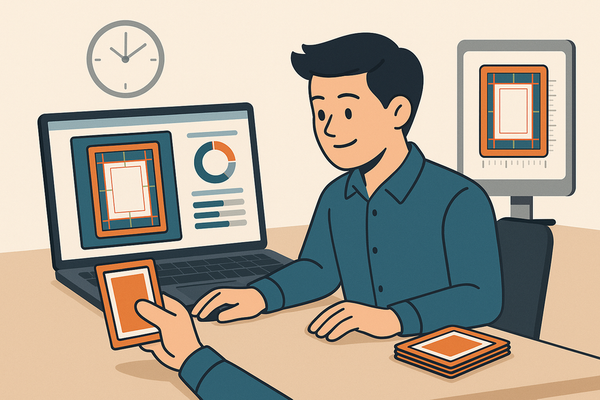
Bulk Pre-Screening
- Photograph batch, upload images, adjust for glare.
- Build a high-grade submission list using front/back verdicts and threshold mapping.
Common scenarios include market evaluation, pack screening, print-run research, and teaching new collectors.
Best Practices and Tips
Efficiency Tips
- Use a contrasting background for sharp edge detection.
- Remove sleeves to prevent glare and distortion.
- Batch process multiple cards for faster results.
Troubleshooting
- Flatten warped cards or step back your camera to reduce distortion.
- Switch to manual adjustments if edges are misread.
- Validate odd results with a physical ruler.
Advanced Resources
- Study official PSA, BGS, and CGC subgrade cutoffs for precision.
- Combine app workflows with manual tools for borderline cases.
- Join community forums like r/PokeGrading.
- Learn how to save on grading fees with better centering.
Conclusion
Key Steps Recap:
- Select your tool (app, web, or ruler) and set it up.
- Capture or align cards on a solid background.
- Read and record L/R and T/B ratios for both sides.
- Compare against grading-company thresholds.
- Make informed grading or selling decisions.
With a card centering analyzer, you replace subjective guesses with repeatable metrics—saving you time, money, and heartache.
Next Steps: Try the free online centering calculator or watch detailed tool walkthroughs to refine your workflow.
FAQ
- What is a card centering analyzer?
- It’s a tool—digital or physical—that measures a trading card’s border alignment and maps the ratios to grading standards.
- How accurate are these measurements?
- Digital analyzers typically measure within 0.1 mm, while physical rulers depend on print precision. Always validate borderline cases manually.
- Do I need an account to use the web tool?
- No—basic uploads are free, but creating an account lets you save scans and export comprehensive lists.
- Can I use these methods for any card type?
- Yes—sports cards, Pokémon, Magic, One Piece, and more. Just ensure clear, glare-free images or accurate ruler alignment.