Card Centering Analyzer Tutorial: Step-by-Step Guide to Accurate Grading
Learn how to use a card centering analyzer to accurately assess card grading with this step-by-step tutorial. Achieve precise centering for better results.
8 min read
Key Takeaways
- Precise centering measurements can affect card grading and value.
- A centering analyzer calculates border ratios for front and back images.
- Optimal lighting, background, and camera setup ensure accurate detection.
- Manual adjustments refine results for borderless or low-contrast cards.
- Comparisons to PSA, BGS, CGC, SGC, and TAG thresholds guide realistic expectations.
Table of Contents
- What Is a Card Centering Analyzer?
- Components & Functionality of the Analyzer
- Preparing to Use the Analyzer
- Step-by-Step User Guide
- Best Practices for Effective Use
- Conclusion & Next Steps
- Call to Action
- FAQ
In this card centering analyzer tutorial, we’ll walk you through using a card centering analyzer to measure how evenly a card’s image sits within its borders. A card centering analyzer is a tool that measures how evenly a card’s image is positioned within its borders, a key factor in grading and visual appeal. Collectors and graders rely on precise centering metrics to decide if a card meets strict grading thresholds or demands a higher grade. For more on the fundamentals, check out our step-by-step guide for collectors.
What Is a Card Centering Analyzer?
A card centering analyzer compares the widths of a card’s borders to generate a centering ratio or grade estimate. It helps you identify how your card aligns left vs. right and top vs. bottom. Here’s what it does:
- Core Function
- Measures left/right and top/bottom border widths.
- Calculates a centering ratio (for example, 55/45) or estimates a grade based on thresholds.
- Front & Back Analysis
- Processes both front and back images.
- The limiting side—front or back—determines the final result.
- Significance in Grading
- Centering is one of the most visible quality checks by grading companies like PSA, BGS, CGC, SGC, and TAG.
- Even minor border shifts can drop a card from Gem Mint to Mint status.
- Accurate measurement helps collectors set realistic grade expectations.
- Learn More Check out CardGrade’s centering tool for an example of this analysis in action.
Components & Functionality of the Analyzer
Understanding each component helps you leverage the full power of a centering analyzer. Here are the key parts:
- Image Input
- Upload or capture high-resolution images (JPEG, PNG or live camera) for front and back.
- Border Detection Engine
- Uses image processing to find card edges and measure border widths.
- Detects contrast changes between the card and its background.
- Offers auto-edge detection and manual line placement for precision.
- Centering Ratios & Grading Output
- Converts pixel measurements into left/right and top/bottom ratios.
- Maps ratios to grading standards (e.g., PSA: 60/40 front, 70/30 back for Gem Mint 10).
- Compare thresholds at PSA vs BGS vs CGC centering tolerances.
- Reference Standards
- Visual charts compare your ratios against popular grading scales.
- Highlights which company thresholds your card meets or misses.
- Optional Features
- Batch processing for multiple cards.
- Historical data storage or CSV export.
- Annotated screenshots for audits or listings.
Preparing to Use the Analyzer
Before you start, gather the right hardware, environment, and software:
Hardware Prerequisites
- A smartphone or tablet with at least an 8 MP camera.
- A flatbed scanner (optional for distortion-free scans).
Environment Setup
- Solid, non-reflective background (black or white matte surface).
- Even, diffused lighting—avoid glare.
- Camera positioned at a 90° angle directly above the card.
- Remove the card from sleeves or magnetic cases.
- See our trading card photography guide for photo tips.
Software Prerequisites
- Create an account or install the analyzer app on iOS/Android.
- Ensure your browser is up to date for web-based tools.
Step-by-Step User Guide
1. Access the Analyzer Interface
– Launch the web tool or mobile app.
– Navigate to “Centering” or “Alignment.”
– Click “Start Centering Analysis.”
2. Upload or Capture the Card Image
– Place the card flat on your background.
– Tap “Upload Front” or “Capture Front,” then repeat for the back.
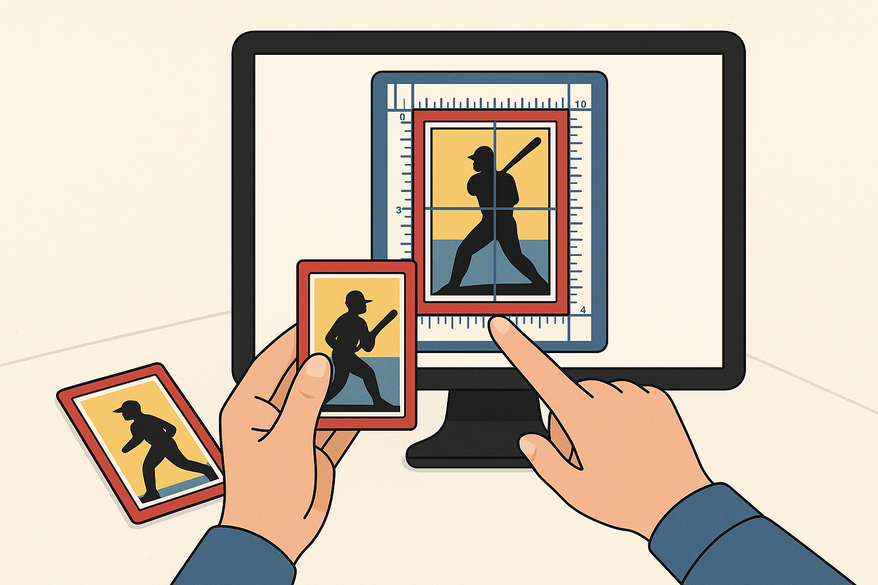
3. Align the Card
– Auto-detection grid overlays your image.
– Rotate and adjust until borders align with the grid.
– Use pinch-to-zoom for precision.
4. Adjust Centering Settings
– Drag measurement lines for manual refinement.
– Switch to “Logo/Text Reference” mode for borderless cards.
5. Run the Analysis
– Click “Start Analysis.”
– Processing takes 2–5 seconds per image.
6. Review the Results
– View left/right (e.g., 58/42) and top/bottom ratios.
– Identify the limiting side.
– Compare against PSA, BGS, CGC, SGC, and TAG.
Best Practices for Effective Use
- Use a plain, contrasting background for clear edge detection (CardGrade’s centering tool).
- Keep lighting even and diffused—LED panels or softboxes work well.
- Position the camera directly overhead at 90° to eliminate perspective distortion.
- Leave a small margin around the card—avoid tight cropping.
- For borderless cards, align with logos, text, or printed markers (video tutorial).
- Double-check manual guide placement if the auto-grid struggles.
Conclusion & Next Steps
You’ve learned what a card centering analyzer is, why precise centering matters, and how to set up your environment. Practice on multiple cards, refine your lighting and alignment, and save this guide for future reference. For additional support, visit our help center or contact our team.
Call to Action
Share your centering analyzer experiences in the comments below. What tips or challenges did you face? Subscribe to our blog for more grading tool tutorials.
FAQ
- Analyzer cannot detect borders?
Increase background contrast, improve lighting, and ensure full edge visibility. - Front/back results conflict?
The tool reports the limiting side—focus on the weaker ratio. - Borderless card detection fails?
Use logo/text reference mode and align guides manually (video tutorial). - Centering score seems off?
Retake the photo at a perfect 90° angle, remove sleeves, and avoid tilt (angle adjustment guide).


