Card Centering Analyzer Tutorial: Step-by-Step Guide to Perfect Card Centering
Learn how to master card centering with this comprehensive card centering analyzer tutorial. Enhance your grading results using step-by-step guidance.
Estimated reading time: 8 minutes
Key Takeaways
- Setup & Usage: Learn to install and operate both digital apps and physical gauges.
- Precise Measurement: Navigate interfaces to obtain accurate left/right and top/bottom centering percentages.
- Standards Alignment: Interpret results against PSA, BGS, CGC thresholds for gem-mint grades.
- Advanced Features: Leverage AI suggestions, back-side analysis, and custom detection settings.
- Troubleshooting: Resolve common issues like border detection errors and inconsistent readings.
Table of Contents
- Introduction
- Overview of the Card Centering Analyzer
- Getting Started
- Detailed Walkthrough of the User Interface
- Step-by-Step Usage Instructions
- Advanced Features and Tips
- Troubleshooting
- Conclusion
- Additional Resources
Introduction
This tutorial provides a comprehensive, step-by-step guide for trading card collectors and graders. You will learn how to set up a card centering analyzer, measure border alignment, and apply advanced tips for accurate evaluation.
A card centering analyzer is a physical tool or software that measures how evenly the printed image sits within its borders, reporting left/right and top/bottom percentages. Centering is a key grading criterion for PSA, BGS, CGC and others; even flawless corners and surfaces can’t offset poor centering.
In this beginner-friendly yet thorough tutorial, you will:
- Install and initialize digital and physical analyzers
- Navigate the interface and key controls
- Run accurate measurements and interpret results
- Troubleshoot common issues and explore advanced features
Let’s dive into every step to help you pick the best cards for grading or sale. For a deeper dive on manual centering measurement, check out our manual centering measurement guide.
Overview of the Card Centering Analyzer
A card centering analyzer measures border widths and calculates centering percentages, predicting likely grading outcomes—aim for about 55/45 or better front centering for a PSA 10.
- Reduces guesswork and speeds up screening
- Helps you pick the best candidates before paying grading fees
- Compares multiple copies to find your top card
- Pre-grading screening for PSA, BGS, CGC, SGC submissions
- Evaluating raw cards when buying or selling
- Comparing near-identical copies for the sharpest centering
- Assessing vintage cards versus modern cards
- Sports cards (vintage Topps, modern Prizm)
- TCGs like Pokémon and Magic: The Gathering
- Investment and resale decisions based on centering precision
This tool streamlines your workflow, avoids grading disappointments, and boosts confidence in your buying and selling decisions.
Getting Started
Prerequisites
Hardware:
- Smartphone or computer for digital analyzer apps
- Flat, well-lit, non-reflective surface for physical tools
Software:
- Card Centering Calculator (Android)
- Card Centering & Grading Tool (iOS)
- Optional: photo-editing app for cropping and straightening
Accounts/Setup:
- Create or log in to the app account if required
- Ensure your device OS is up to date
Installation and Initialization
Digital app:
- Search your app store for “Card Centering Calculator” or “Card Centering & Grading Tool.”
- Download and install the app.
- Open the app, grant camera and photo library permissions.
- Complete any onboarding or calibration steps.
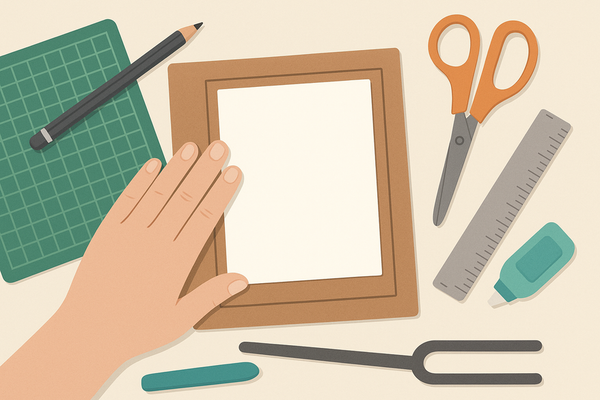
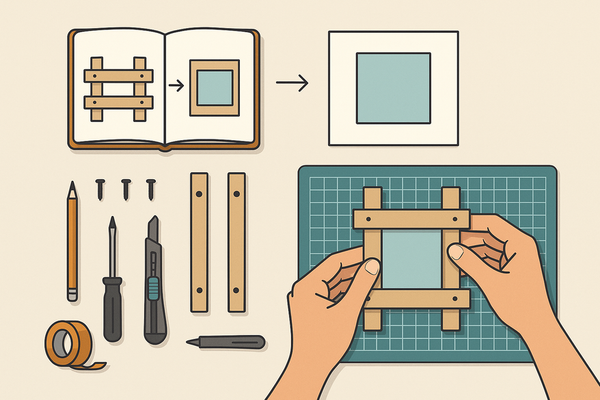
Physical tool:
- Remove protective film from acrylic or plastic gauges.
- Clean the gauge with a microfiber cloth to avoid scratches.
- Place on a flat surface and align your card under the printed measurement lines.
For a streamlined, web-based centering analysis, try Card Centering Tool and see it in action below:
Visual Aids
- Annotated screenshots of app installation and onboarding screens
- Close-up photos of the transparent gauge showing measurement lines
With your tools installed and surface prepared, you’re ready to explore the interface.
Detailed Walkthrough of the User Interface
Main Interface Components
- Home/Dashboard: Quick access to camera capture, image upload, recent analyses, settings and tutorials
- Camera/Import Screen: Take a new photo or select one from your gallery; grid overlay toggle for alignment
- Measurement View: Border guides with real-time centering readouts updating as you adjust
- Settings/Preferences: Choose units, precision levels, sensitivity, and grading standard references
Key Features
- Automatic border detection with draggable handles
- Built-in references for gem-mint thresholds
- Toggle between front and back centering analysis
- Export options: save as image or share a report
Tips for Locating Controls
- Use zoom and pan for fine manual adjustments
- Tap the “Help” icon for quick in-app guidance
- Pin your preferred grading standard to avoid reselecting each time
This interface guides you smoothly from capture to analysis.
Step-by-Step Usage Instructions
Follow these steps for precise centering measurement:
- Prepare the Card
Lay your card on a clean, flat surface. Remove any sleeve if glare obstructs edges. - Capture or Import Image
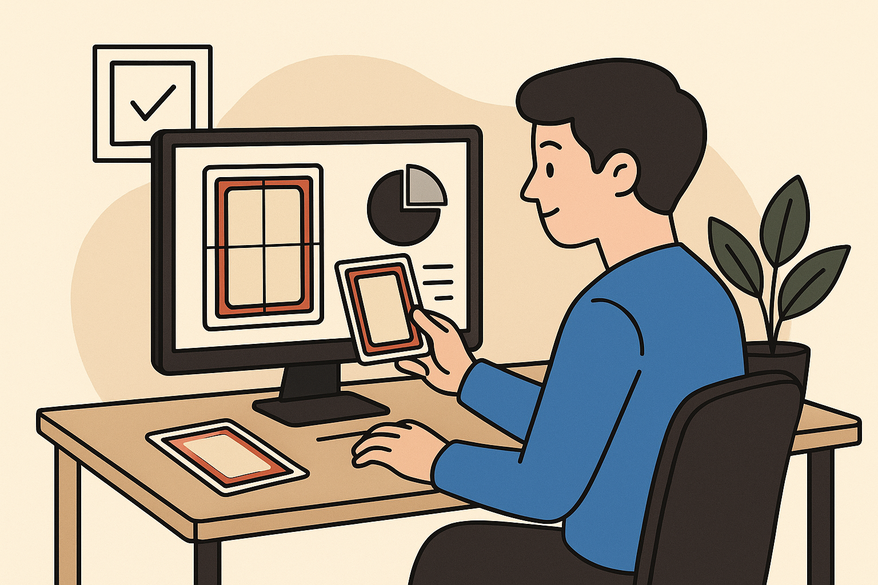
Open the analyzer app. Tap “Camera” or “Upload” and align the card so all edges are visible and parallel.
For photography tips, see photography tips. - Crop and Align
Use crop tools to remove background and straighten the image; many apps auto-align edges. - Detect and Adjust Borders
Allow auto-detection of card edges, then drag guides to the printed borders or artwork edges. - Calibrate Settings
Select card size/profile and choose your grading standard: PSA, BGS, CGC, or SGC. - Analyze Results
Read left/right and top/bottom percentages and compare to gem-mint thresholds (~55/45 for PSA 10 front). - Save or Document
Export a screenshot or share a PDF report. Tag card details if supported.
Advanced Features and Tips
Additional Functions
- AI-driven auto-grade suggestions based on centering and other factors
- Back-side centering analysis for dual-sided evaluation
- Custom detection settings for challenging lighting or complex art
Expert Tips
- Use high-resolution images and diffuse, shadow-free lighting
- Double-check auto-detected borders on high-value cards
- Photograph cards square-on to reduce perspective distortion
- Cross-reference your percentages with official grading standards
Handling Variations
- Vintage Cards: Focus on relative symmetry; print shifts are common
- Modern Holo Cards: Adjust angle slightly to minimize glare on foil
- Warped or Damaged Cards: Flatten under a weight or scan instead of photographing
Troubleshooting
Common Issues & Solutions
- Incorrect Border Detection: Improve lighting, remove shadows, adjust sensitivity or use manual drag handles.
- Inconsistent Percentages: Keep orientation and distance consistent; use a tripod or fixed mount.
- App Performance Issues: Update or reinstall the app; close background apps to free memory.
Conclusion
In this tutorial, you learned why centering matters, how to set up digital and physical analyzers, and how to interpret your results for grading decisions. You can now:
- Prepare and capture cards under ideal conditions
- Navigate interfaces and adjust border guides
- Use advanced features like AI scanning and back-side analysis
- Troubleshoot common issues and consult FAQs
By mastering these steps, you’ll save grading fees, pick top-quality cards, and gain confidence in your trading card decisions.
Additional Resources
- Grader-led centering demo 1
- Grader-led centering demo 2
- Grader-led centering demo 3
- Centering standard deep dive
- Card Centering Calculator (Android)
- Card Centering & Grading Tool (iOS)
- Hobby forums and Facebook group
FAQ
Q: Does this guarantee a PSA/BGS/CGC 10?
A: No—centering is only one factor. Corners, edges, surface, and authenticity also matter.
Q: How accurate are the results?
A: Accuracy depends on image quality and calibration. Combining AI detection with manual adjustments yields the best precision.
Q: Are all card sizes supported?
A: Most apps cover standard sports and TCG sizes; check your app’s supported formats in settings.
Q: Should I use a physical tool or an app?
A: Apps are portable and offer advanced features. Physical gauges are quick and don’t need power—ideal at shows.